West Virginia to Washington, D.C. map
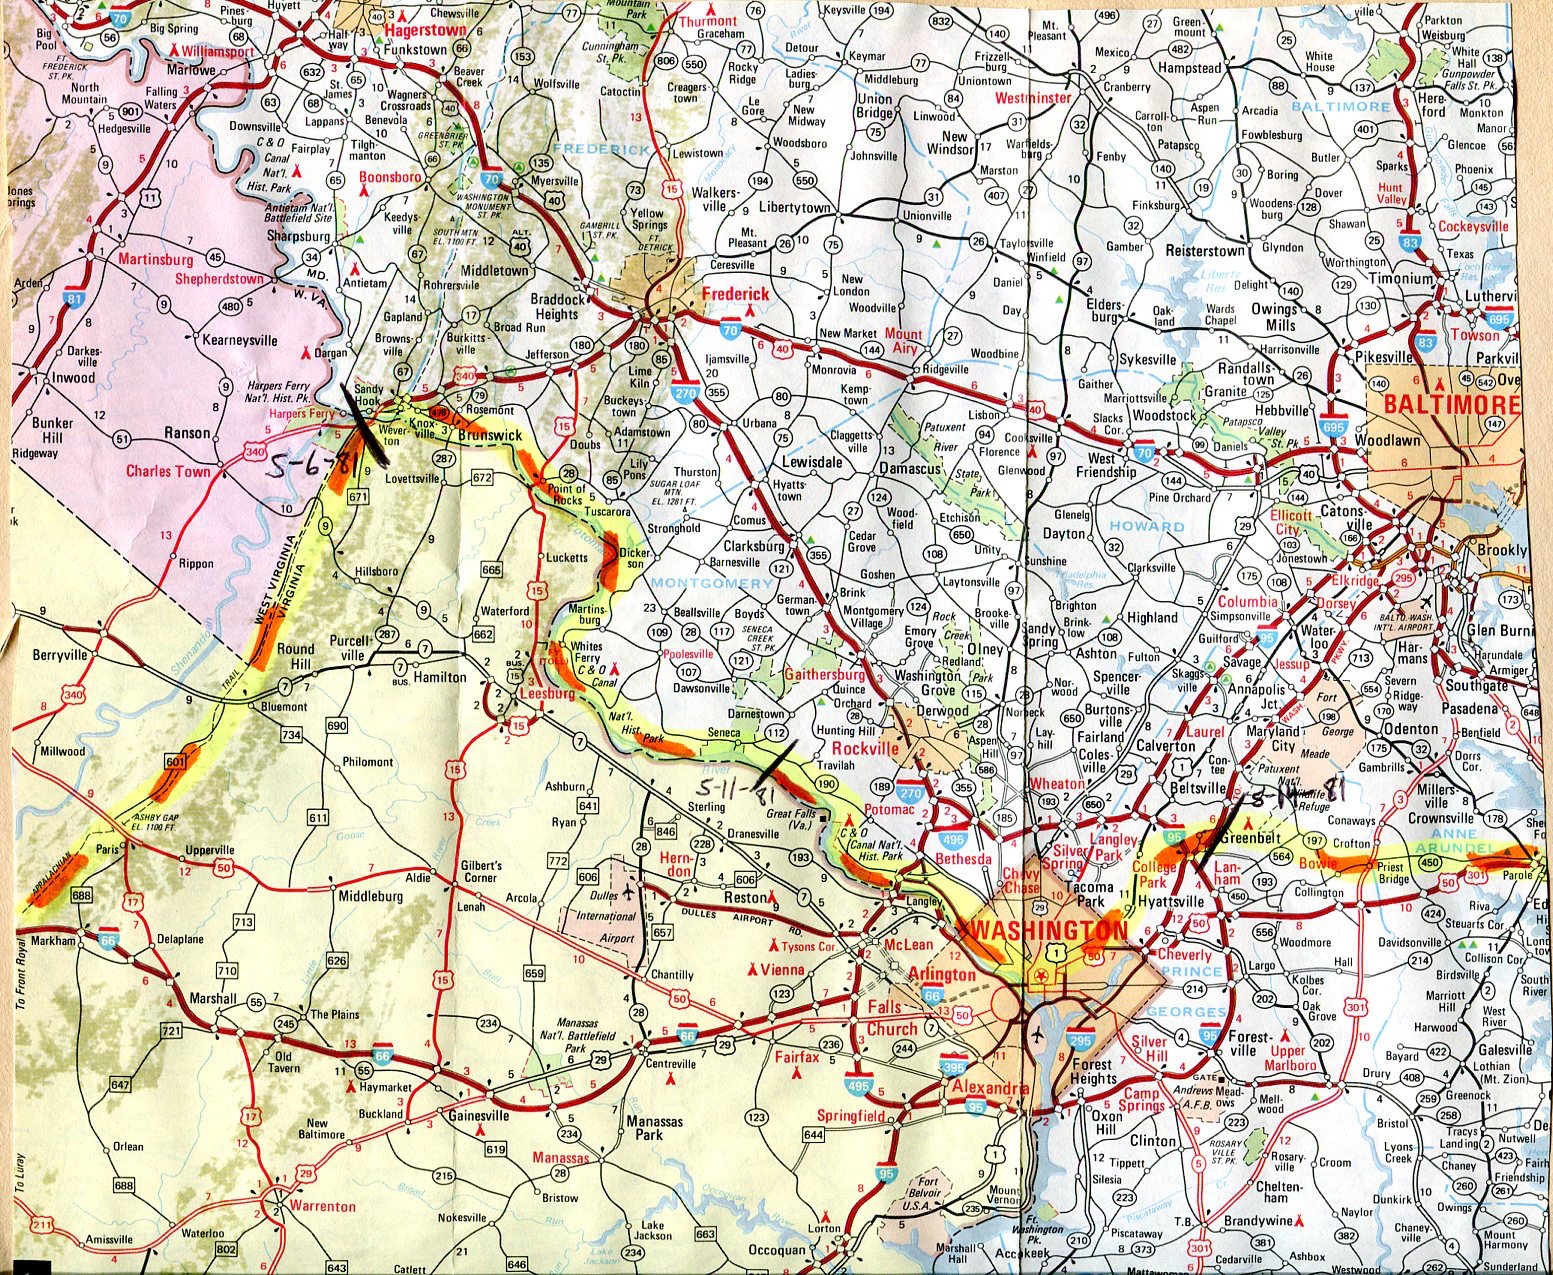
Maryland route information
Washington, D.C. route information
|
The Progression of HikaNation - Maryland
details the journey with various organizational
memos, letters, newspaper and magazine articles.
May 13, 1981 - Washington, D.C. activities
Page 1 - Last of the C&O Canal
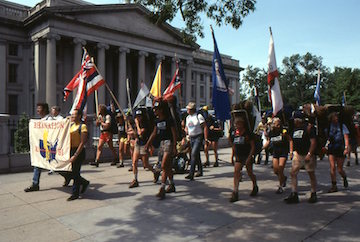
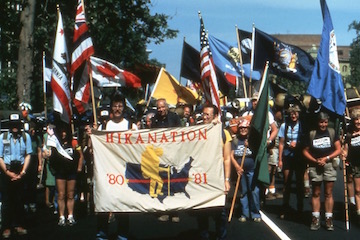
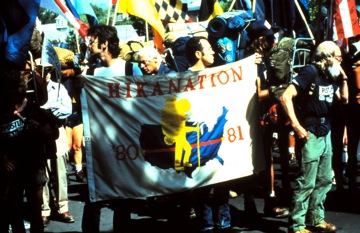
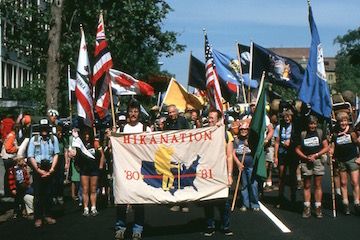
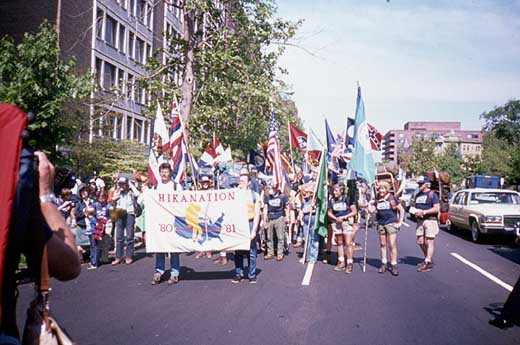
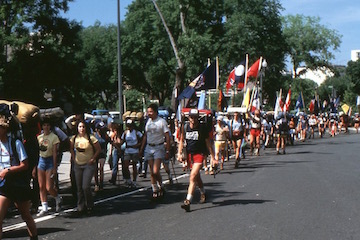
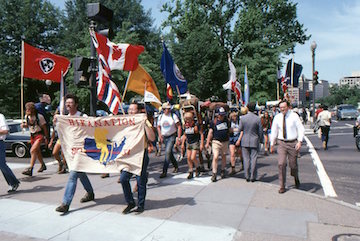
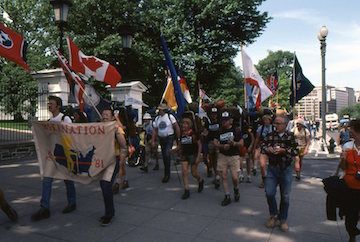
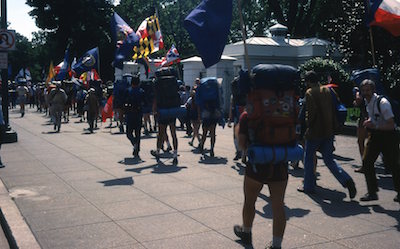
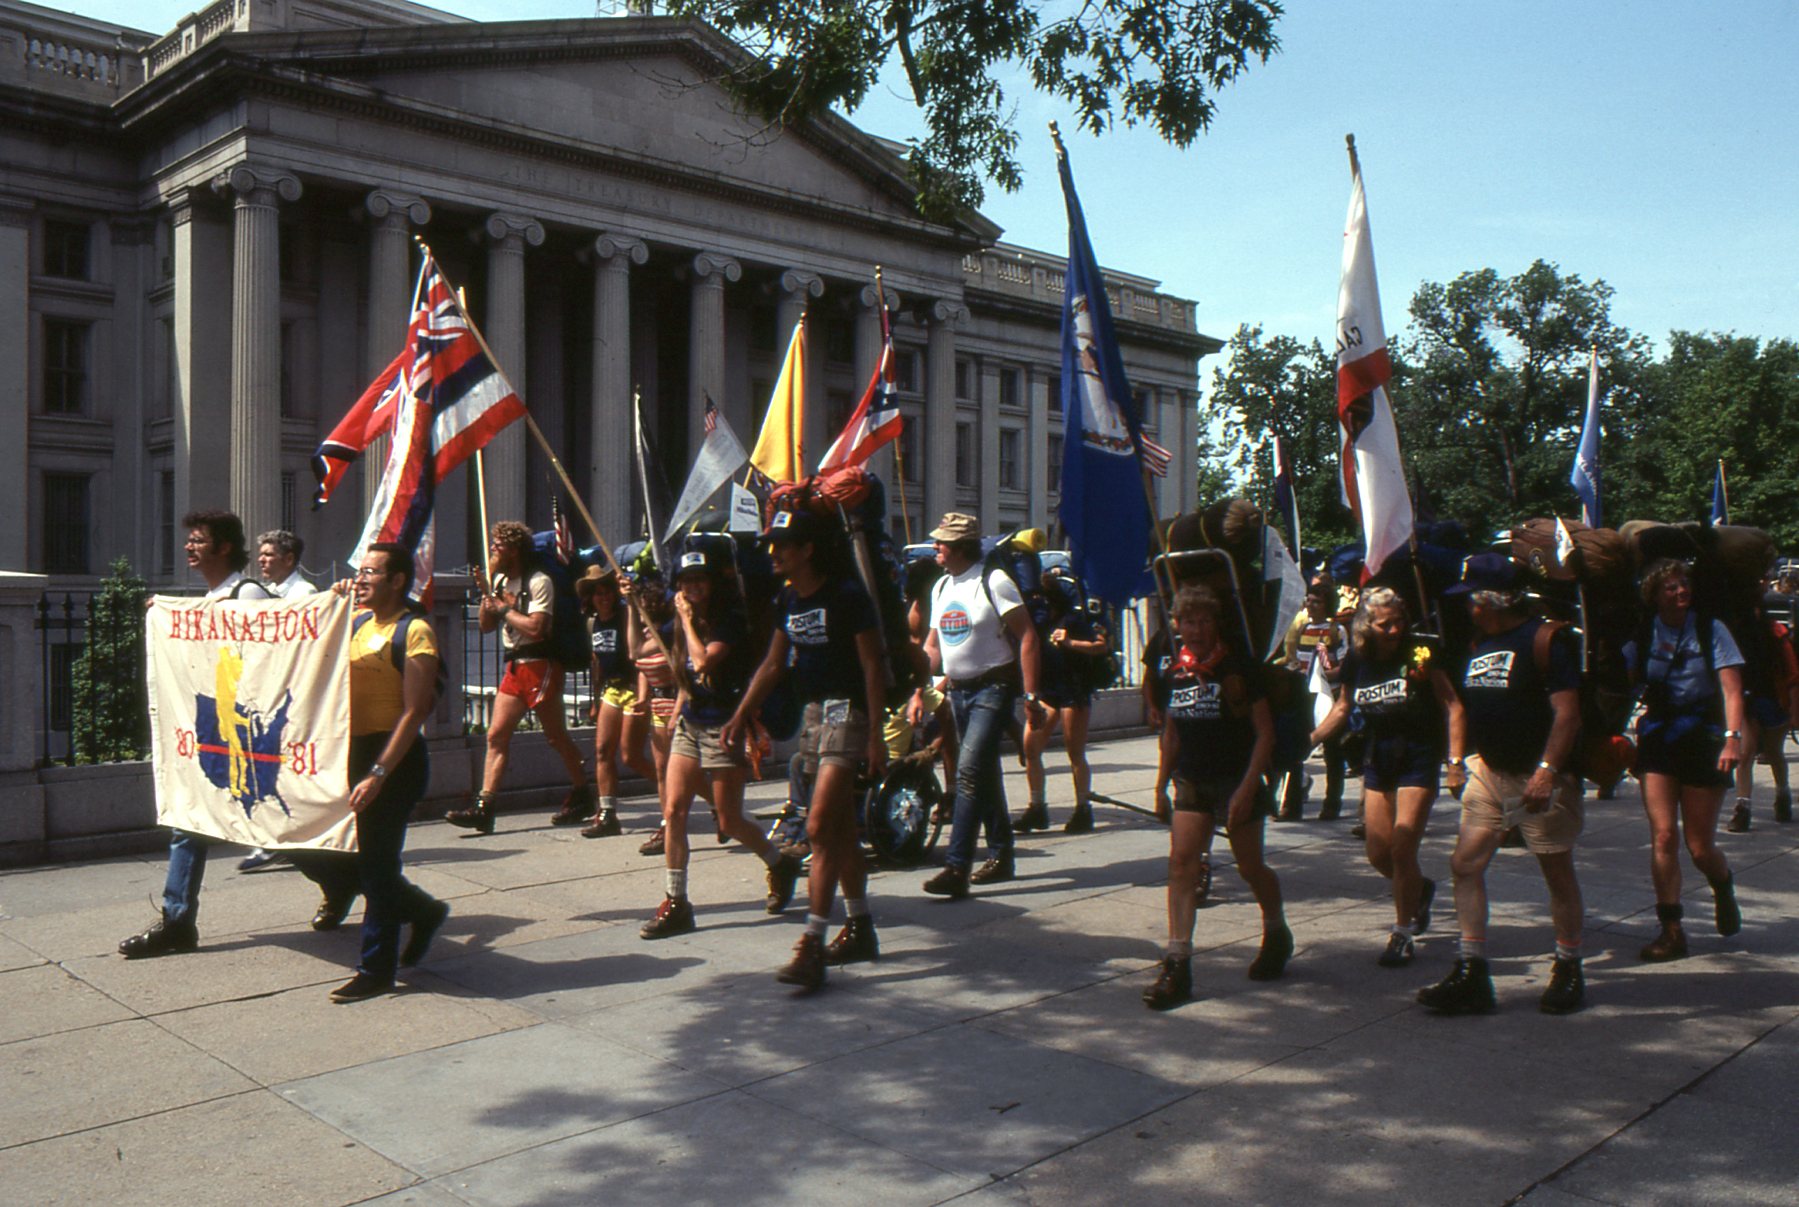
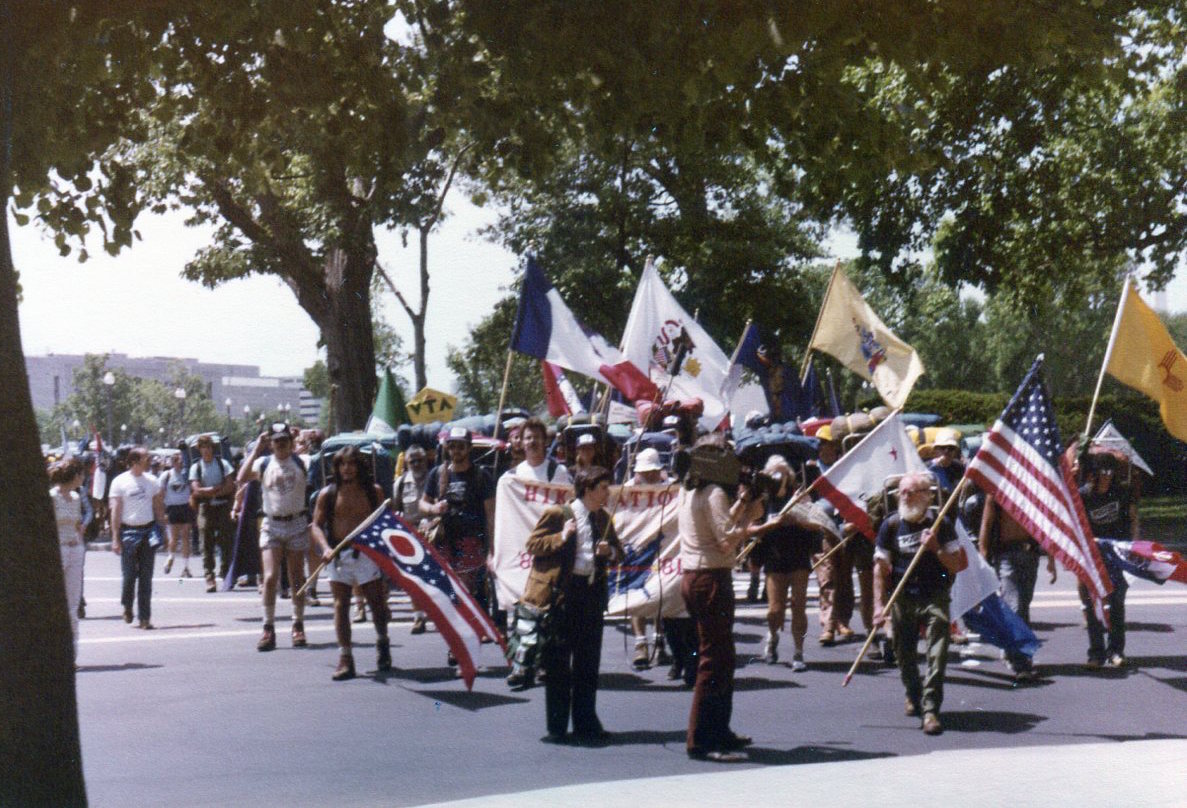
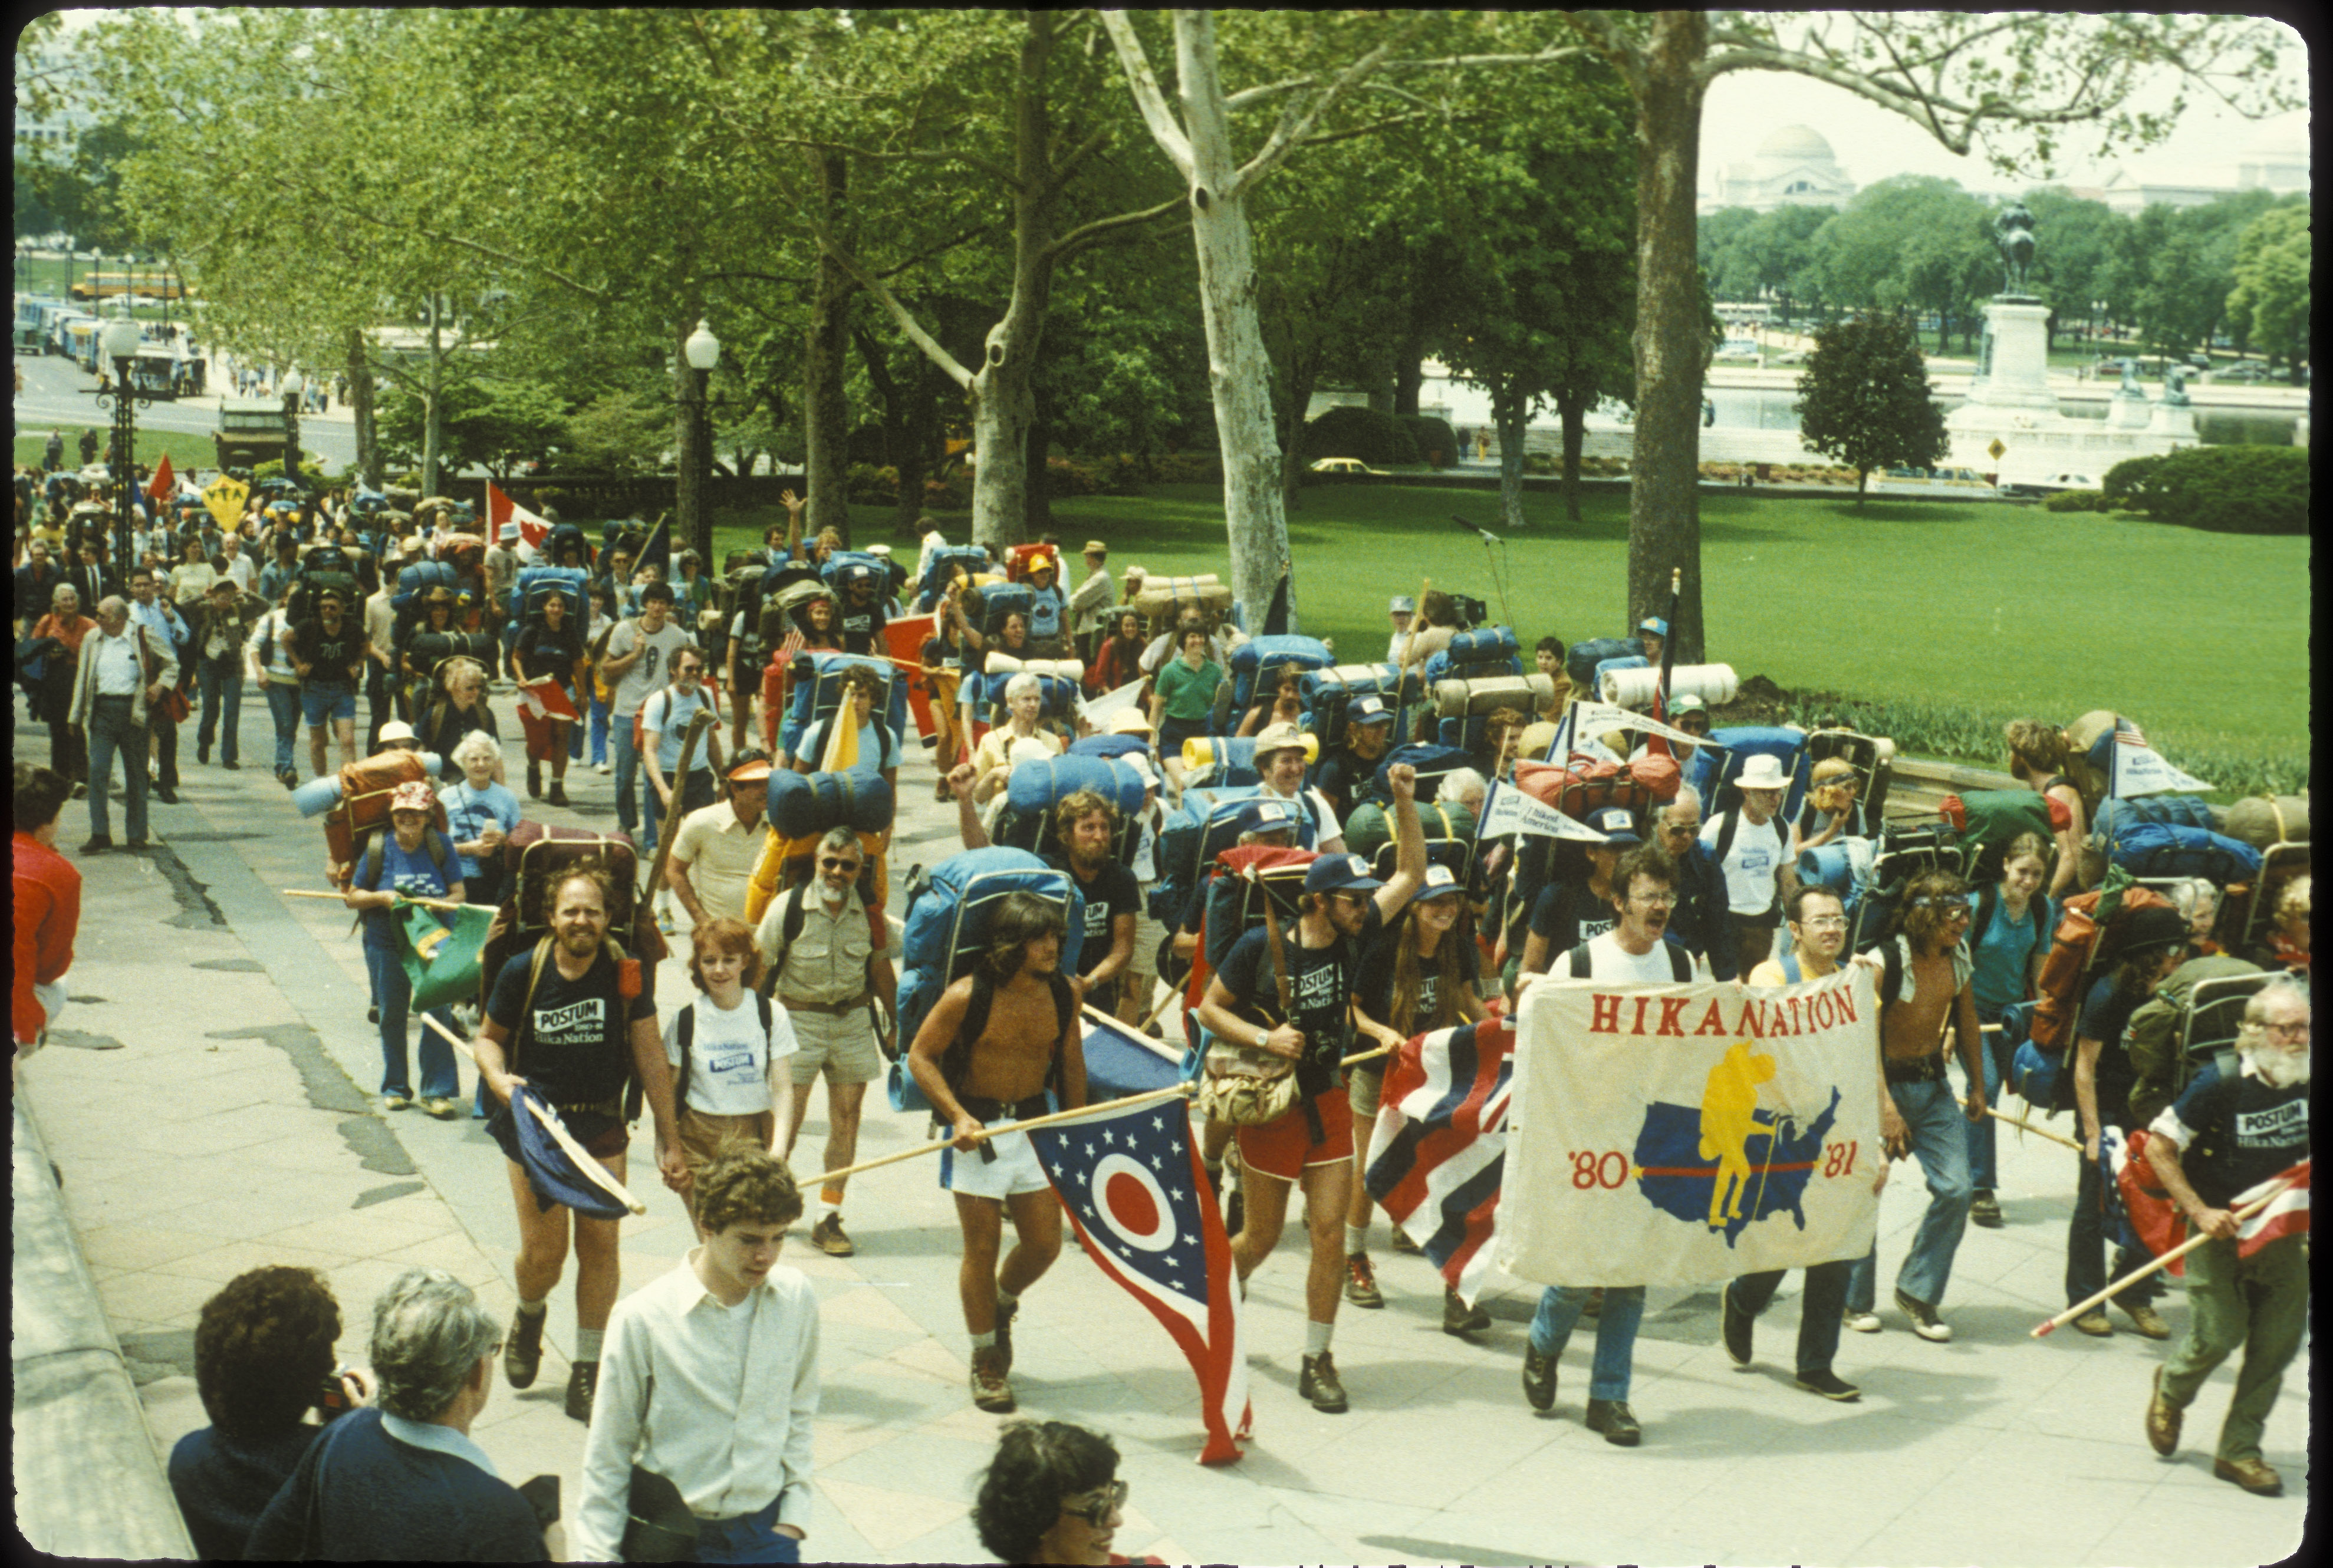
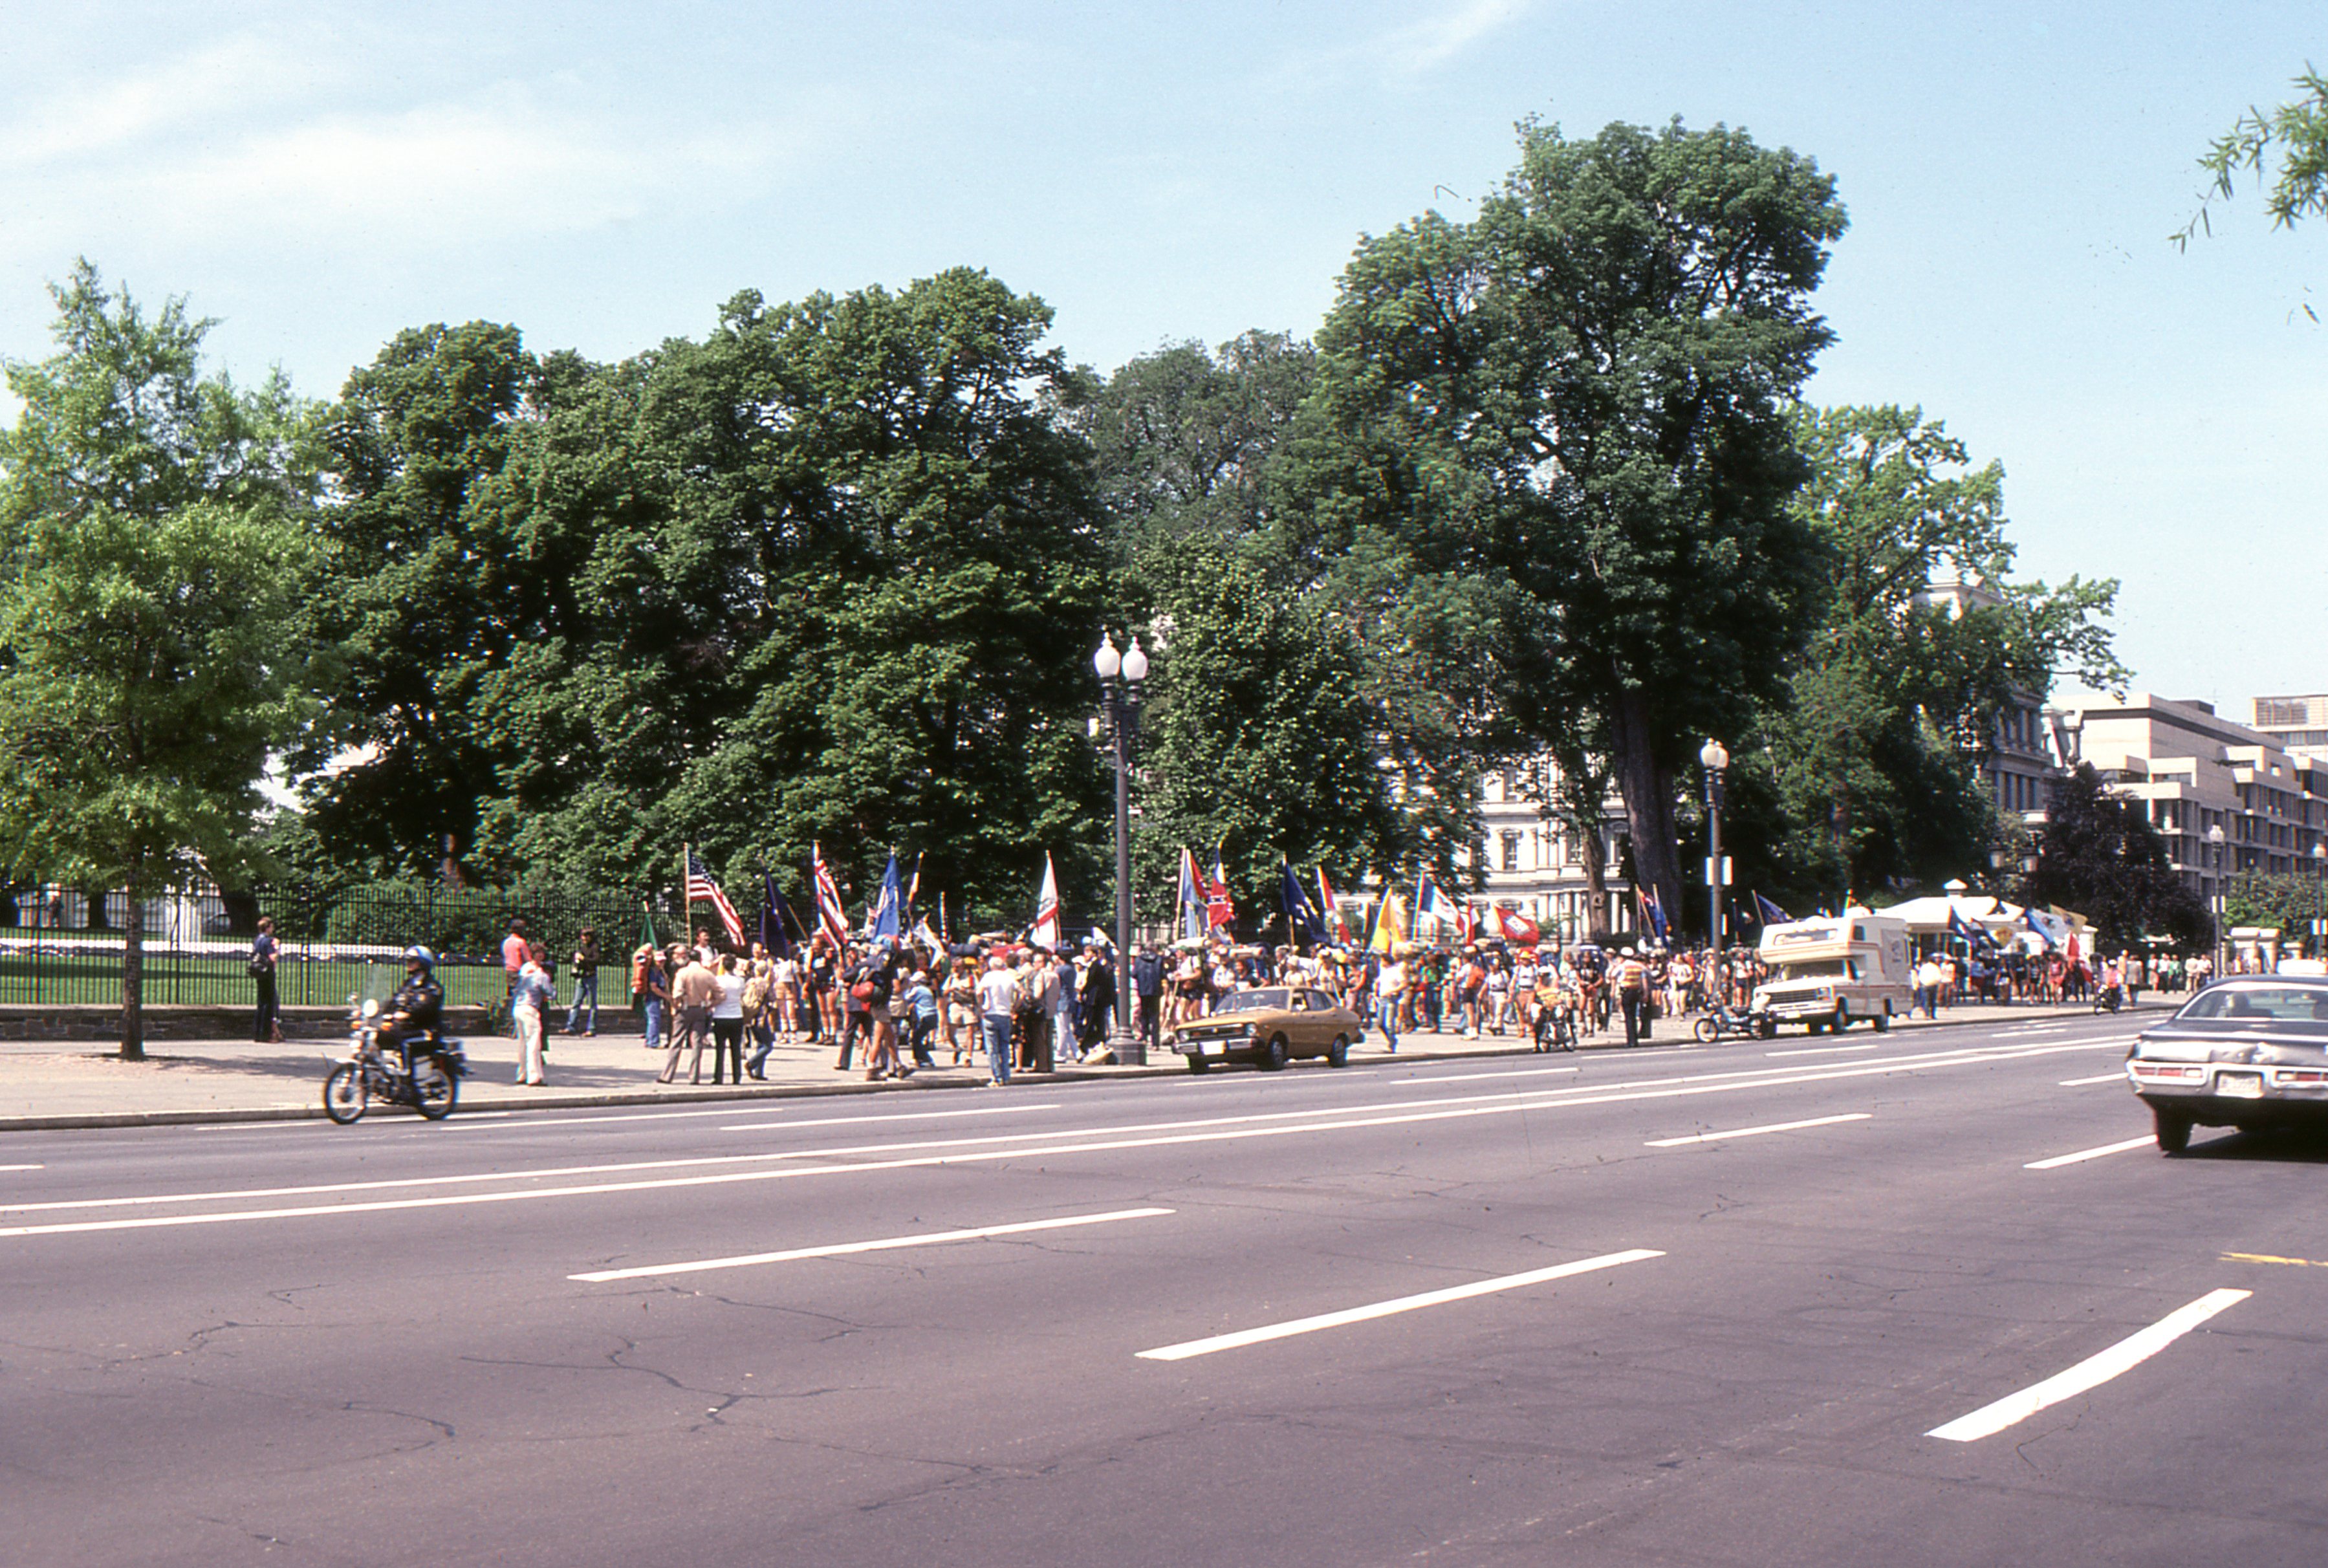
Page 2 - Parade to The White House
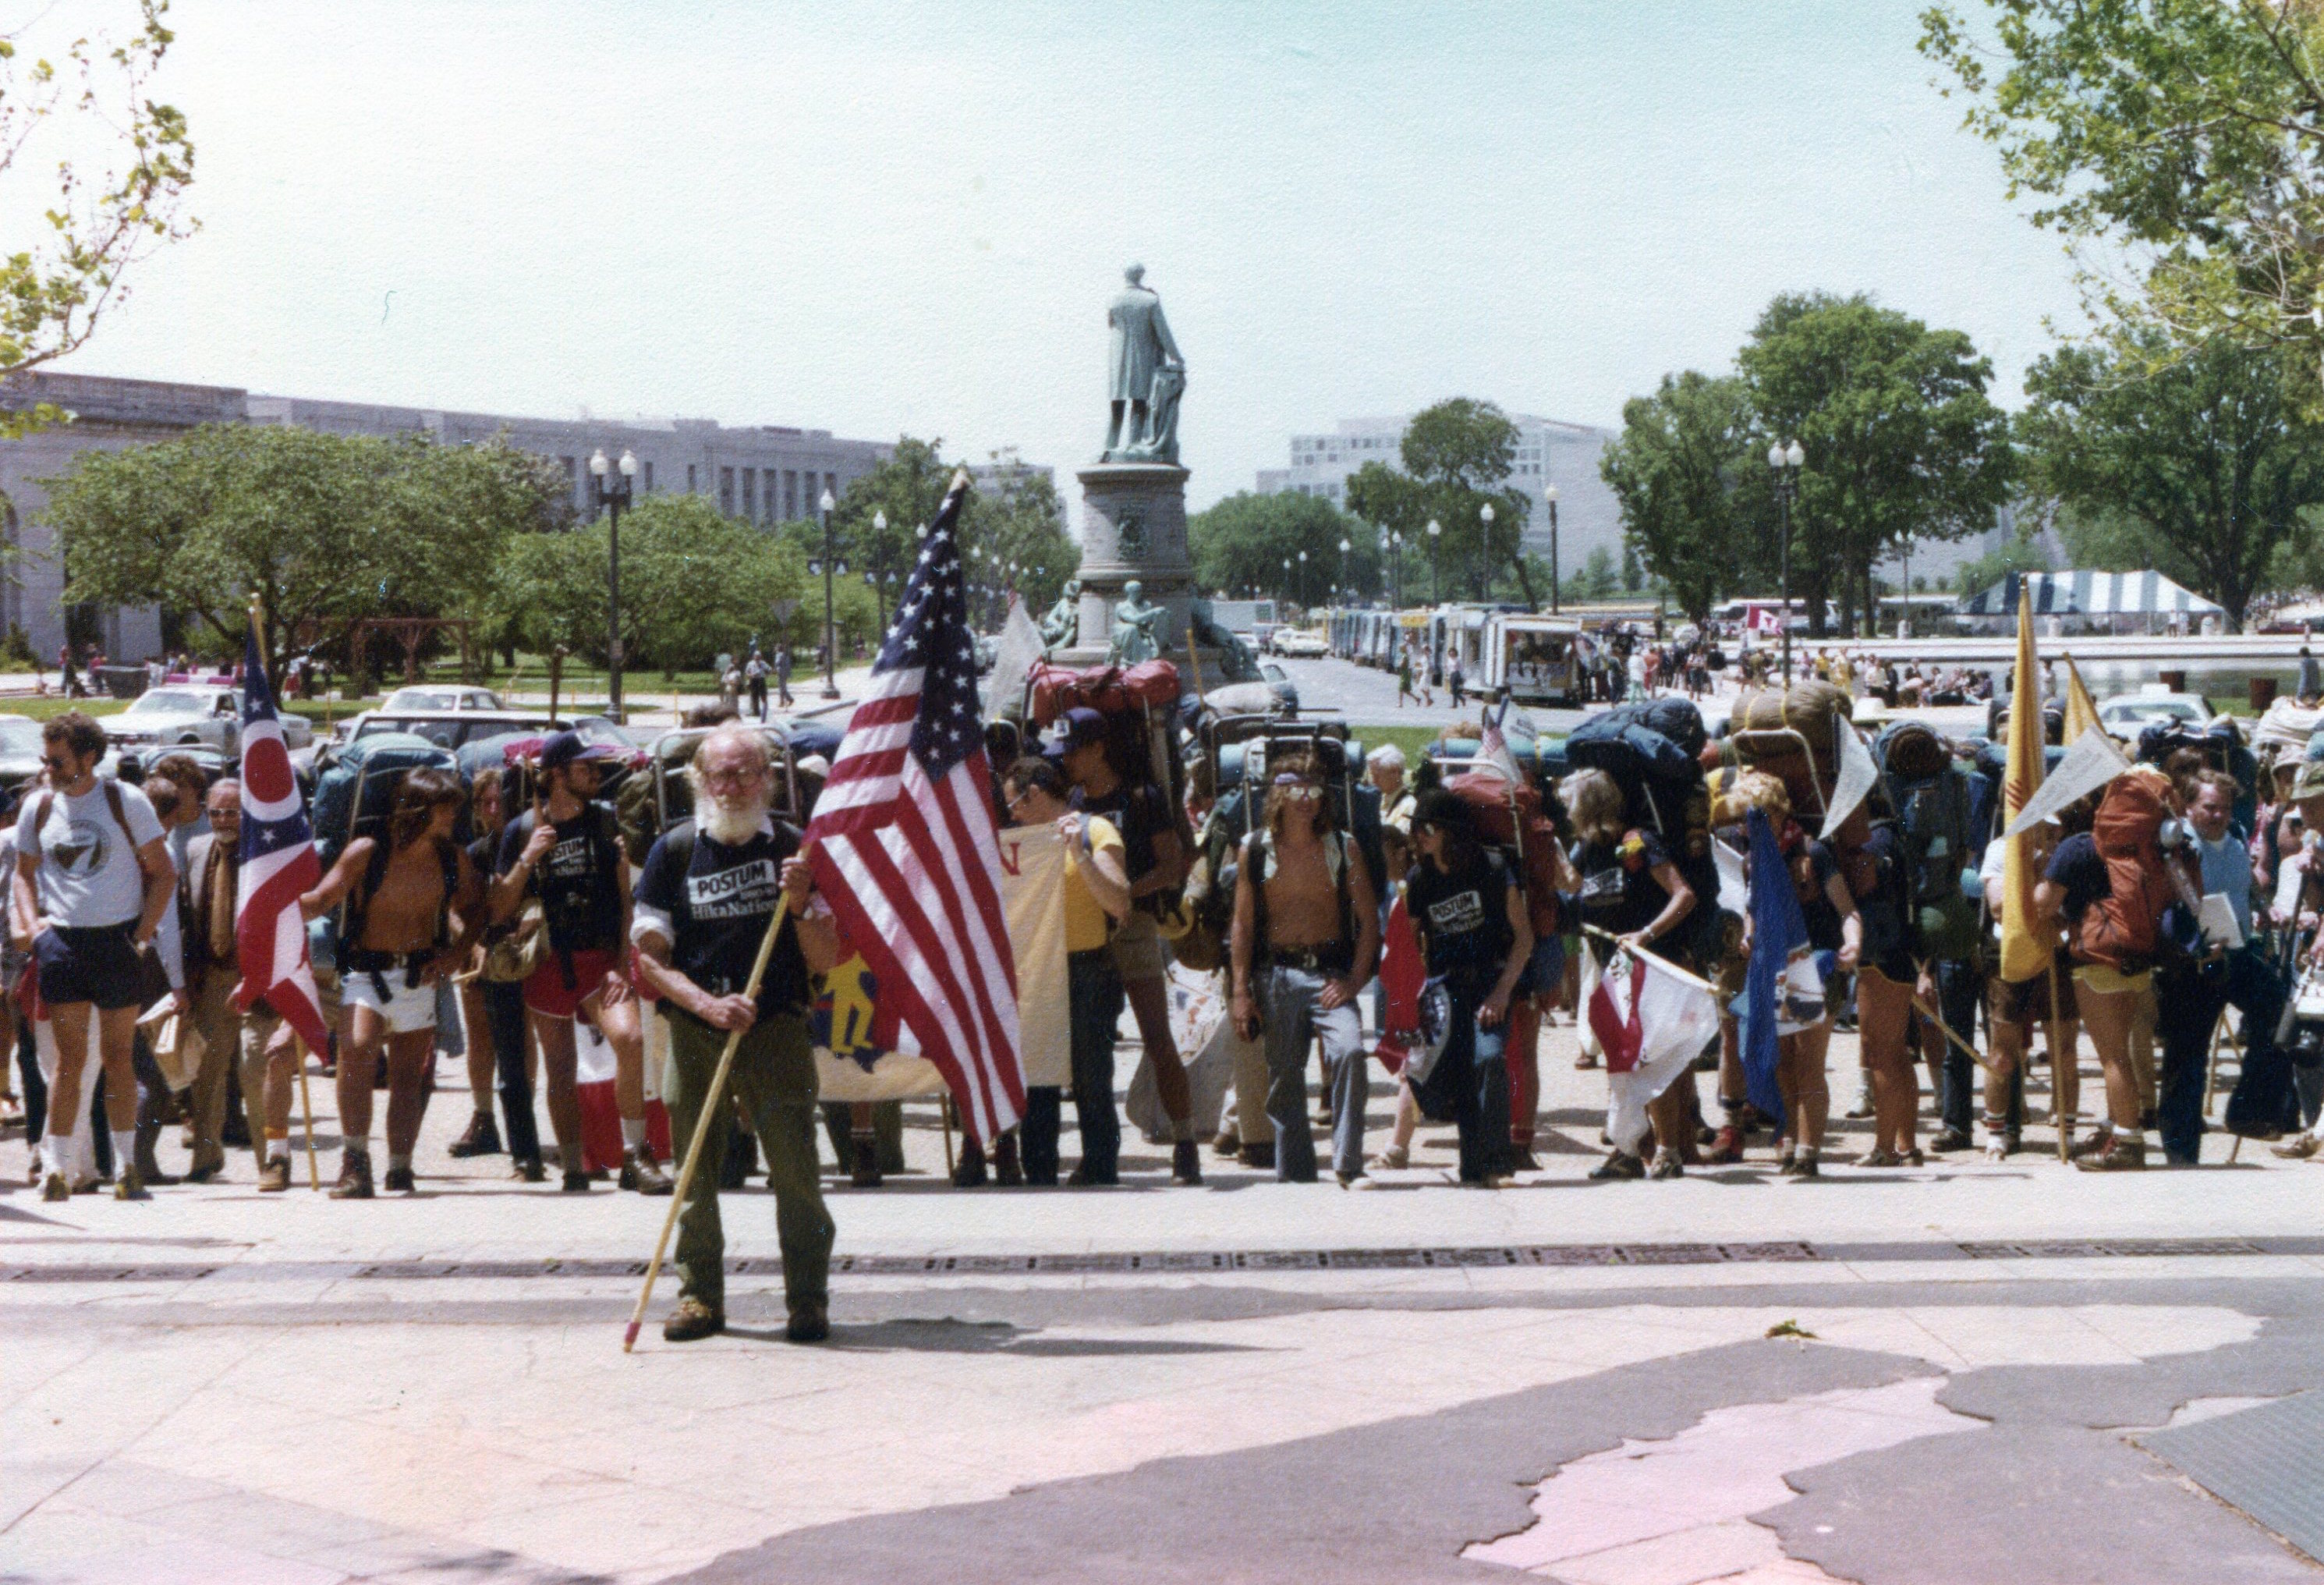
Page 3 - To the Washington Monument
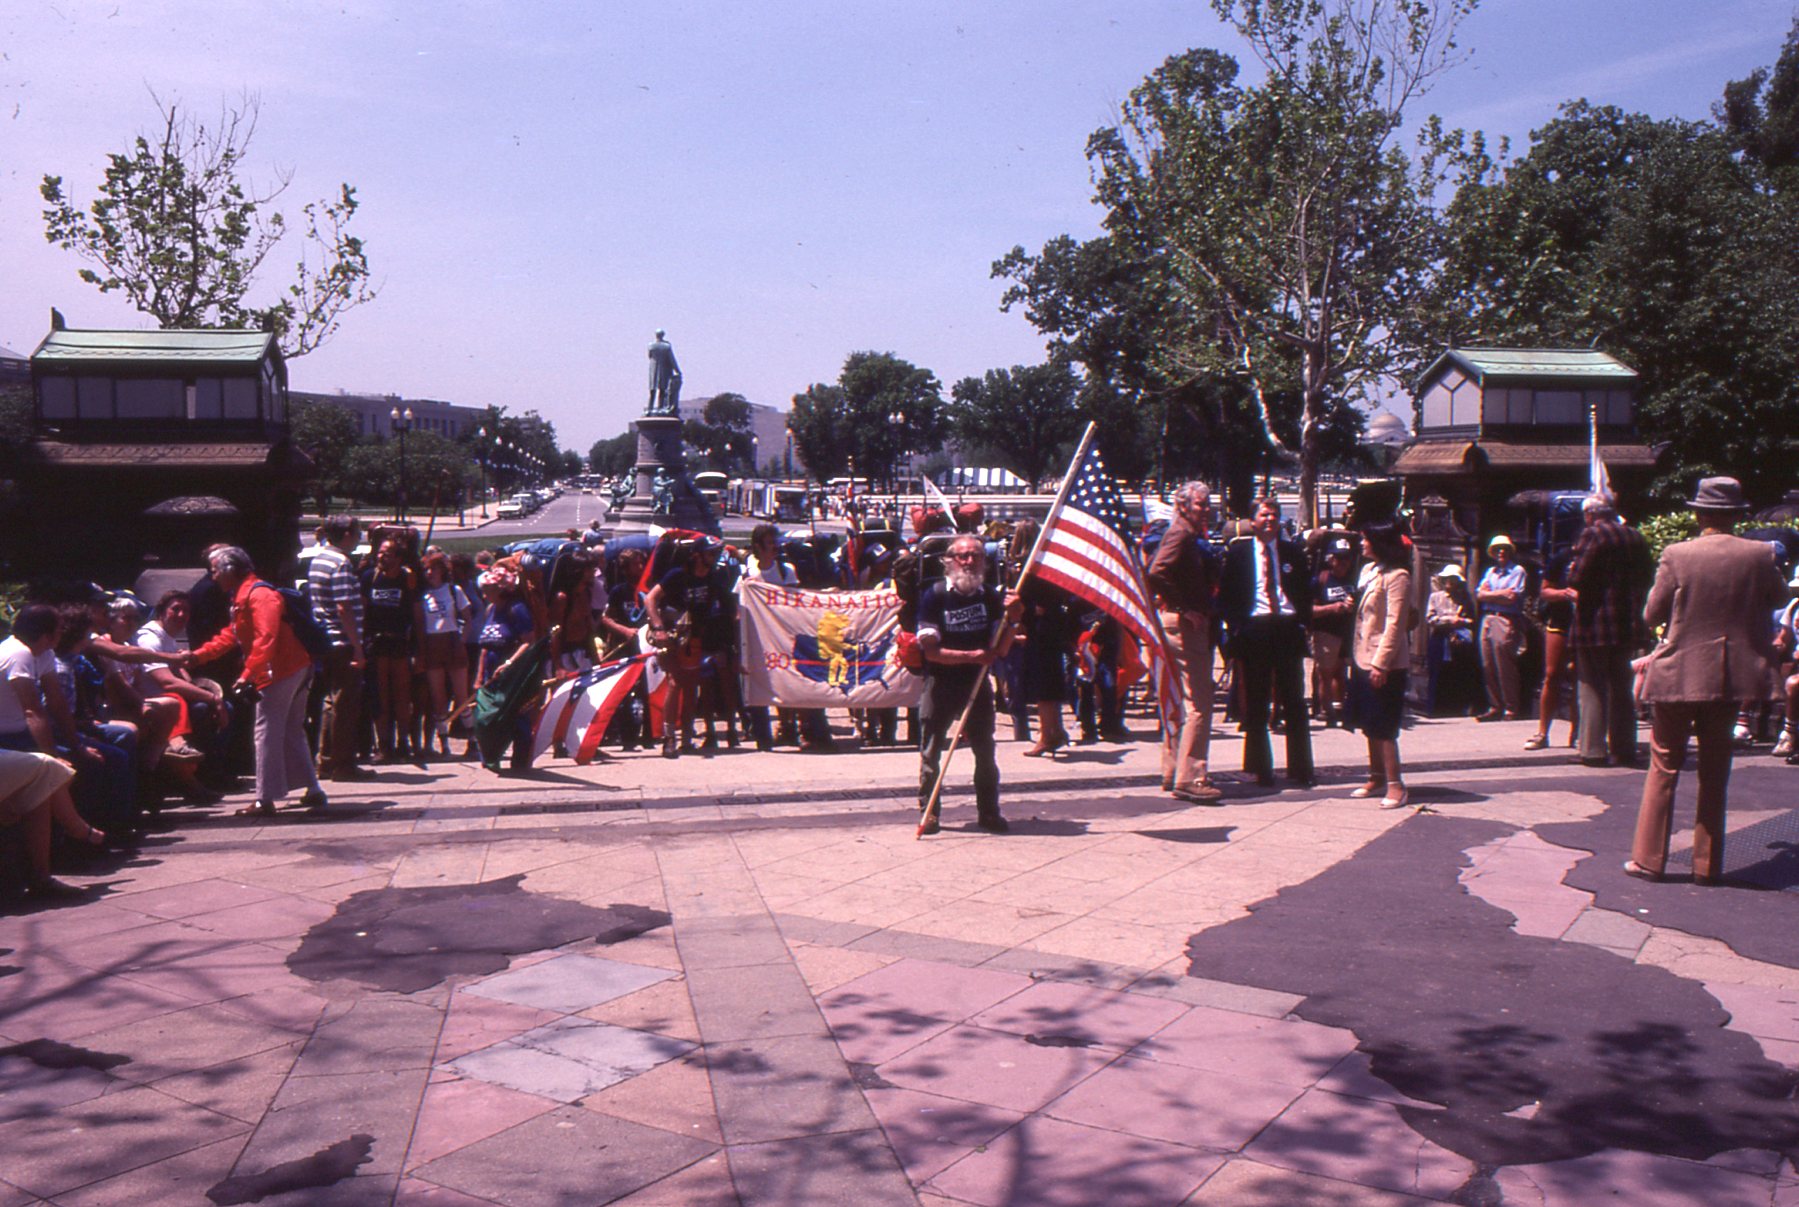
Page 4 - To The Capitol
Page 5 - Capitol Ceremonies & Dinner |
The Progression of HikaNation - Washington, D.C.
details the journey with various organizational
memos, letters, newspaper and magazine articles. |
Unofficial West Virginia to The Atlantic campsties

HikaNation Campsites List (Ewart)
HikaNation Campsites List (Hull-Wright-Mills)
|
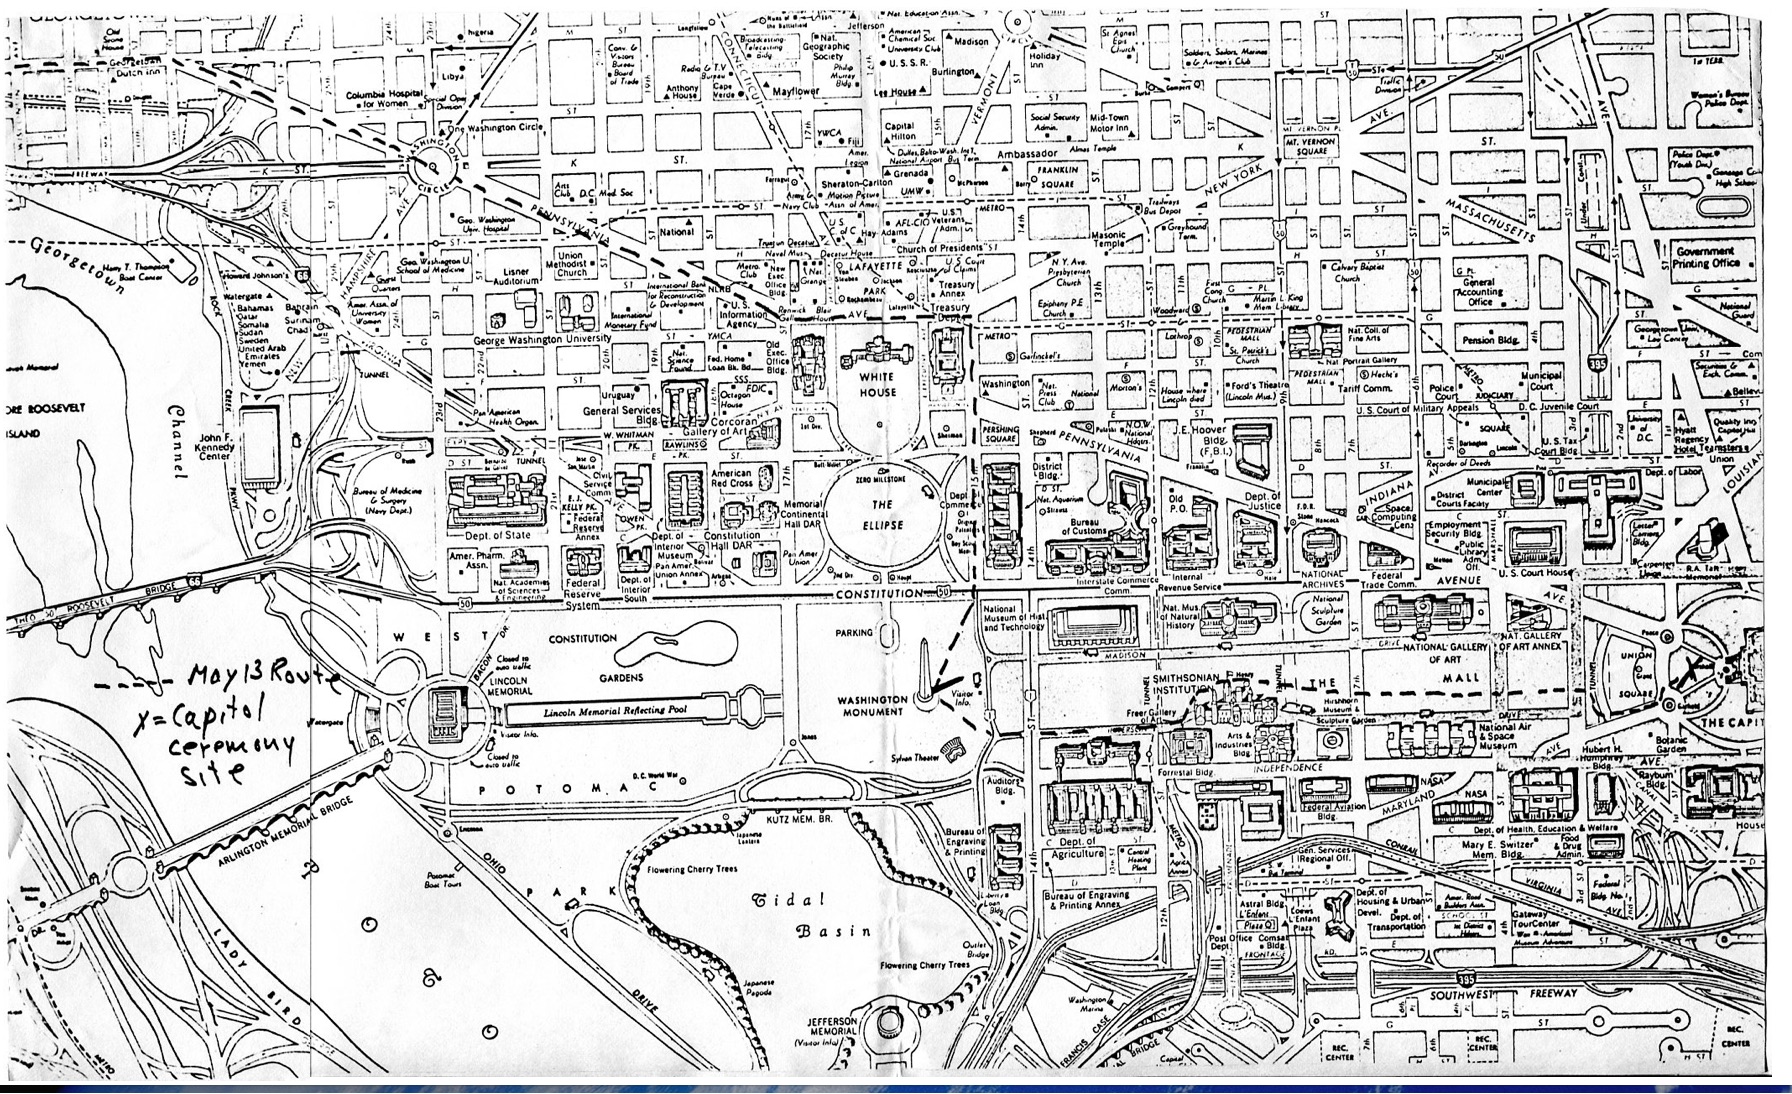
Washington, D.C. route map
(provided by Tim Geoghegan) |
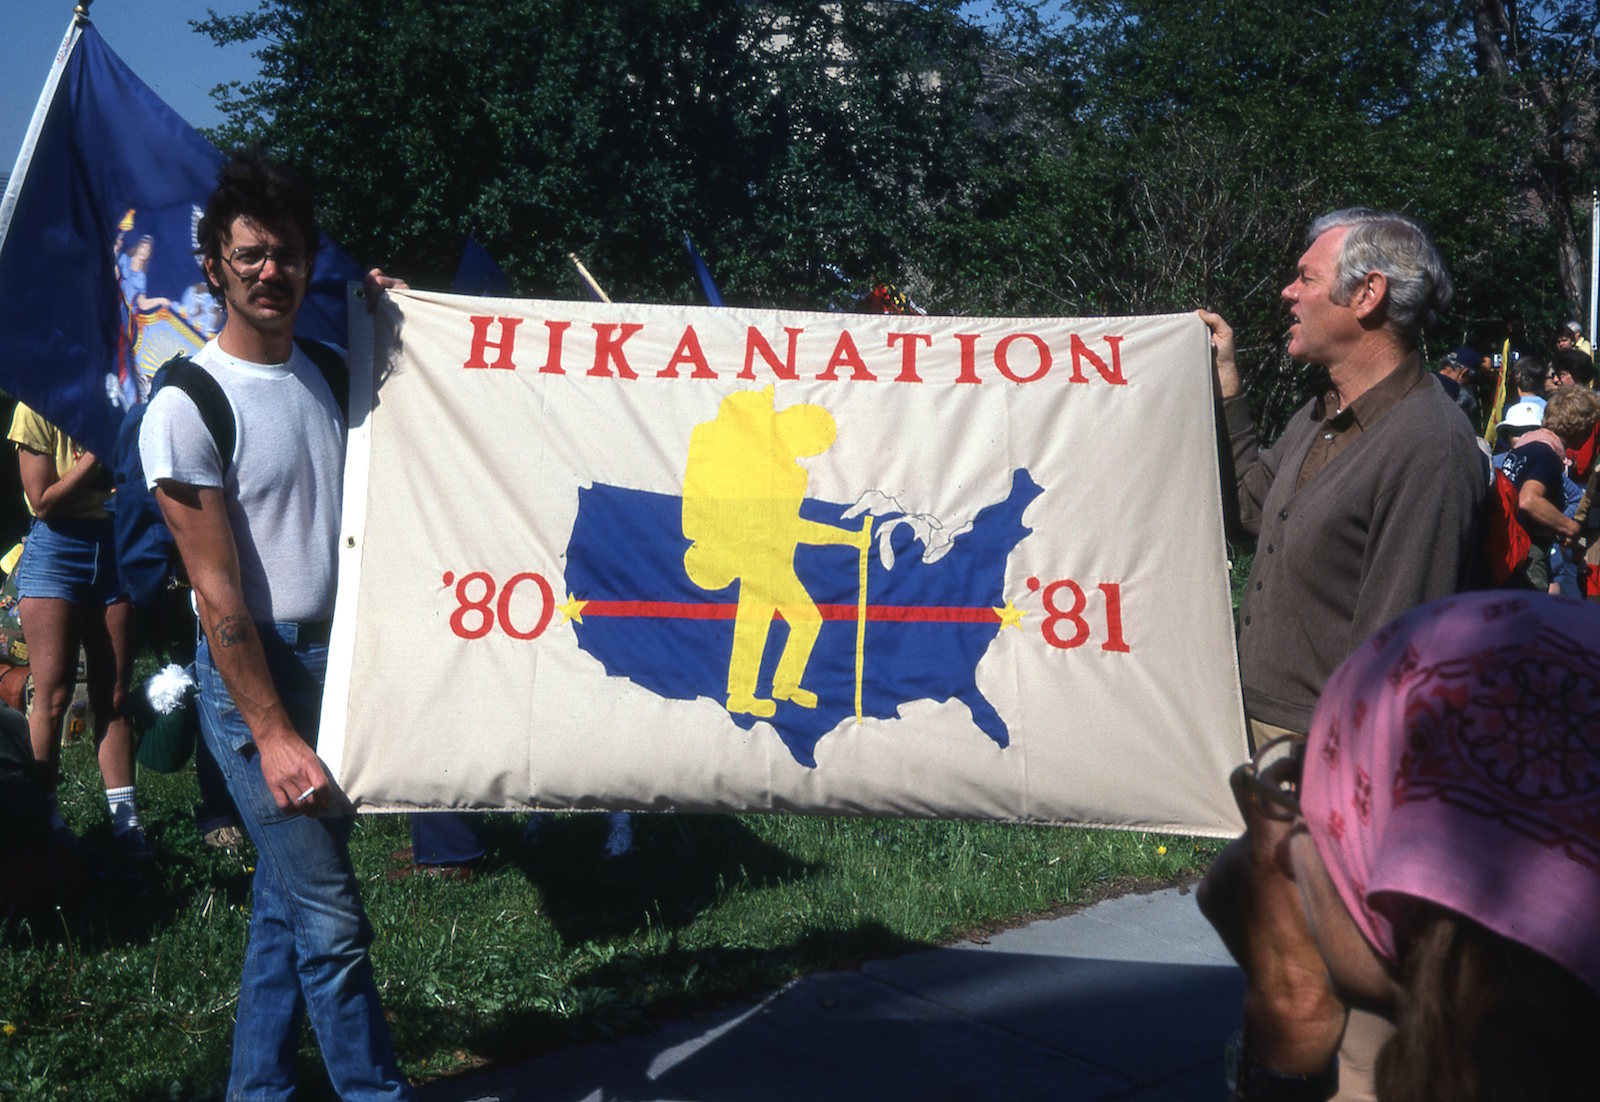
(photo provided by Janet Parsons) |

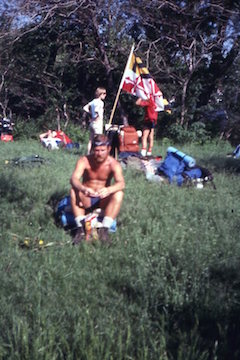
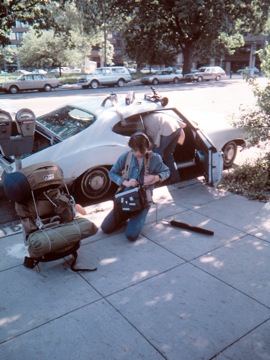
Mike Collins
(photo provided by Mike Collins) |

(photo provided by Mike Collins) |
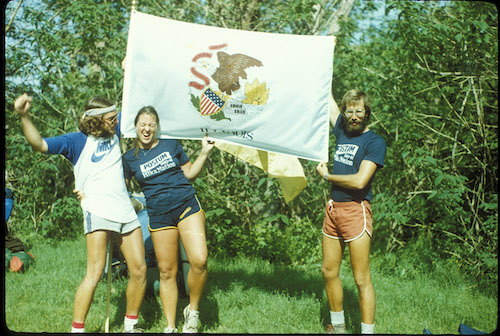
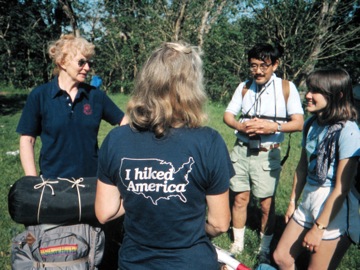
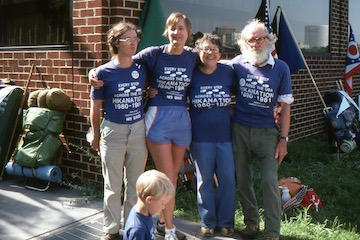
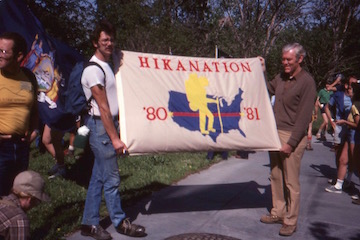
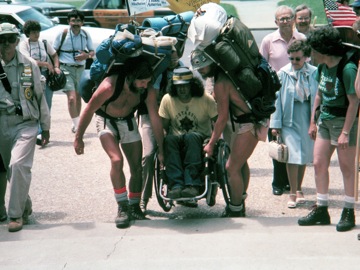
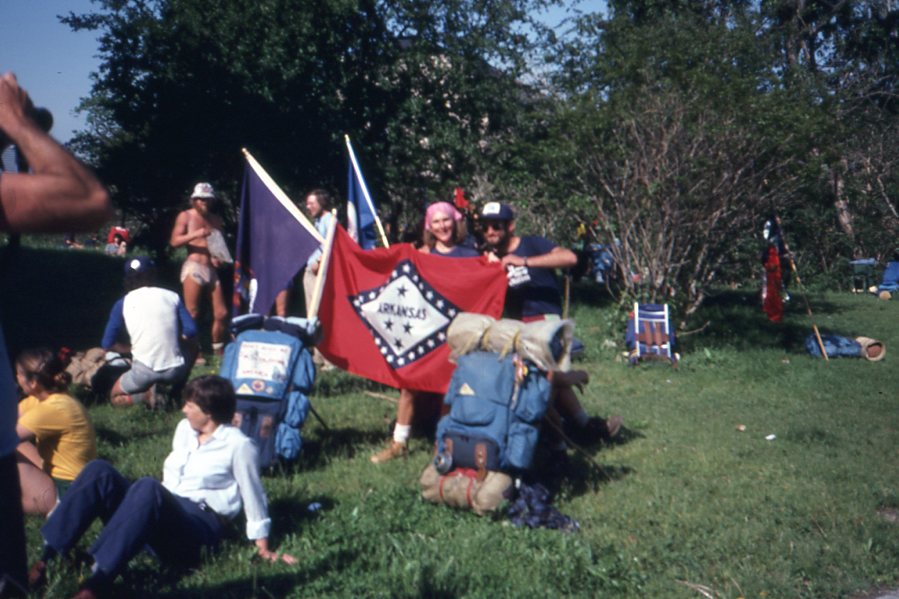
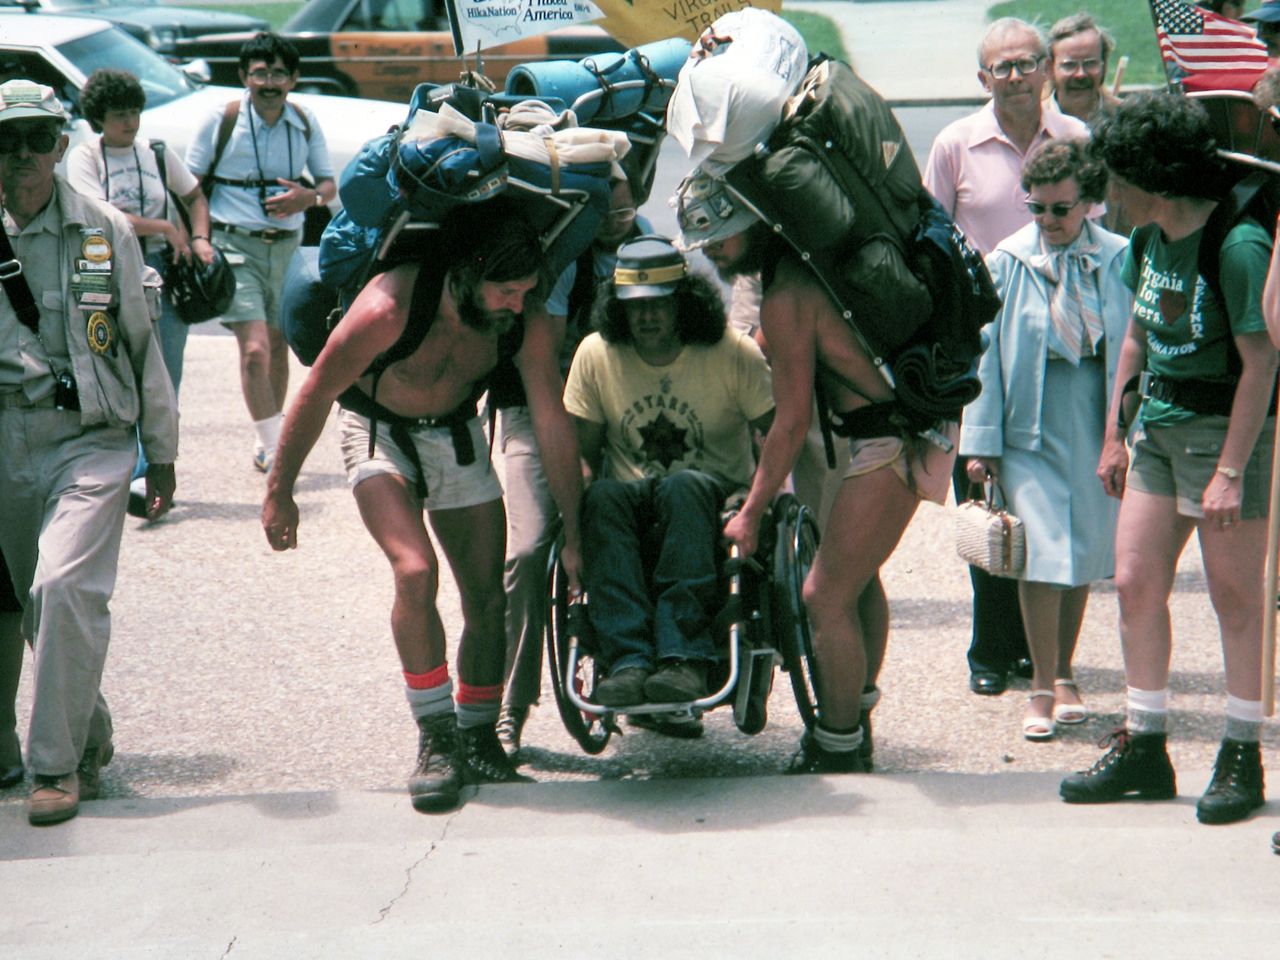
Mike Halm, Janet Parsons, Keith Wright
(photo provided by Janet Parsons) |
Mike Halm, Janet Parsons, Keith Wright
(photo provided by Janet Parsons) |
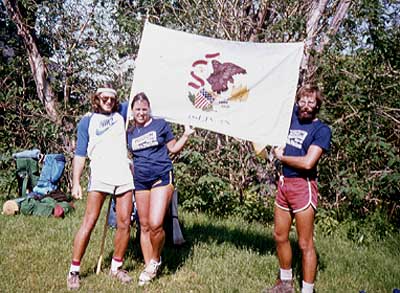
Mike Halm, Janet Parsons, Keith Wright
(photo provided by Janet Parsons) |
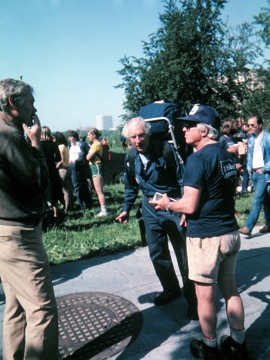
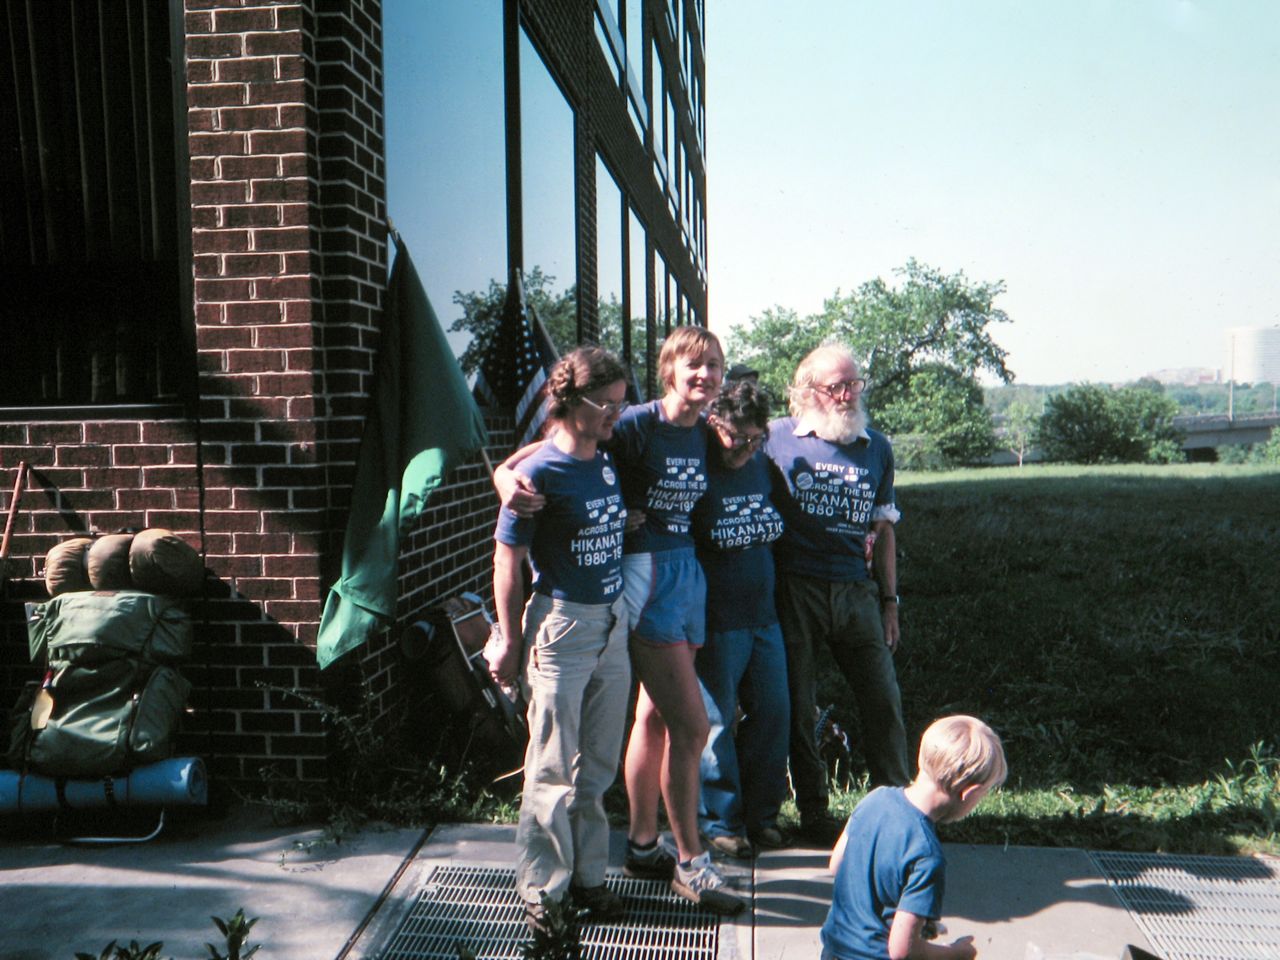
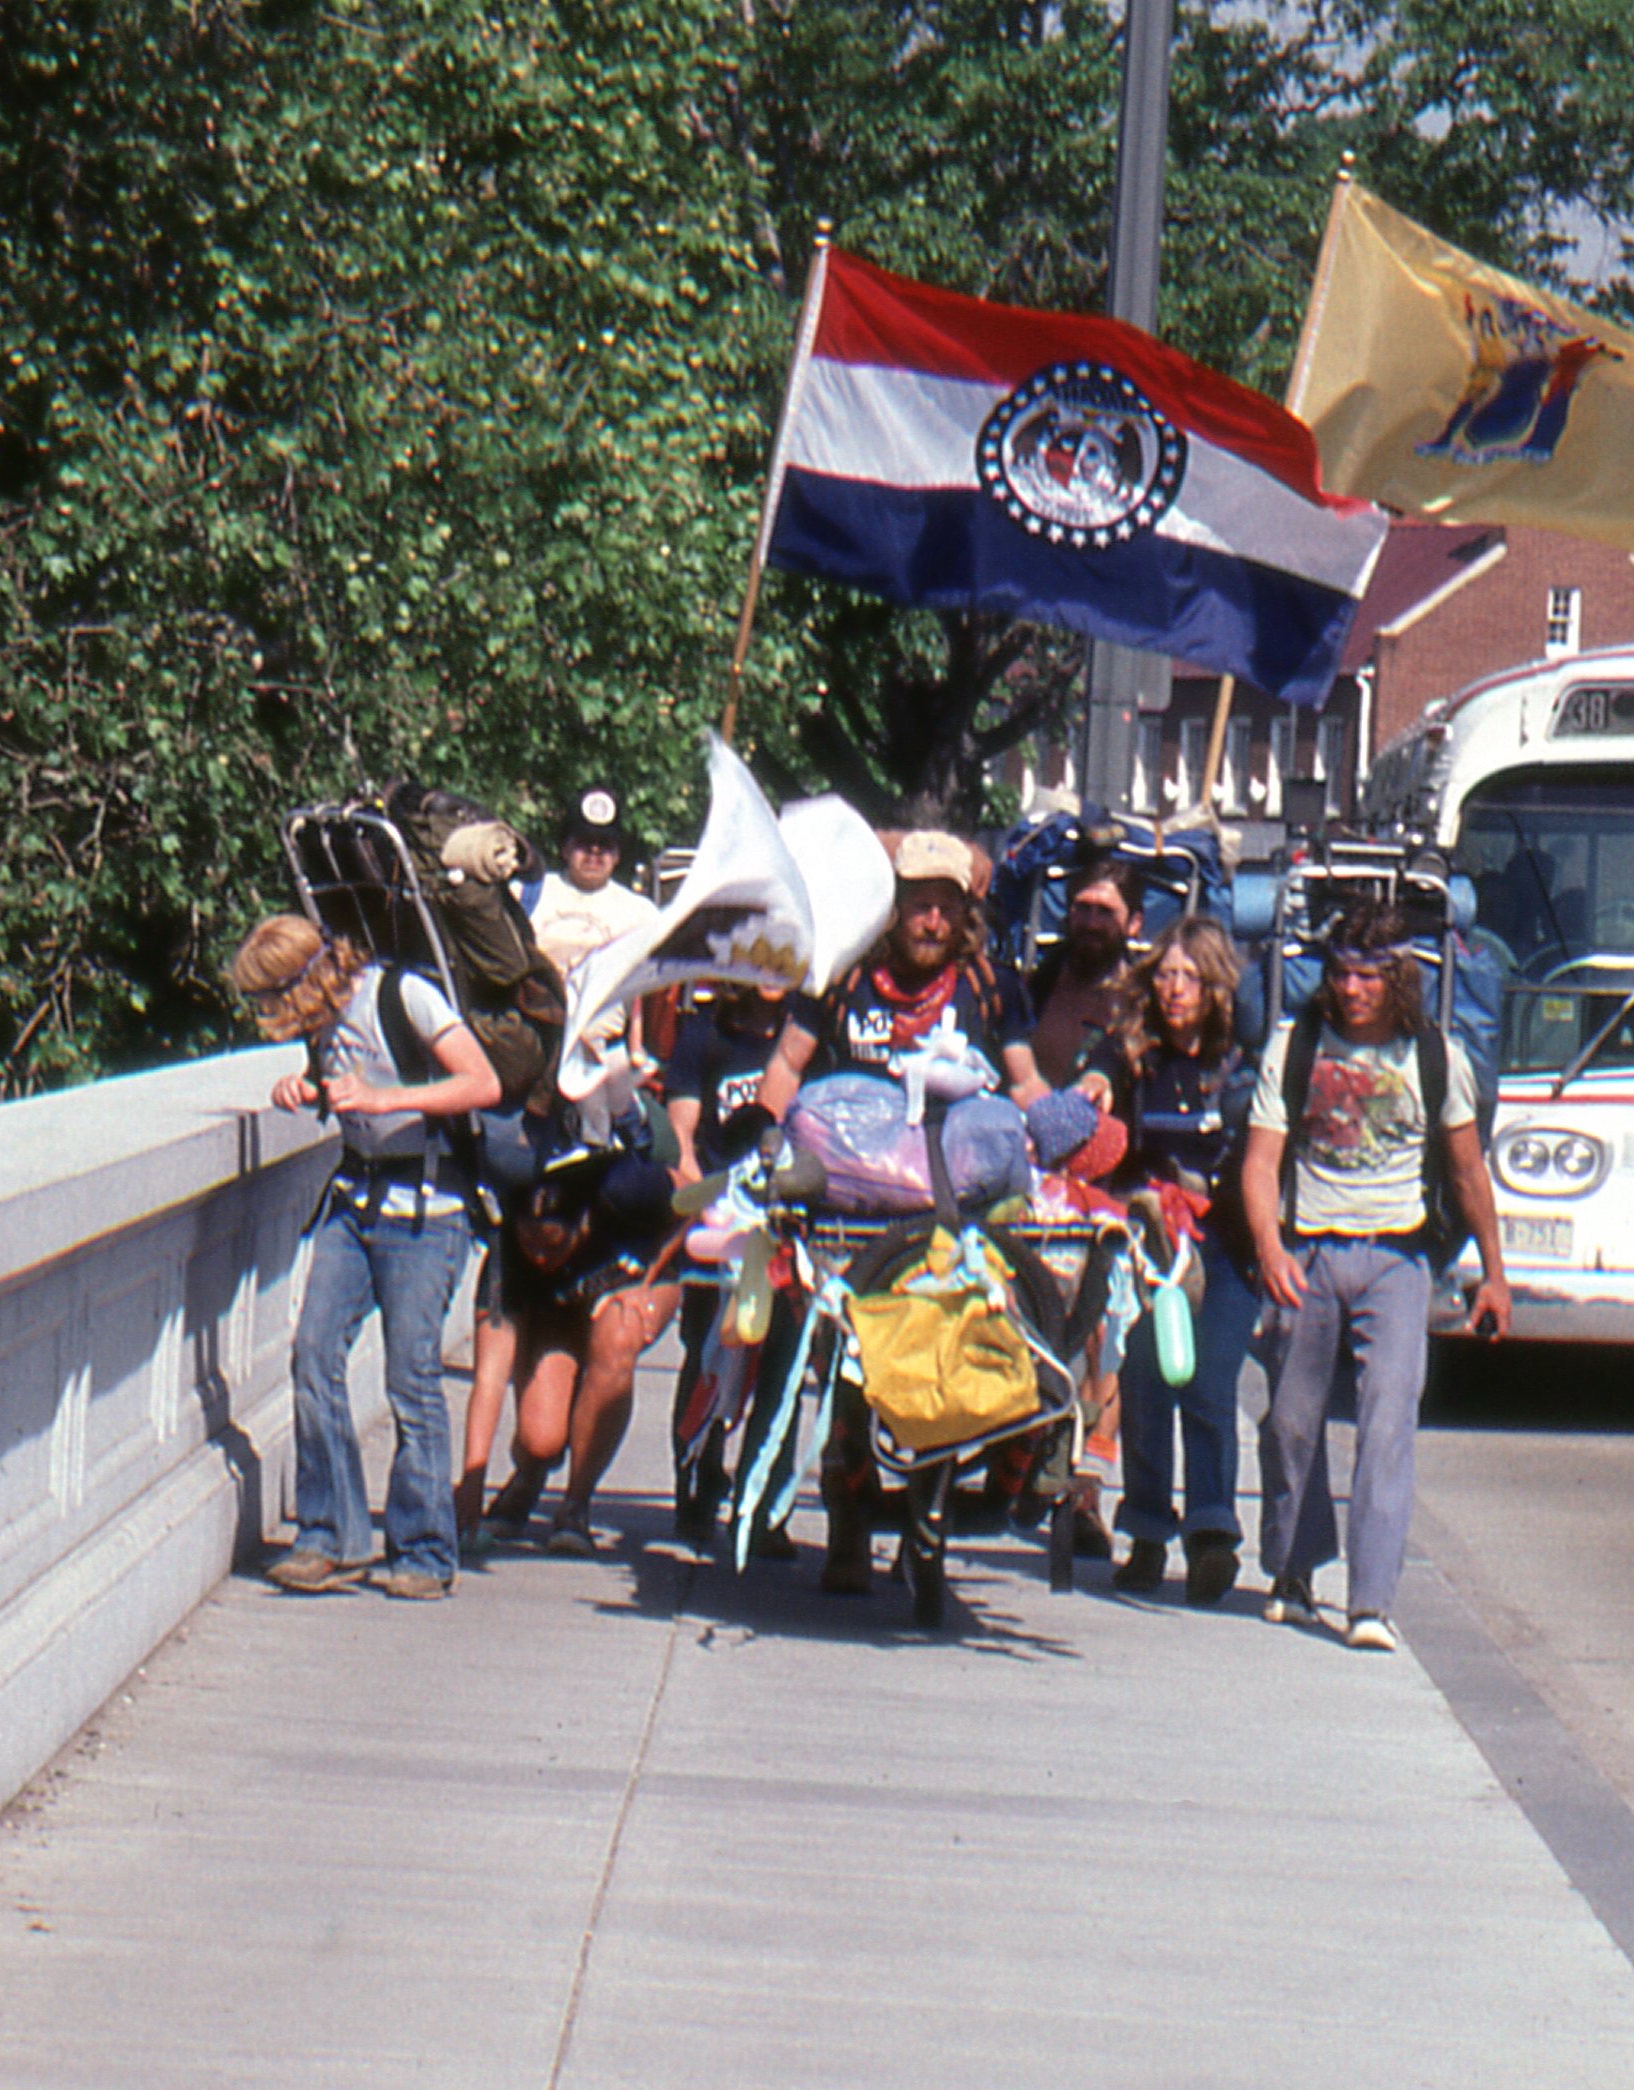
The Pyles, Howard Gilby, Rob Burns
(photo provided by William Ewart) |
.jpg)
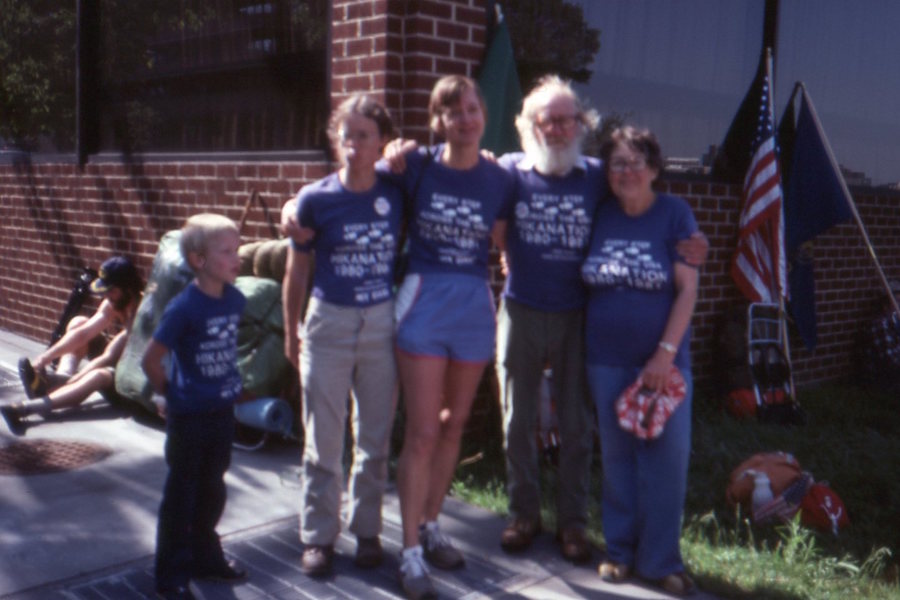
Ed Duschene & The Pyles
(photo provided by Mike McReynolds) |
(photo provided by William Ewart)
|

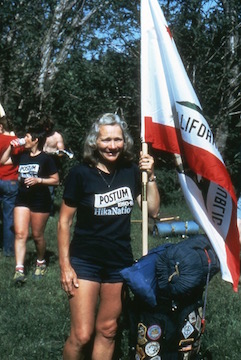
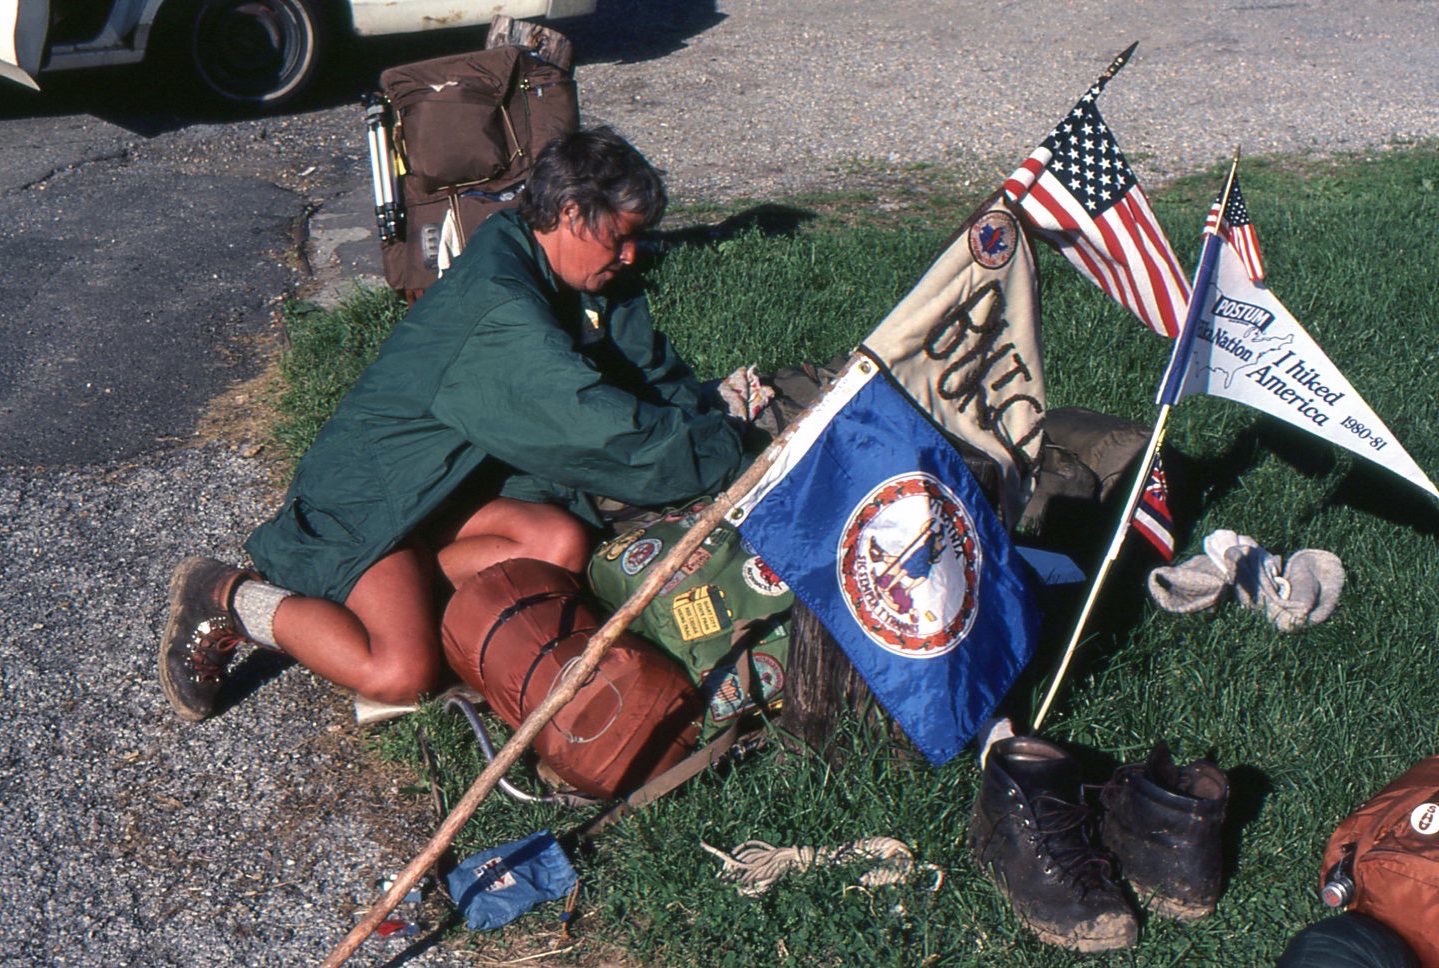
Linda Stoneman
(photo provided by Mike Collins) |
Tom Floyd (on the right)
(photo provided by Mike McReynolds) |
(photo provided by Tim Geoghegan) |
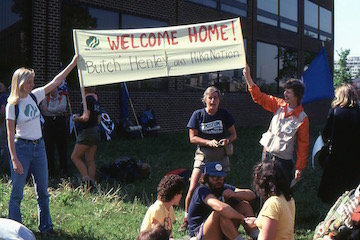
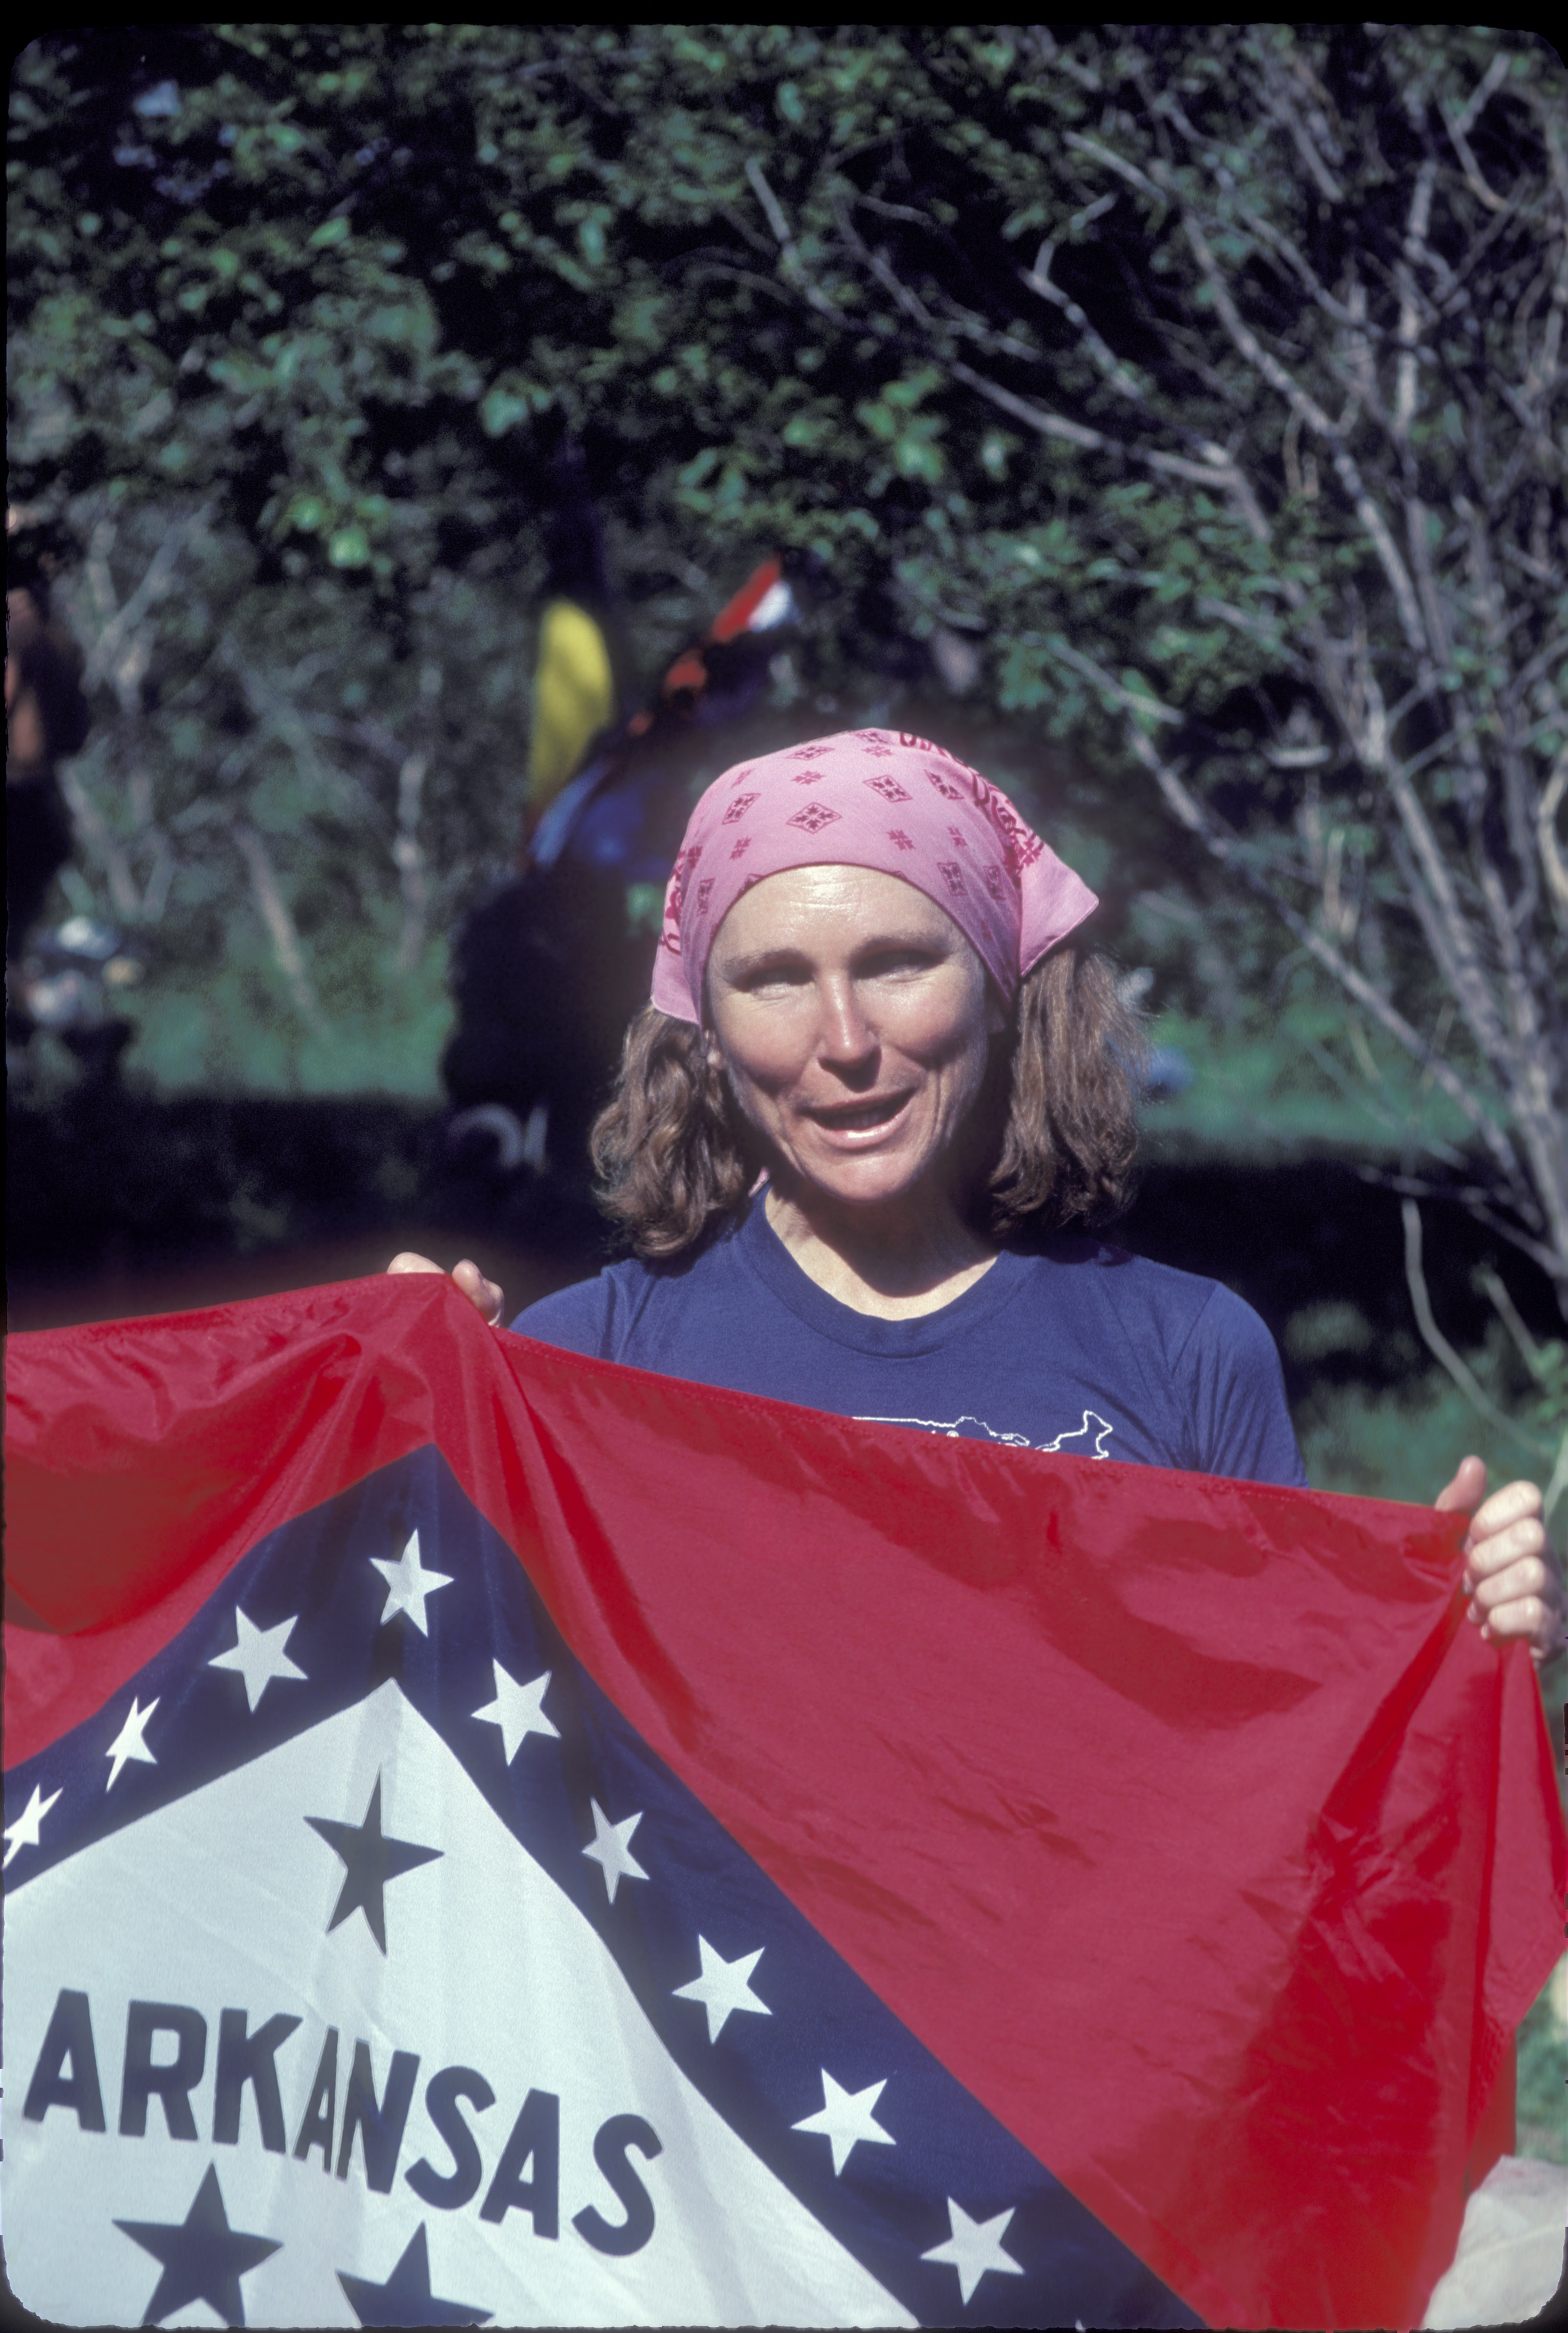
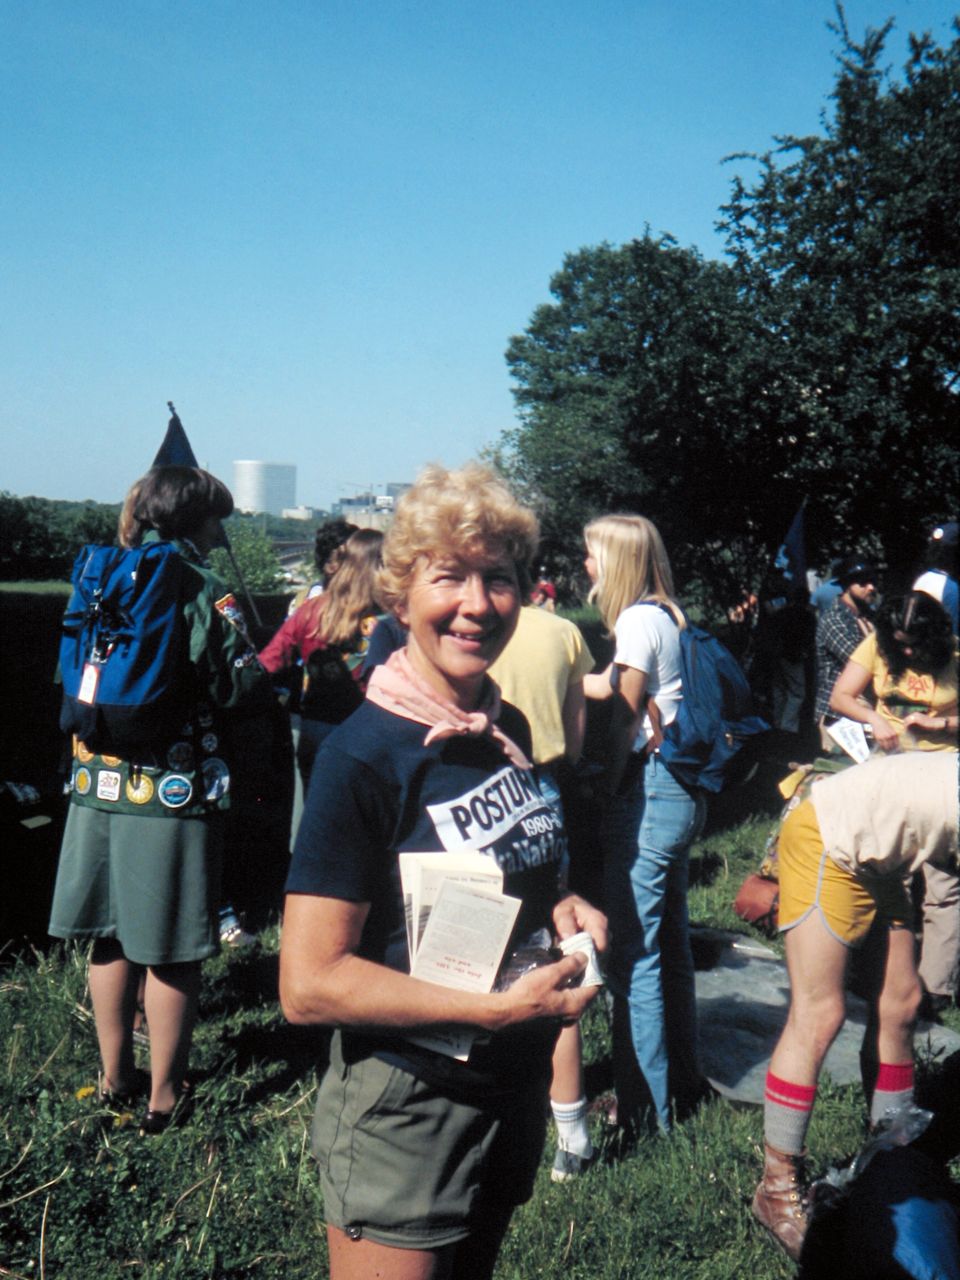
Jeannie Harmon
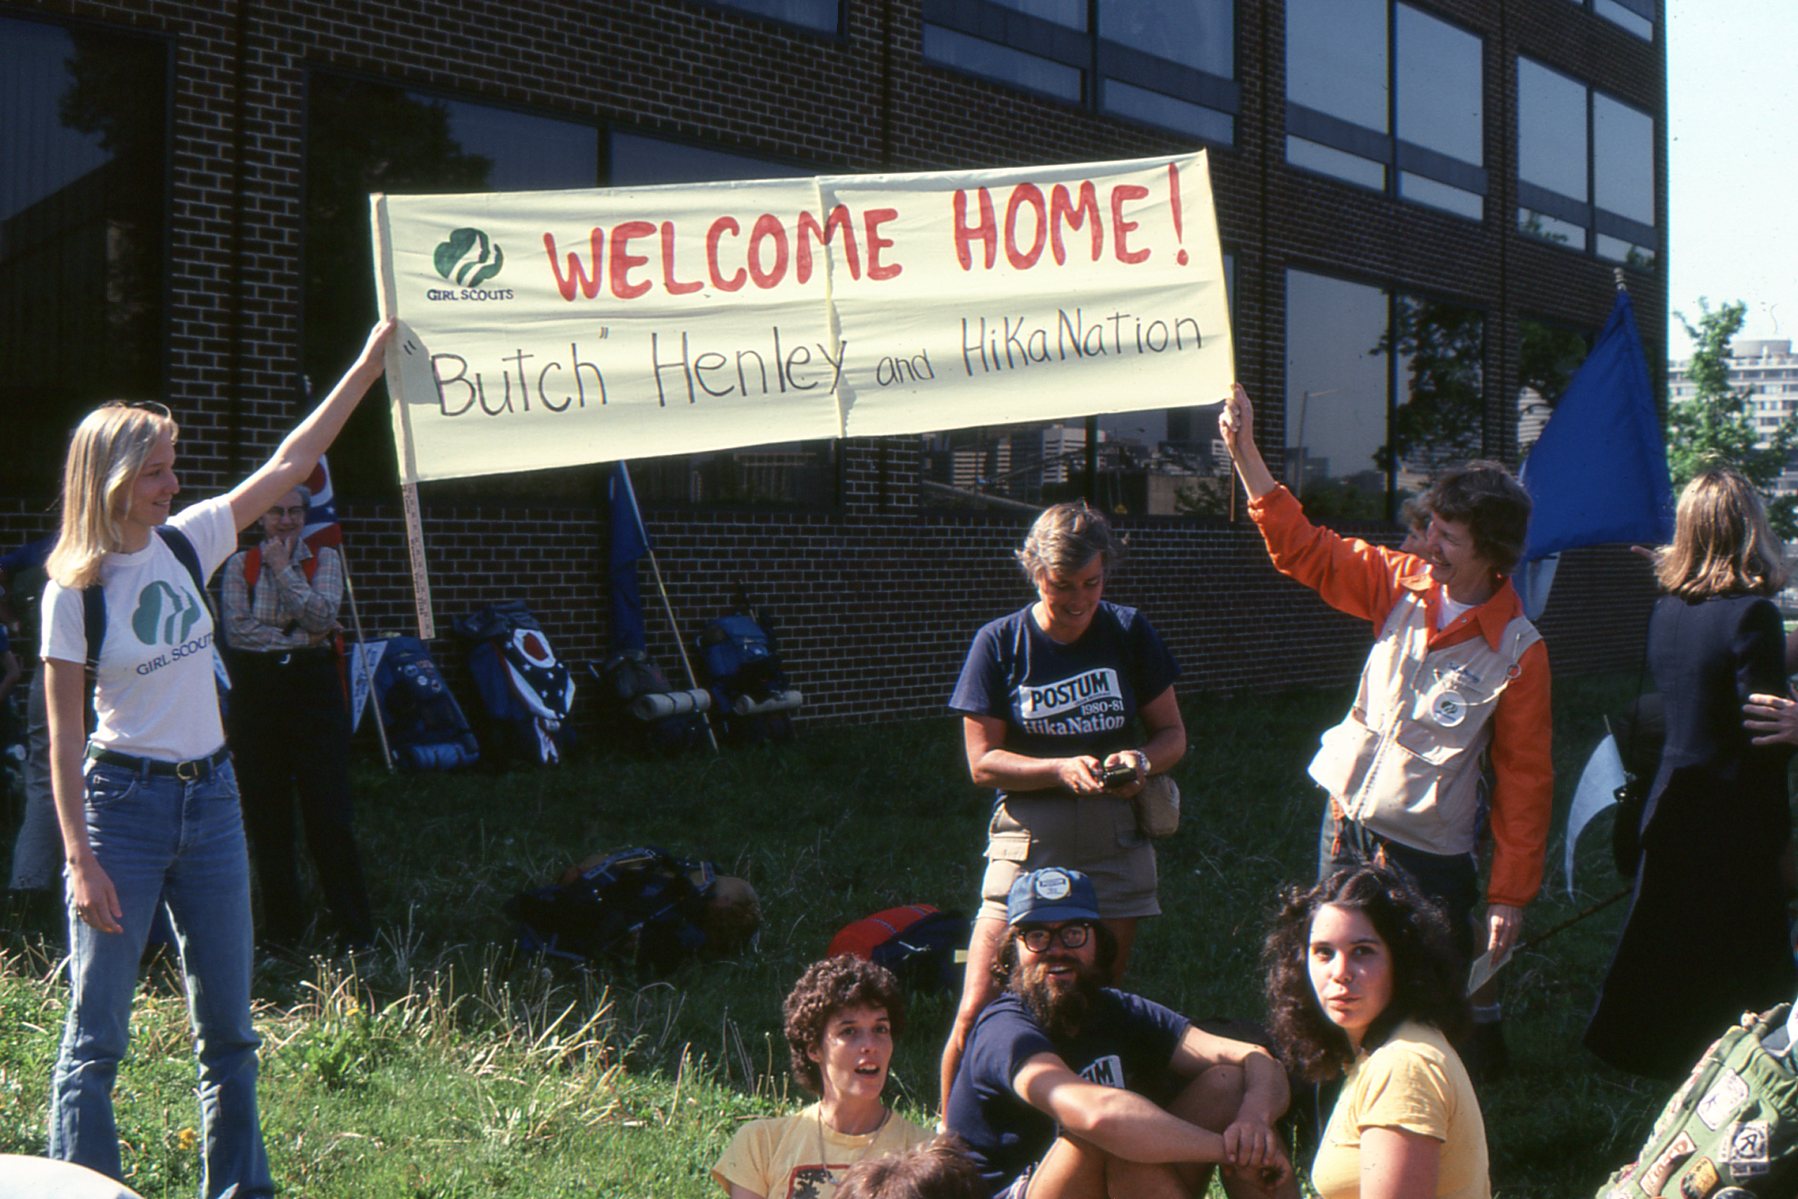
(photo provided by Susan "Butch" Henley) |
David Chernow, Sharon Chrostowski, Tim Geoghegan
(photo provided by Tim Geoghegan) |
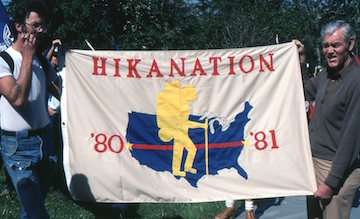
William Ewart
(photo provided by Tim Geoghegan) |

Marce Guerrein
(photo provided by Marce Guerrein) |
Tom Floyd, Ed Garvey, Monty Montgomery
(photo provided by Marce Guerrein) |

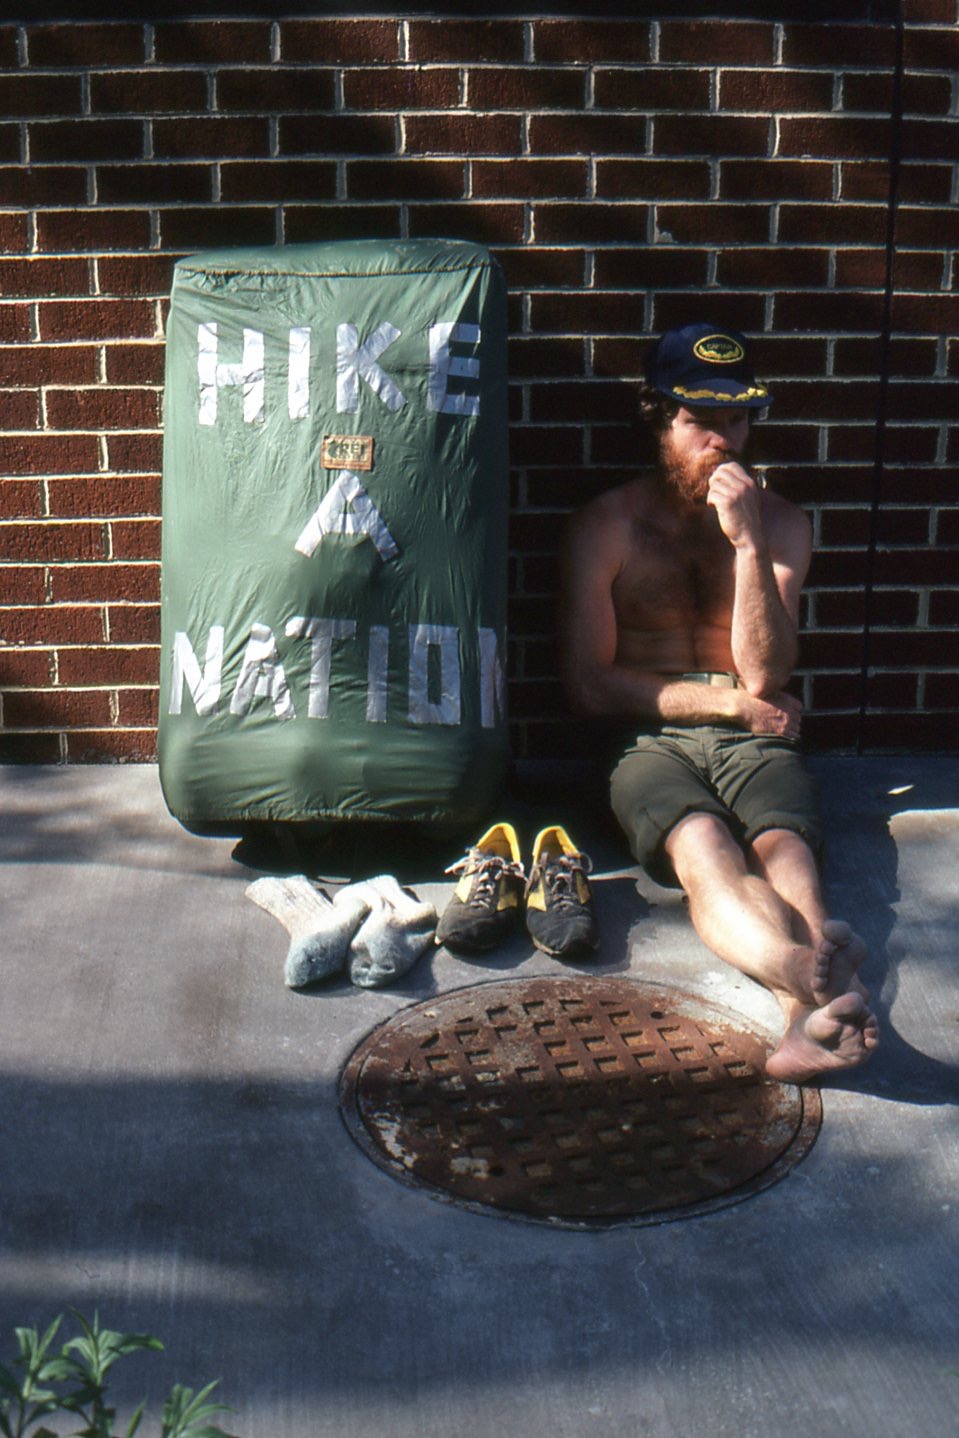
Phil Atkins
(photo provided by Reese Lukei, Jr.)
|
(photo provided by Marce Guerrein) |
|
(photo provided by Marce Guerrein) |

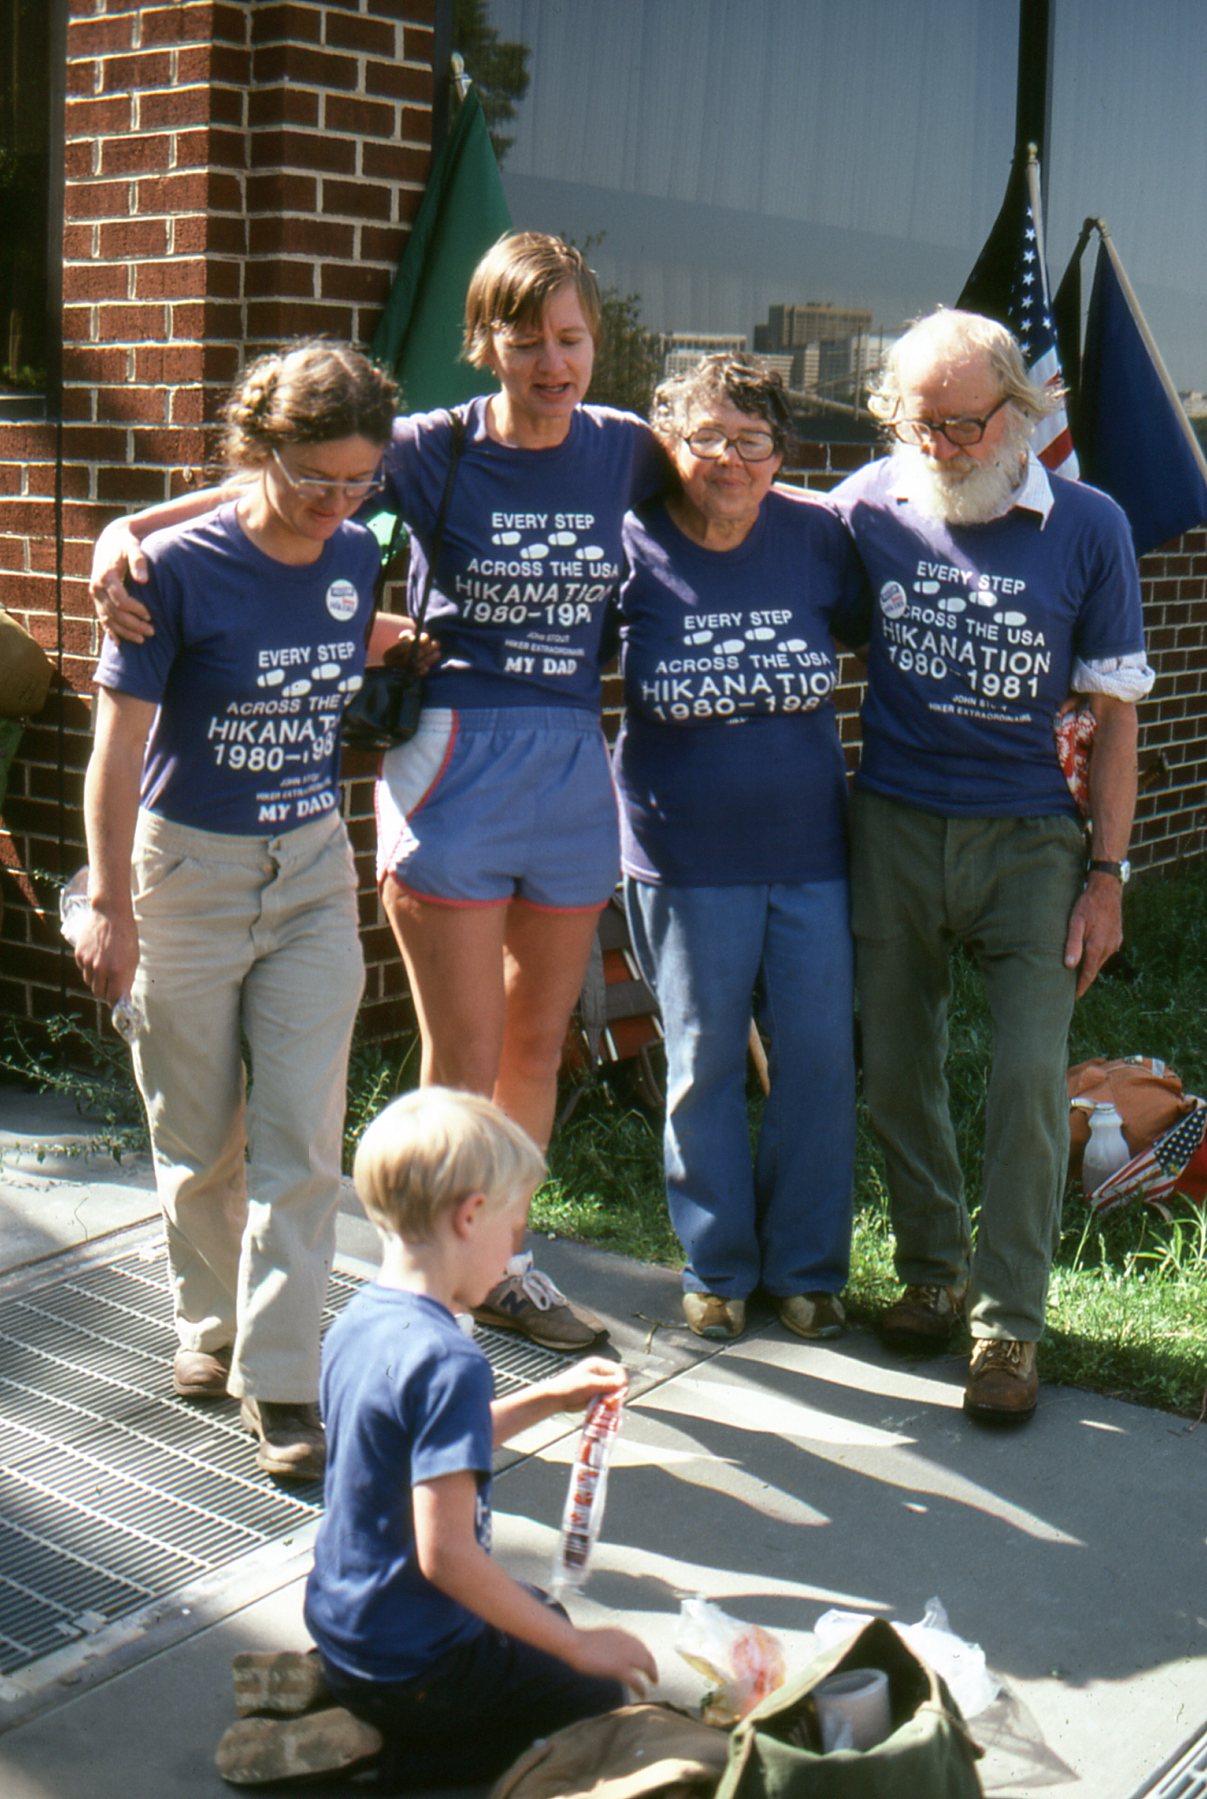
The Stouts
(photo provided by Marce Guerrein) |

The Stouts
(photo provided by Tim Geoghegan) |
The Stouts - & another
(photos provided by Reese Lukei, Jr.)
|
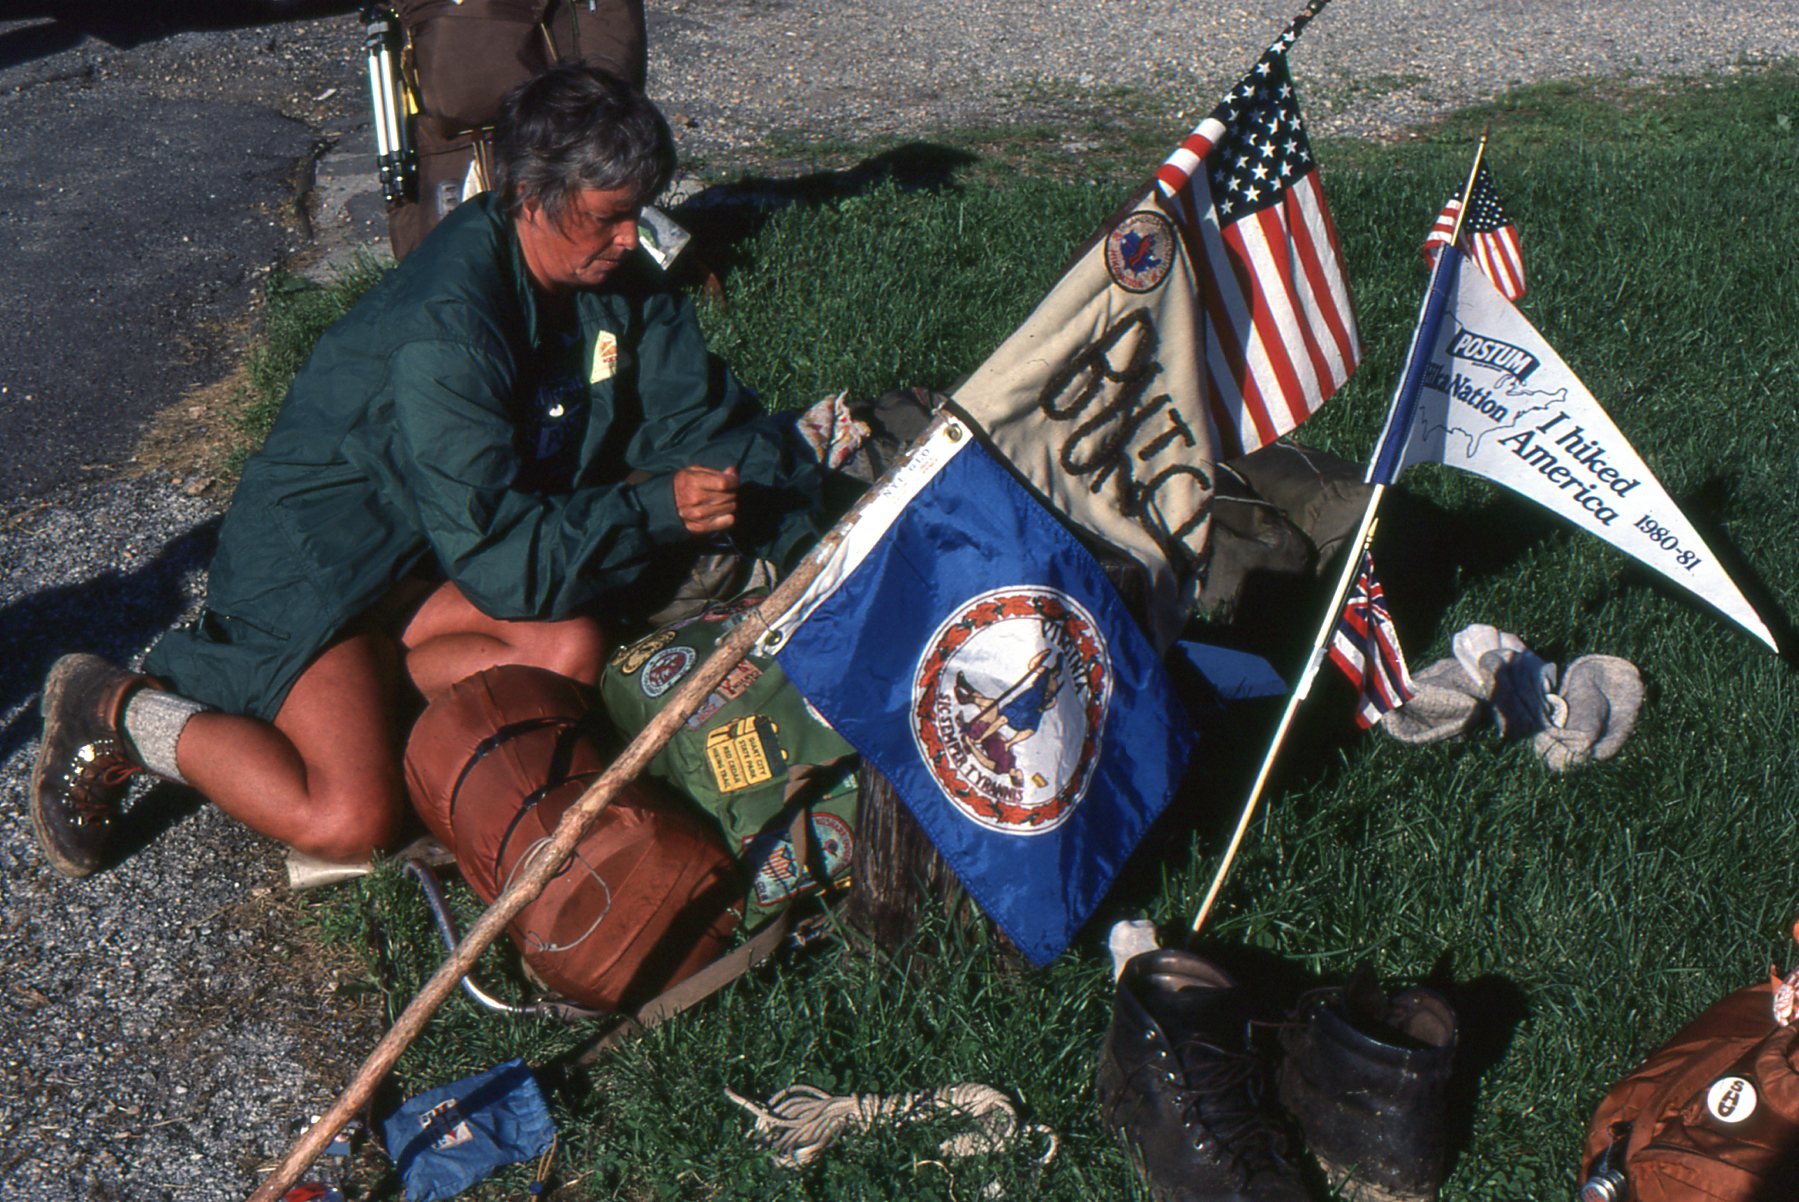
Susan "Butch" Henley - & another
(photos provided by Reese Lukei, Jr.)
|

Susan "Butch" Henley - & another
(photos provided by Reese Lukei, Jr.)
|
Lyle Bialk, ??, Butch Henley, ??, ??,
Ben Lazarus, Bruce Ohlson
(photo provided by Susan "Butch" Henley) |
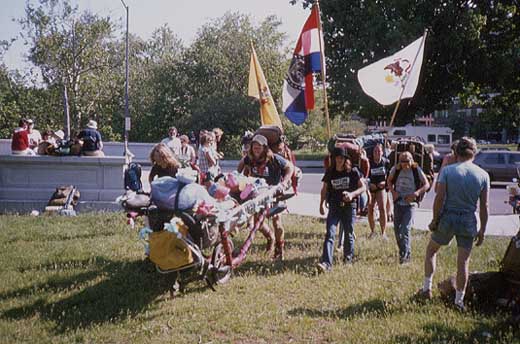
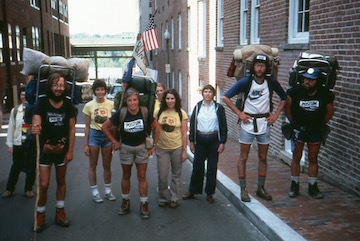
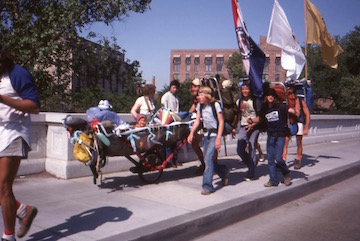
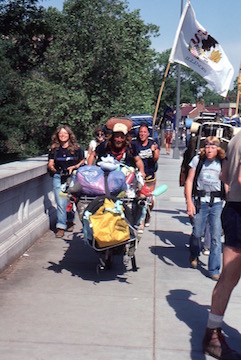
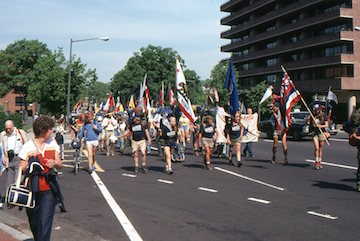
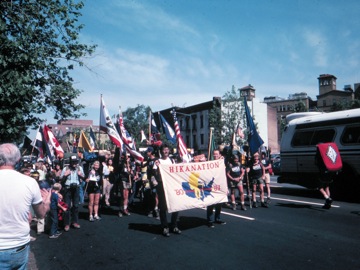
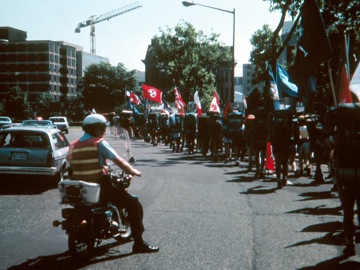
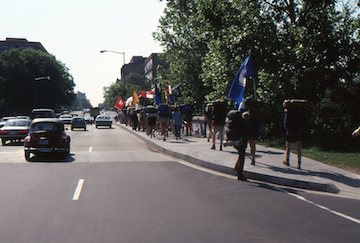
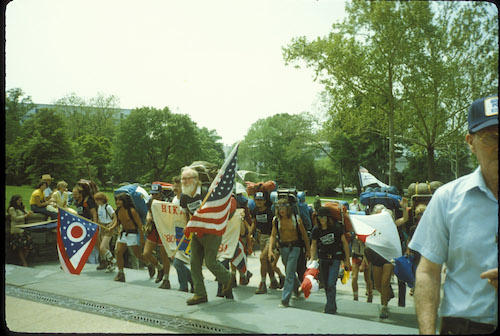
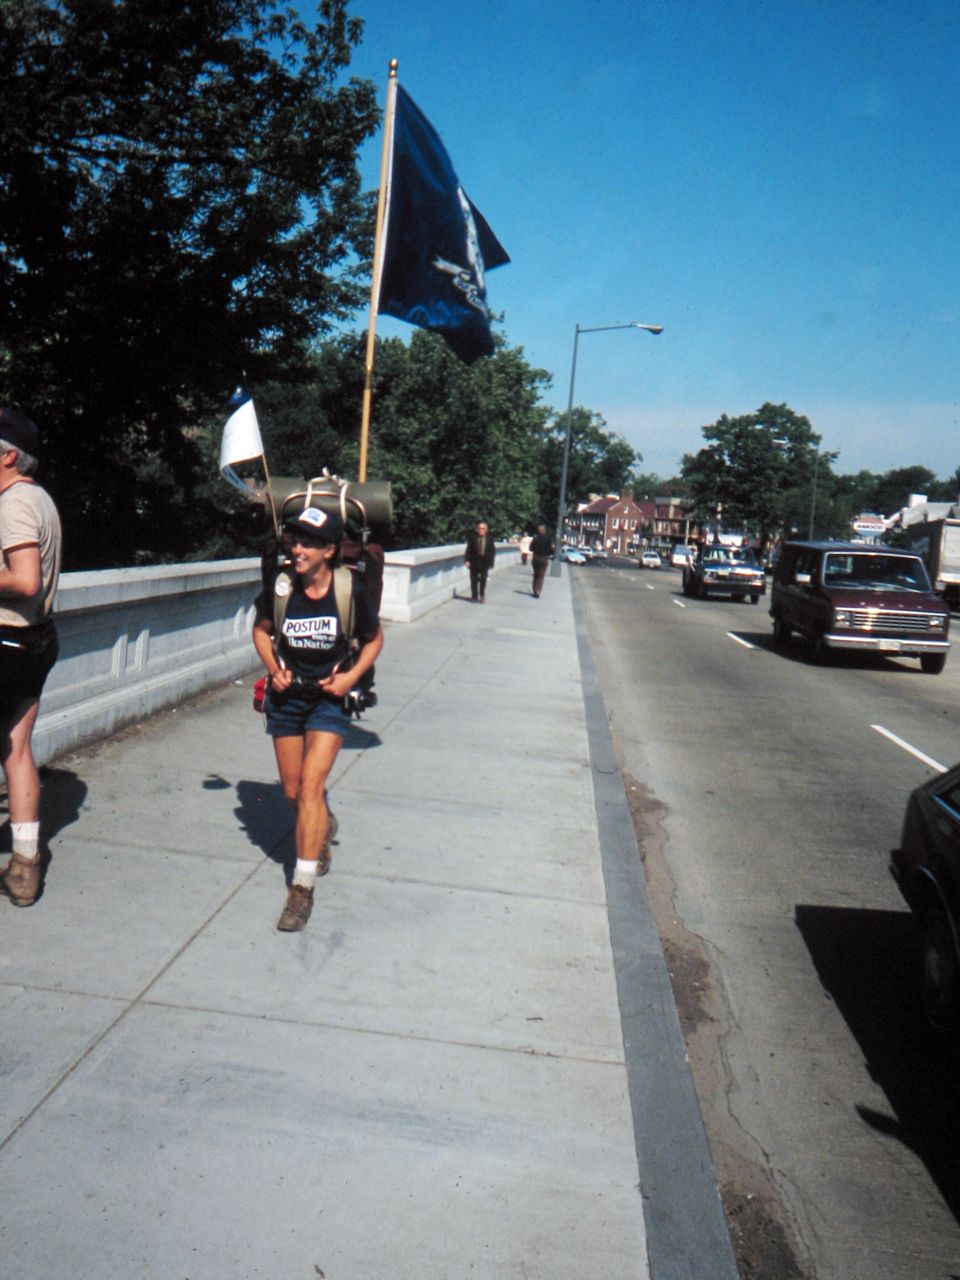
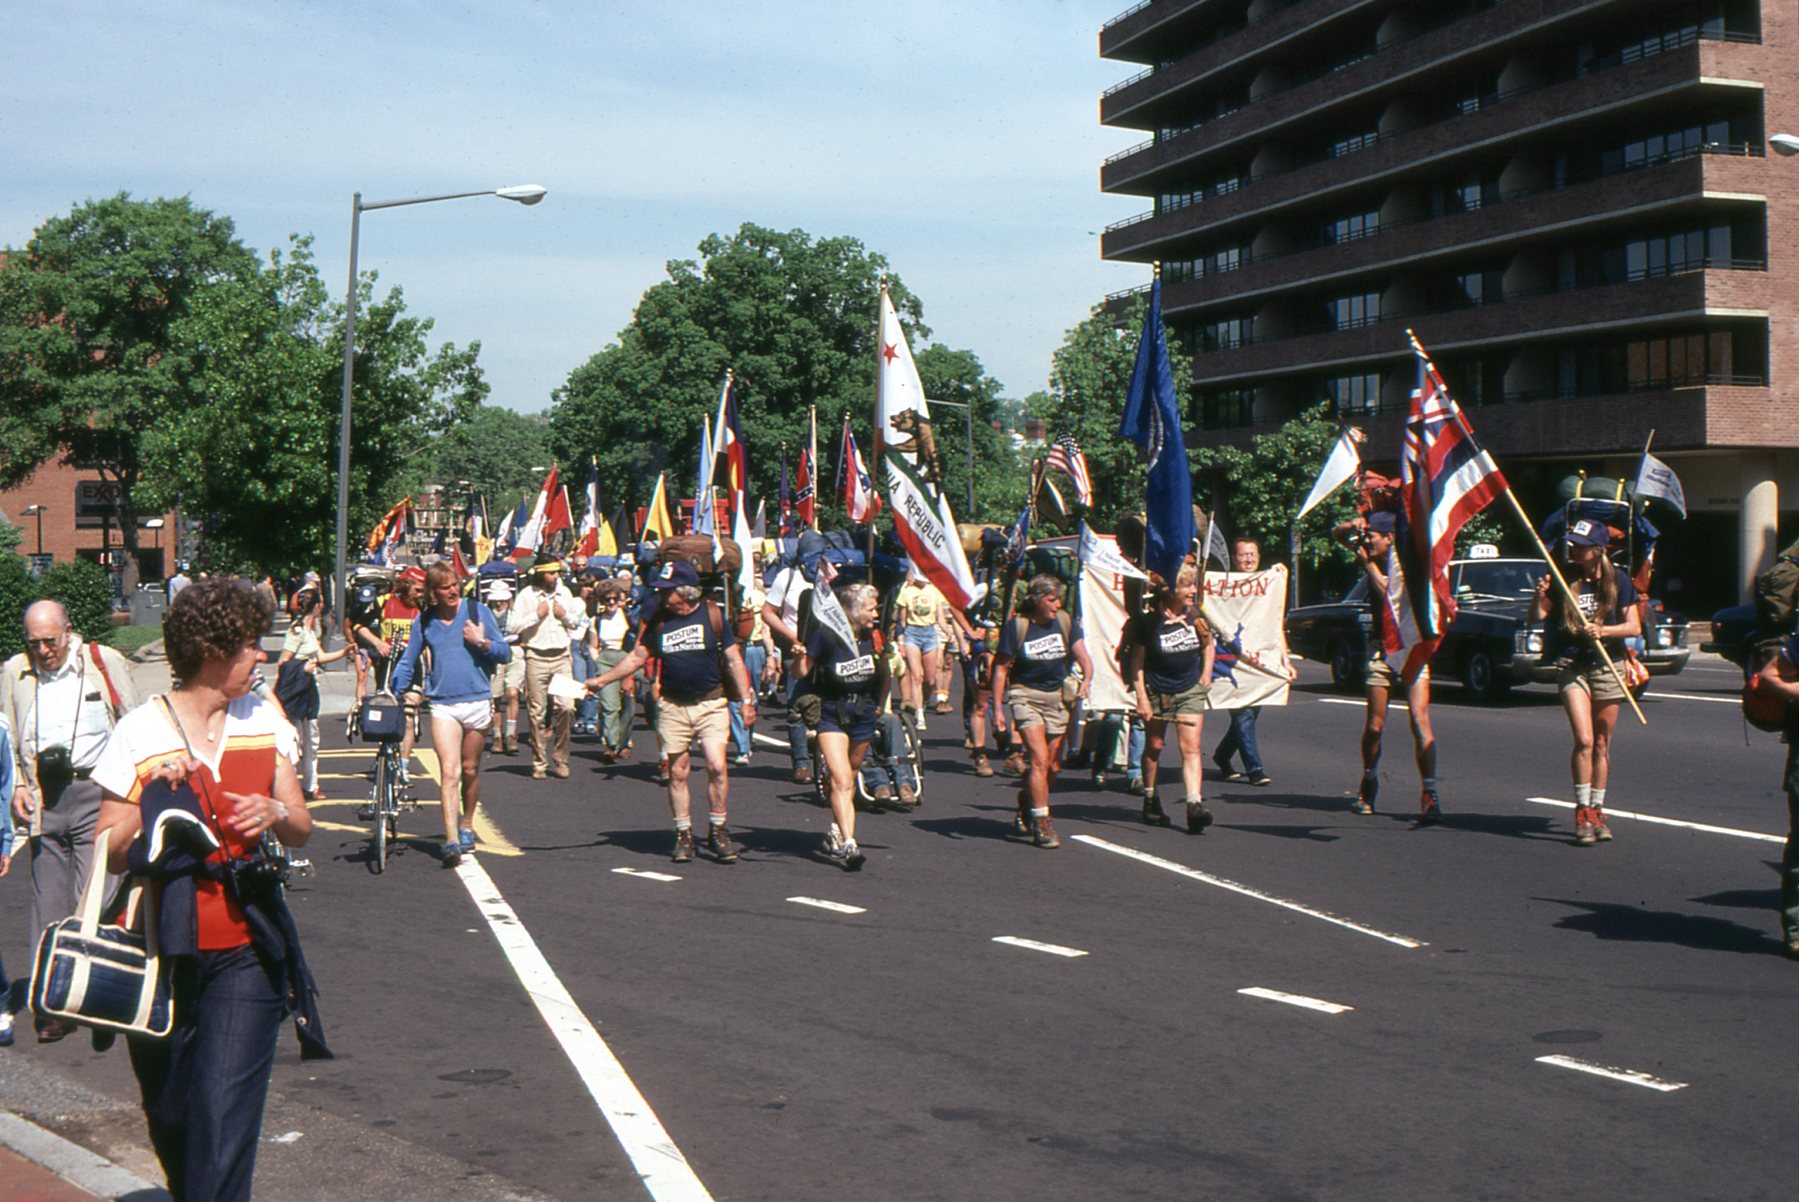
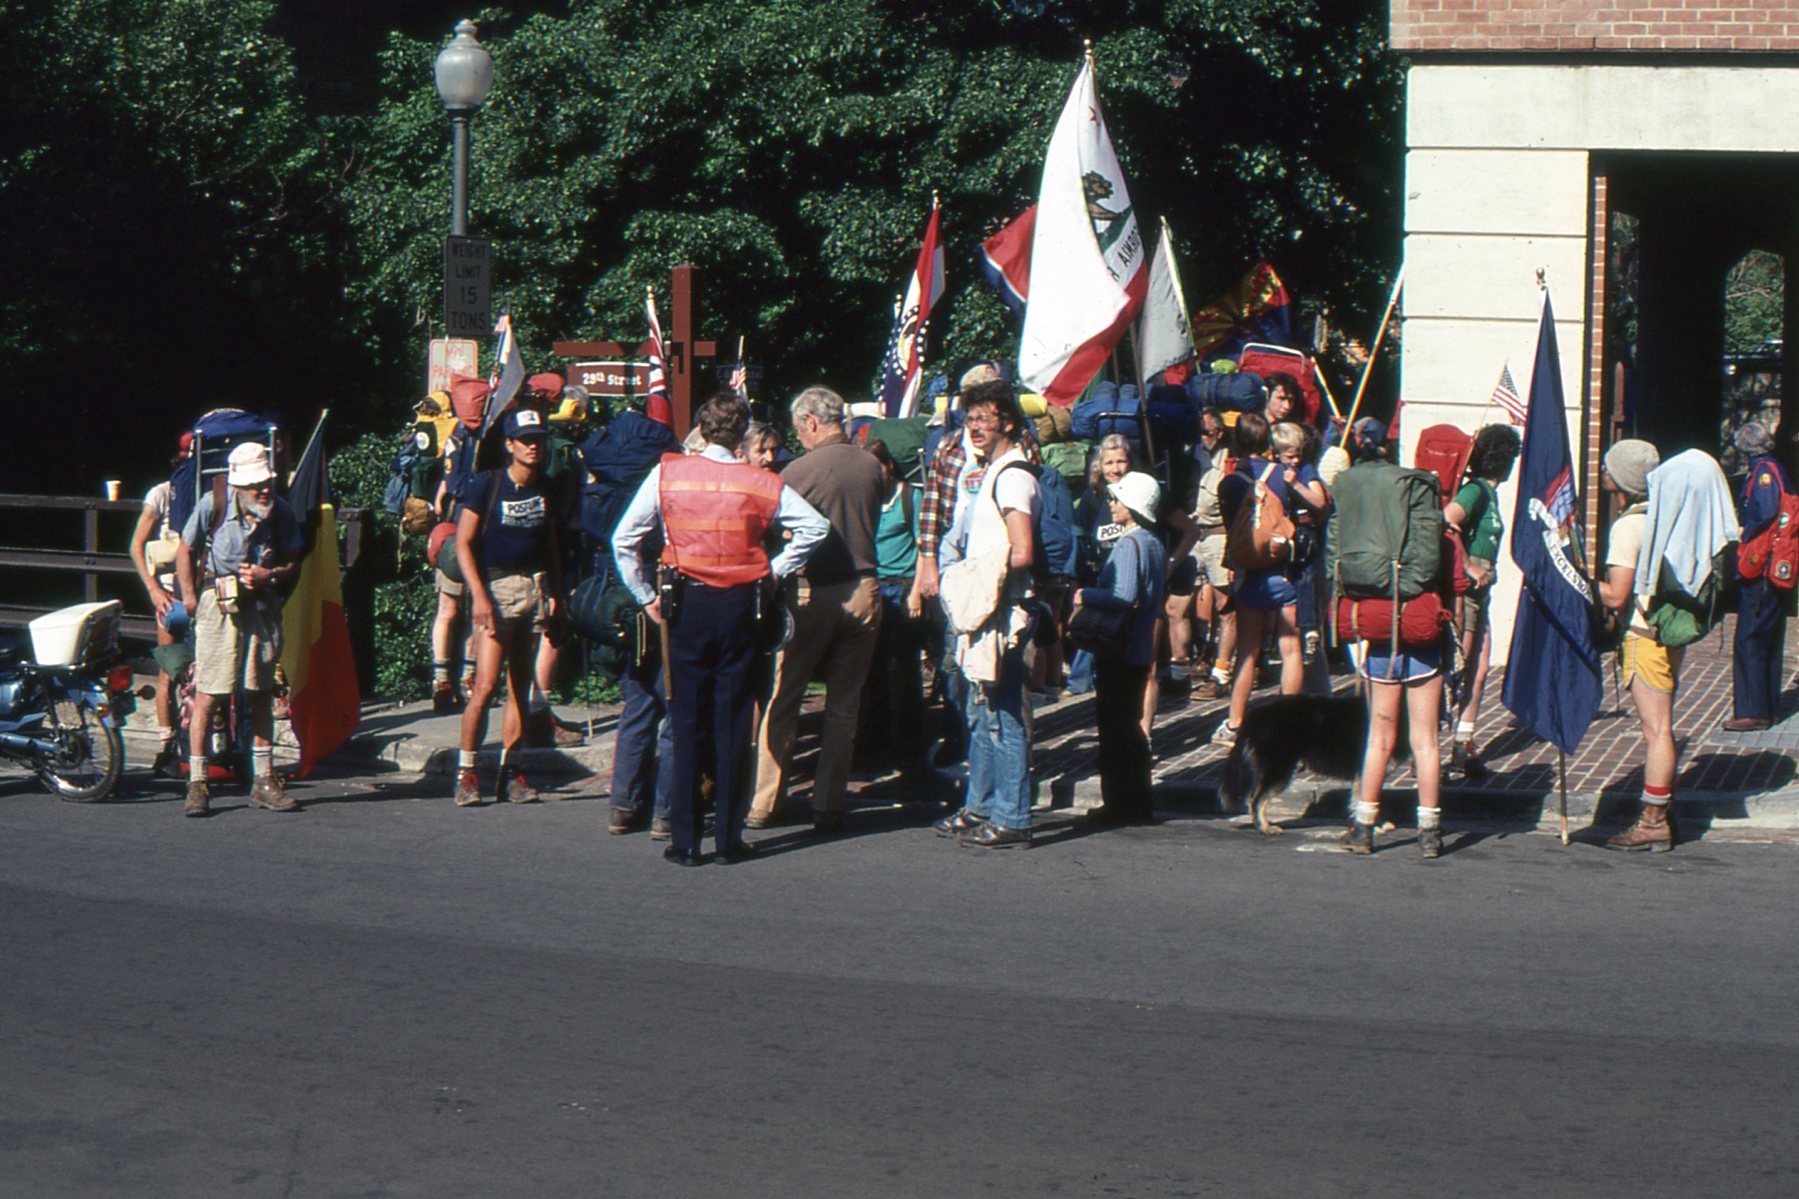
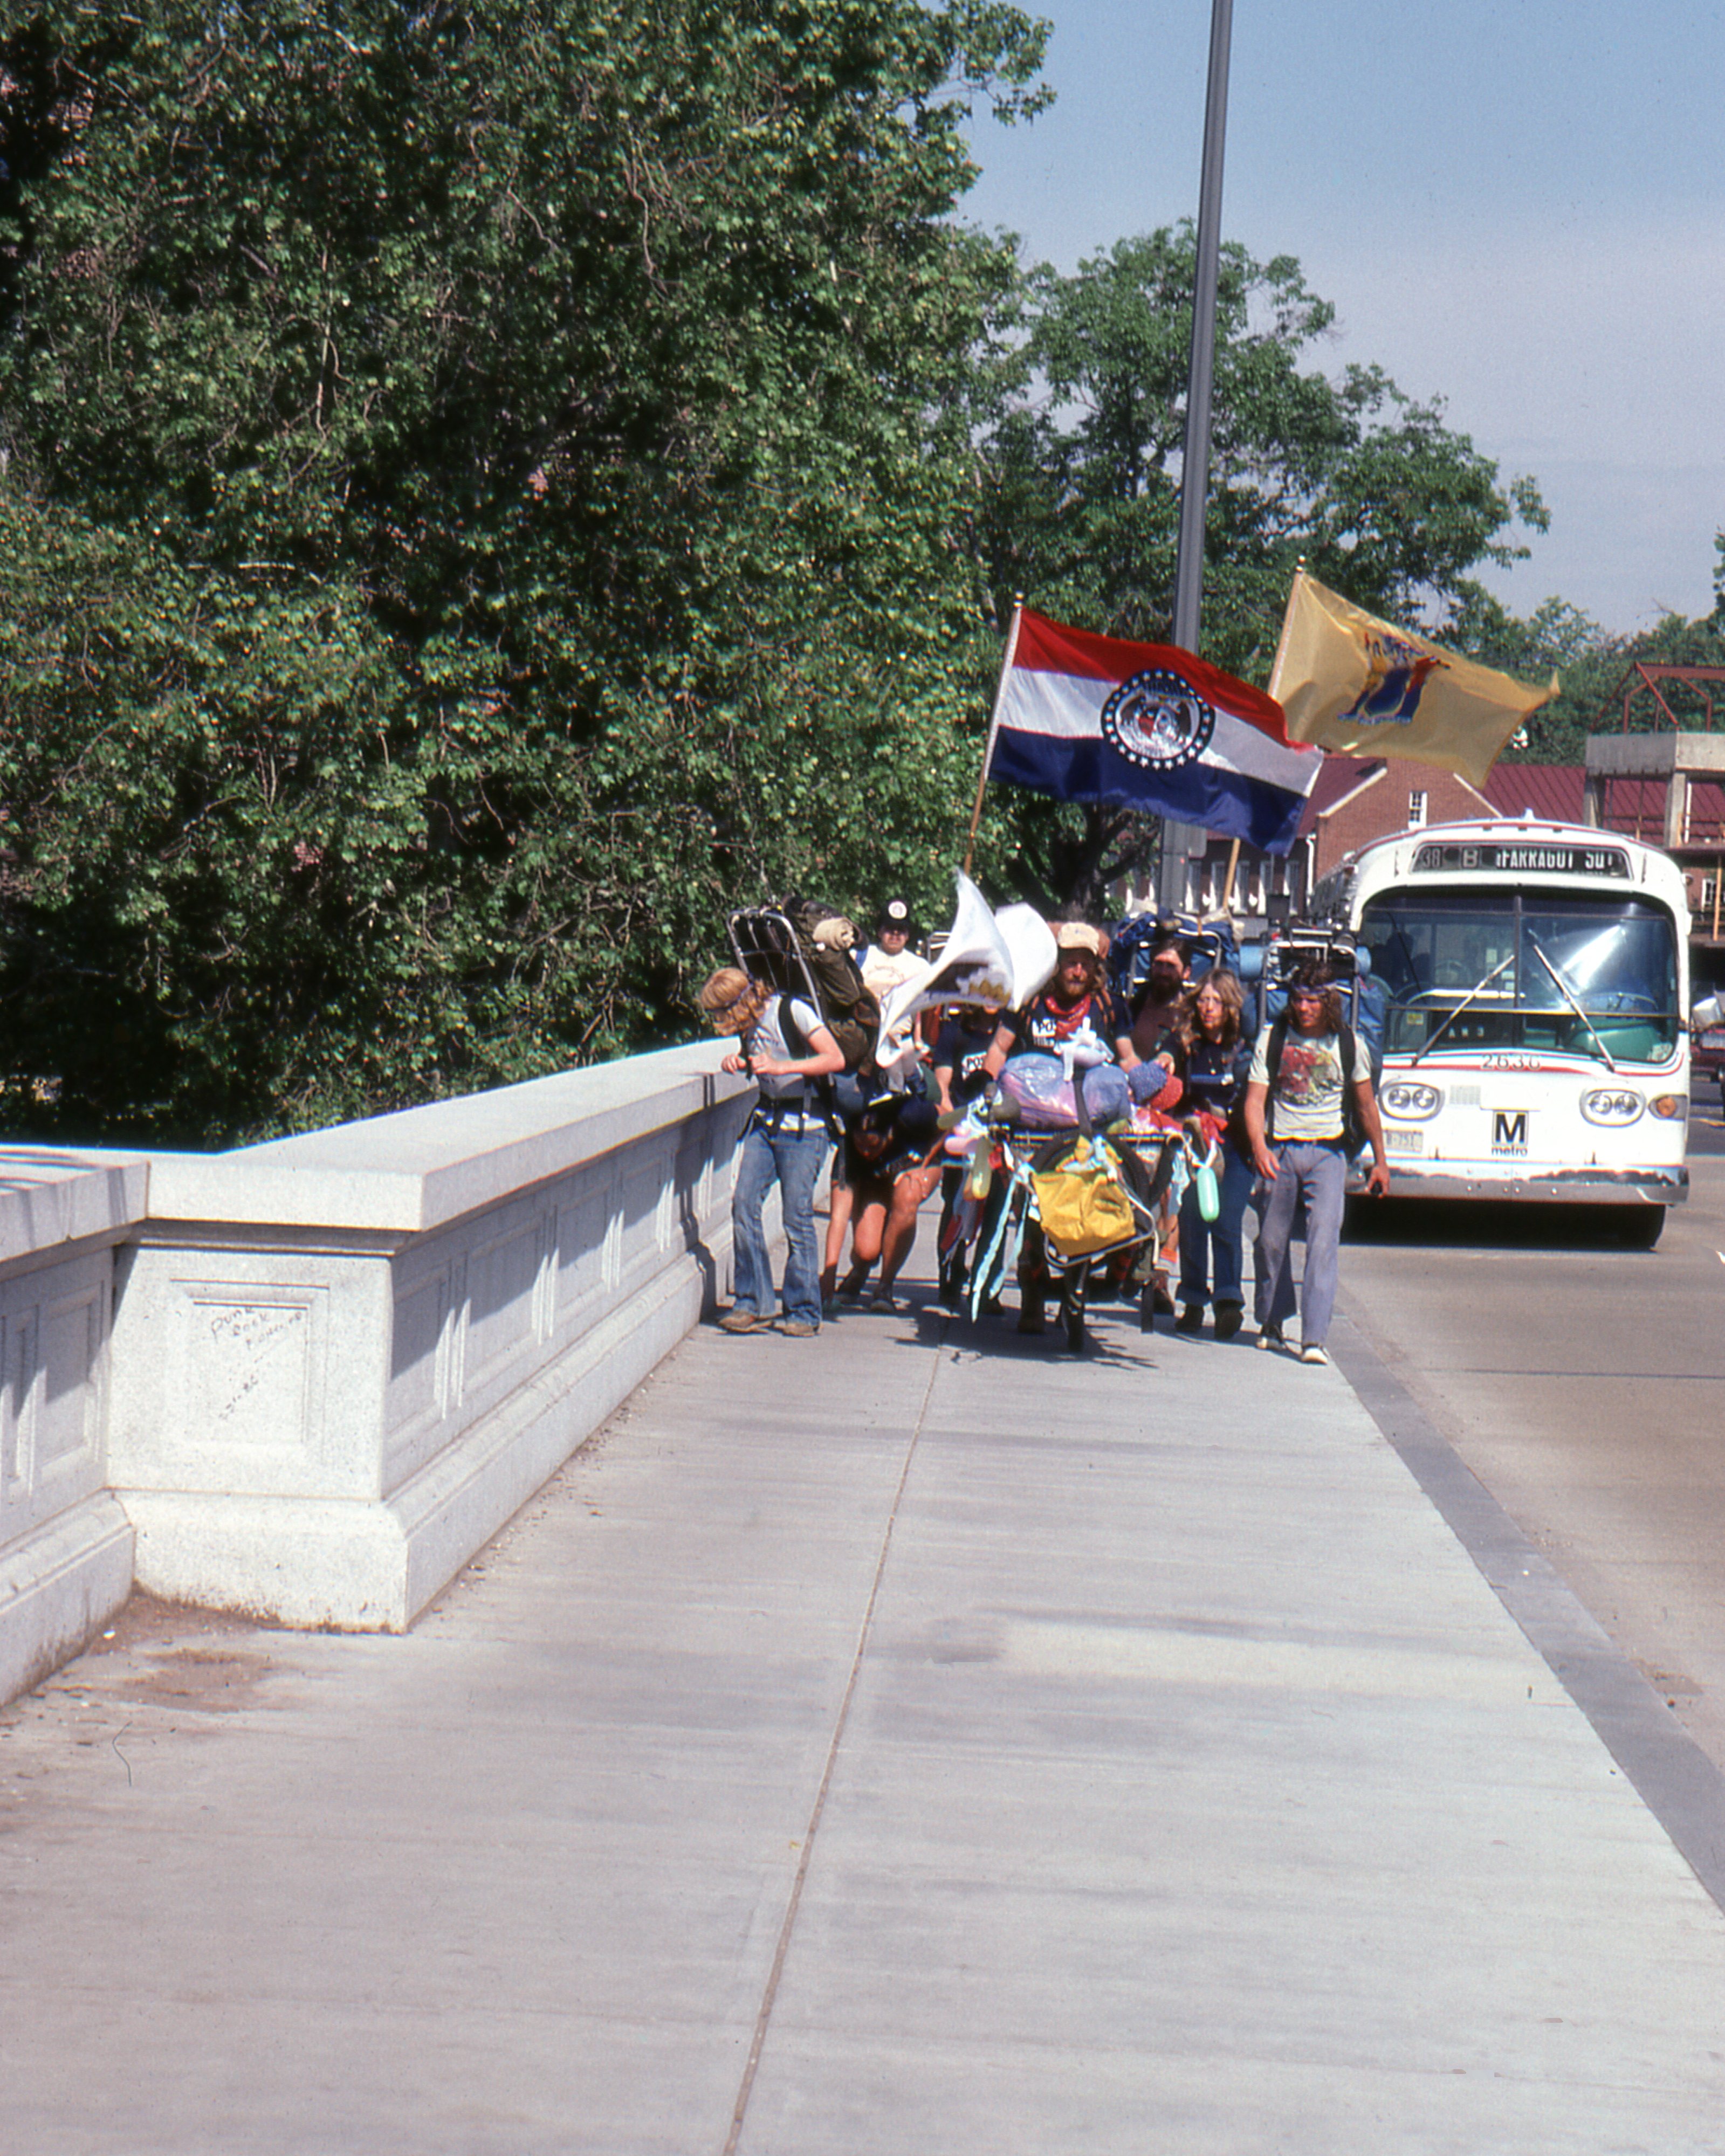
Approaching Washington, D.C. - & another
(photos provided by Reese Lukei, Jr.)
|
(photo provided by Reese Lukei, Jr.)
|
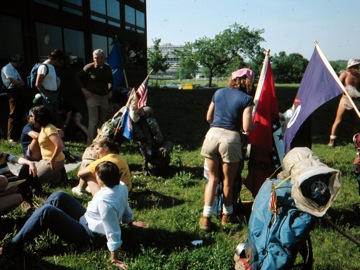
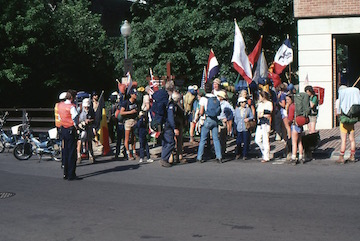
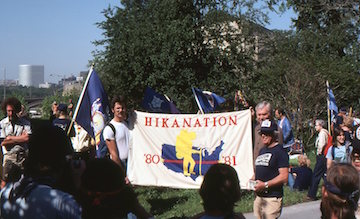
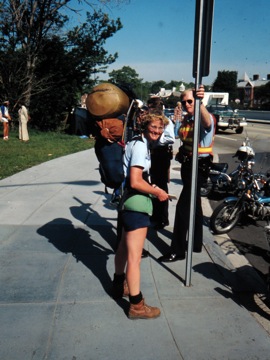
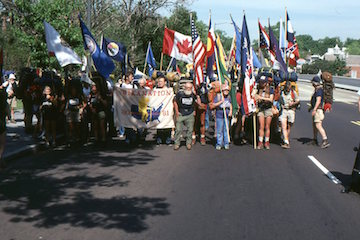
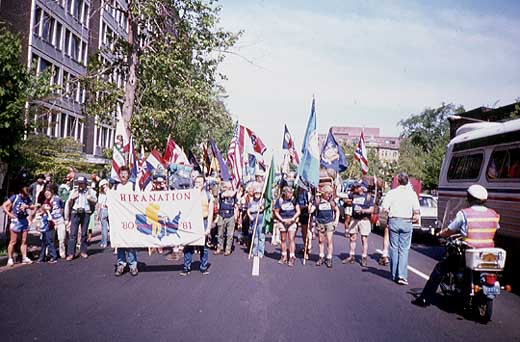
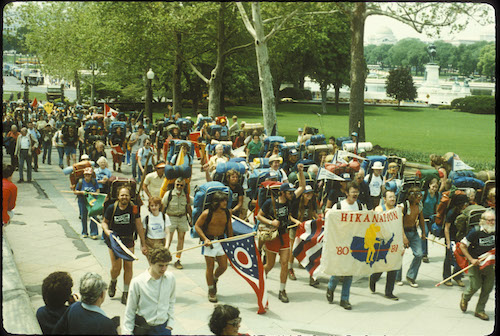
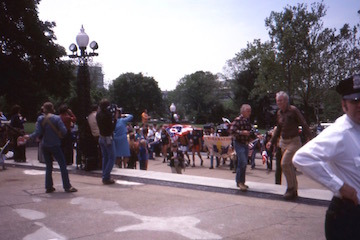
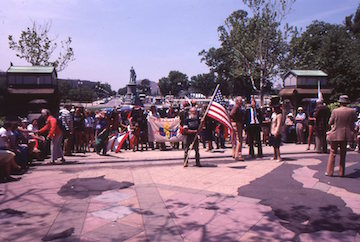
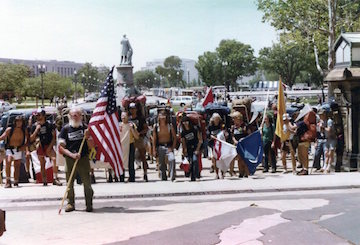
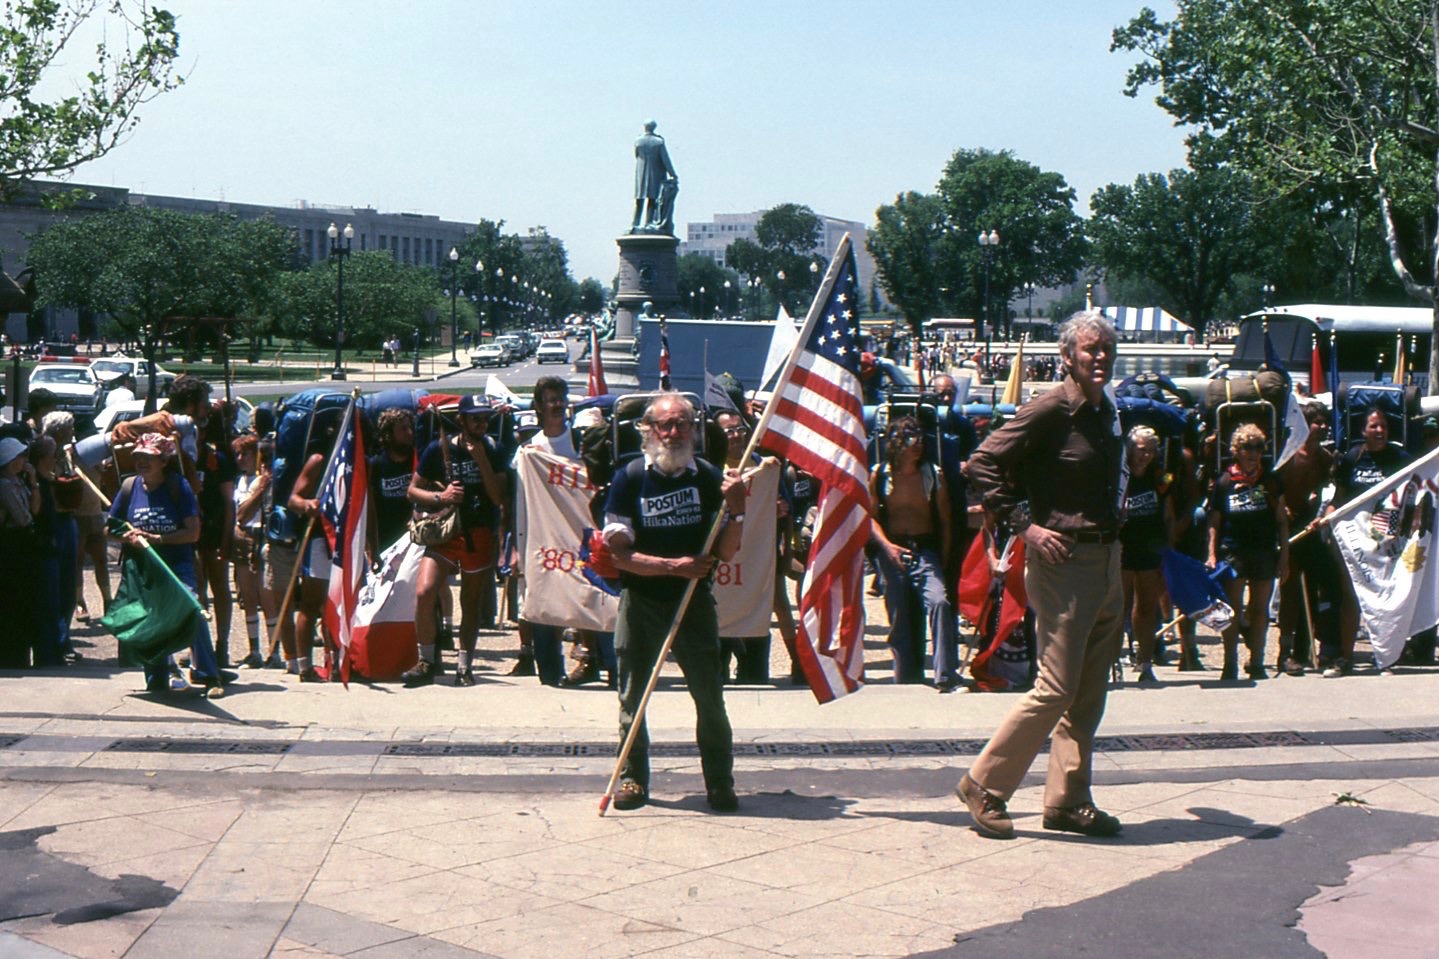
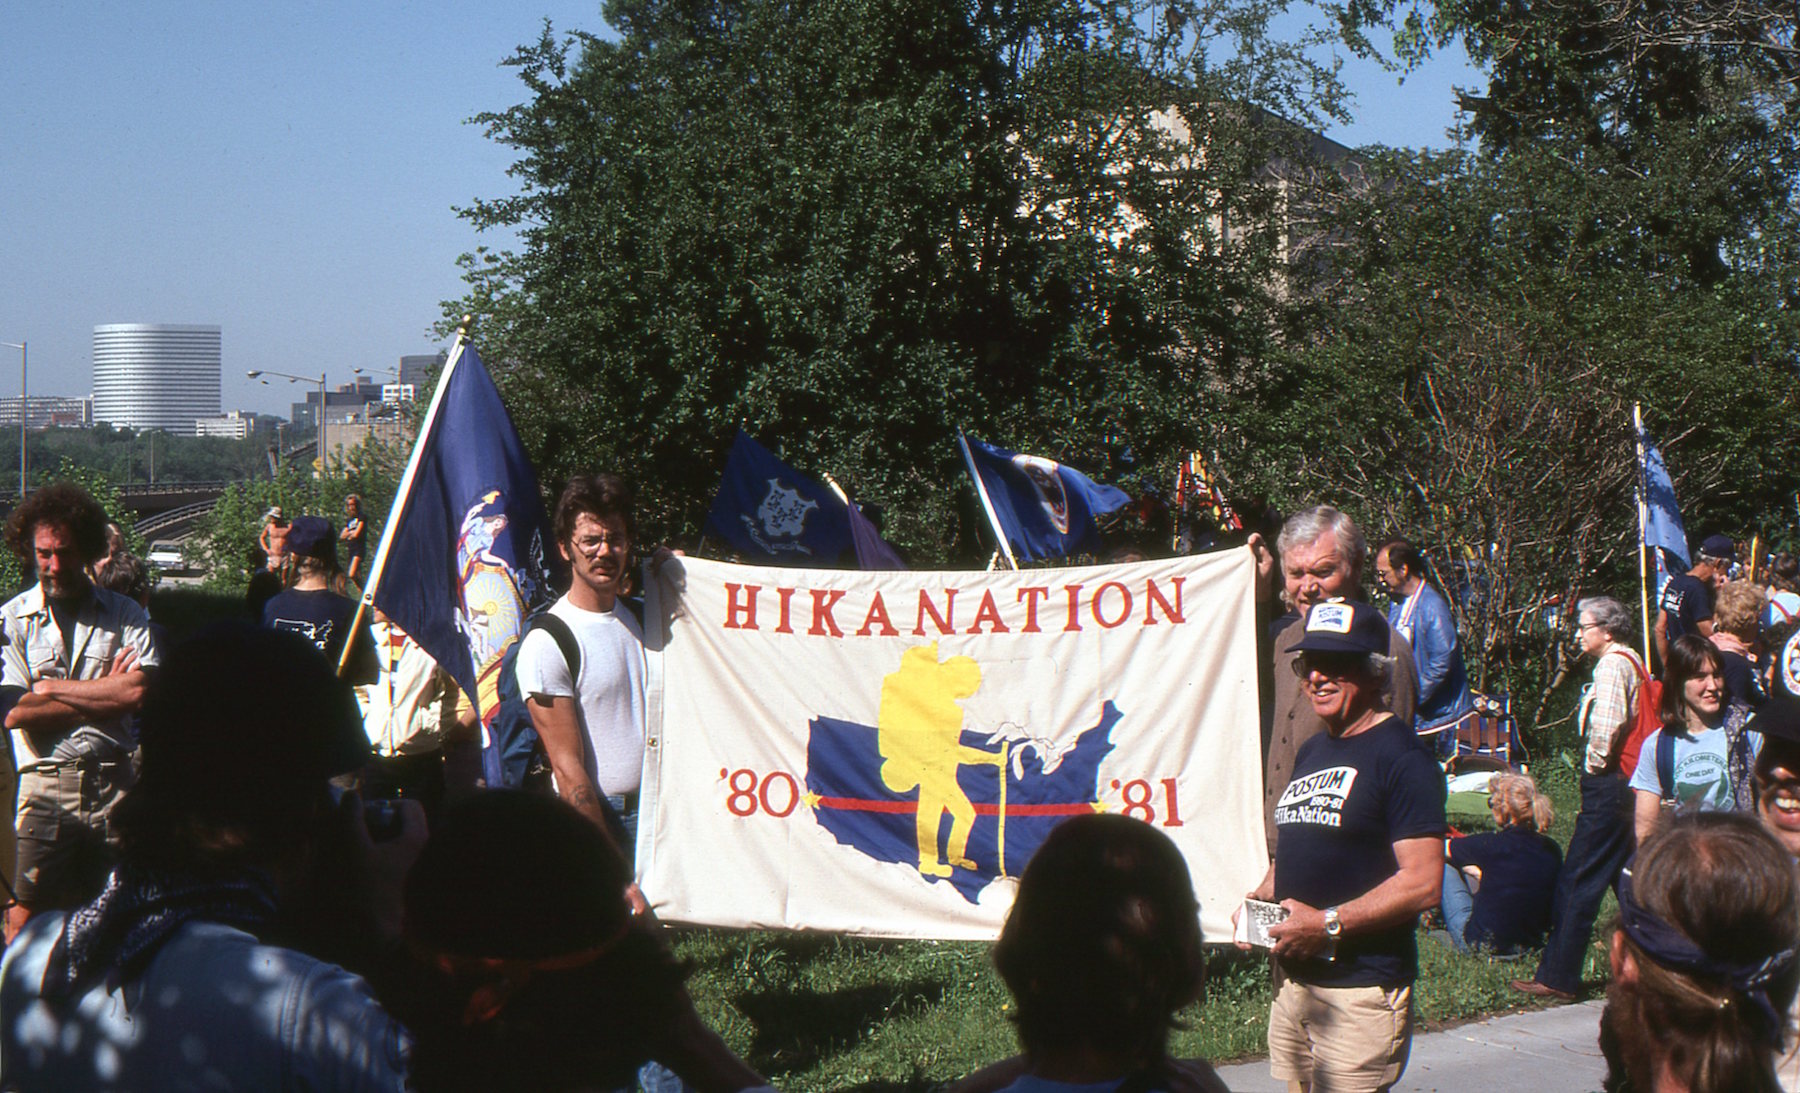
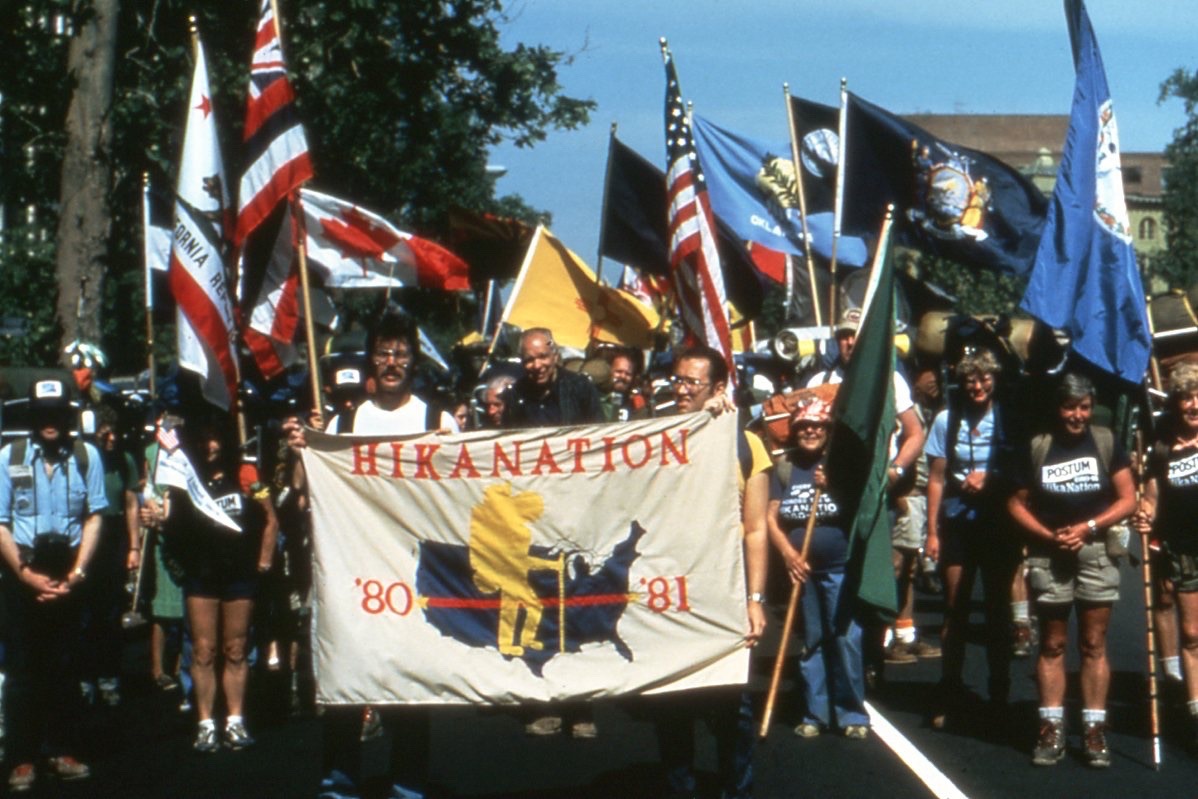
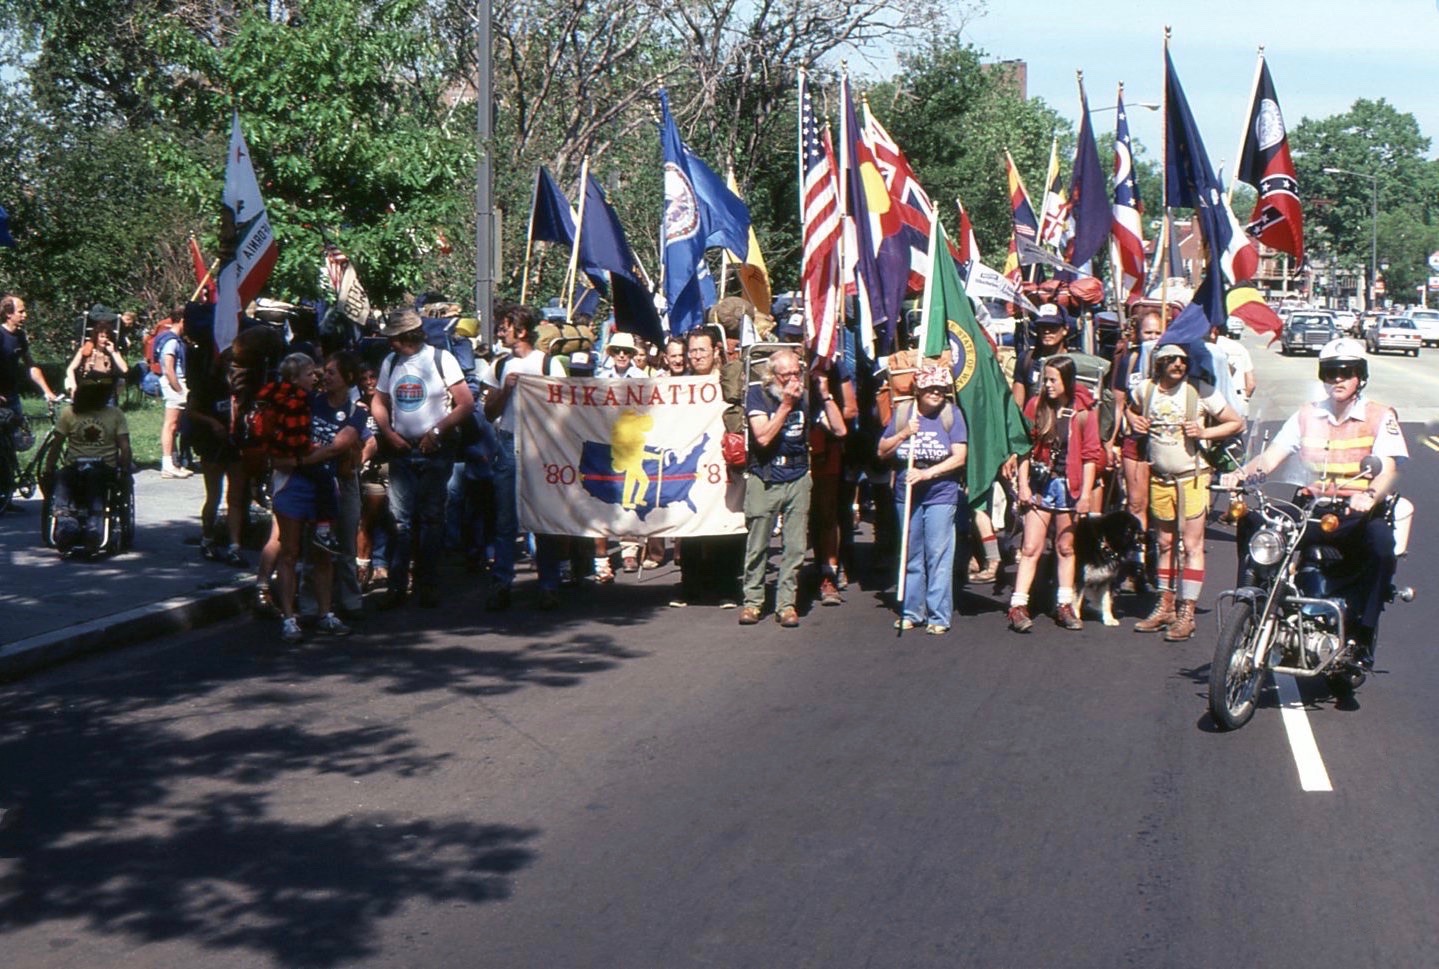
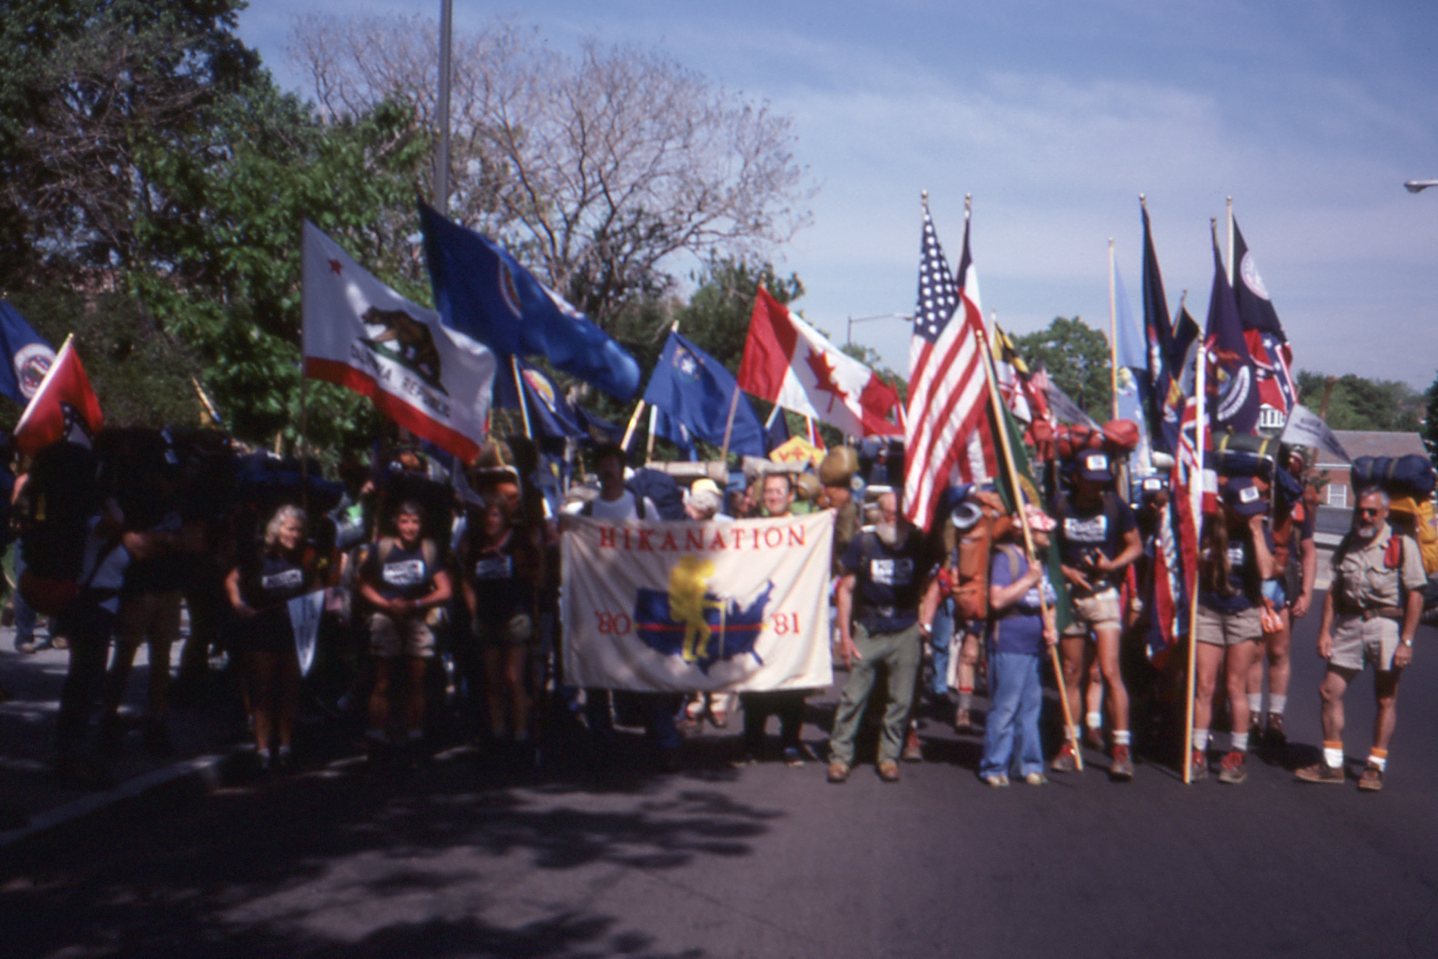
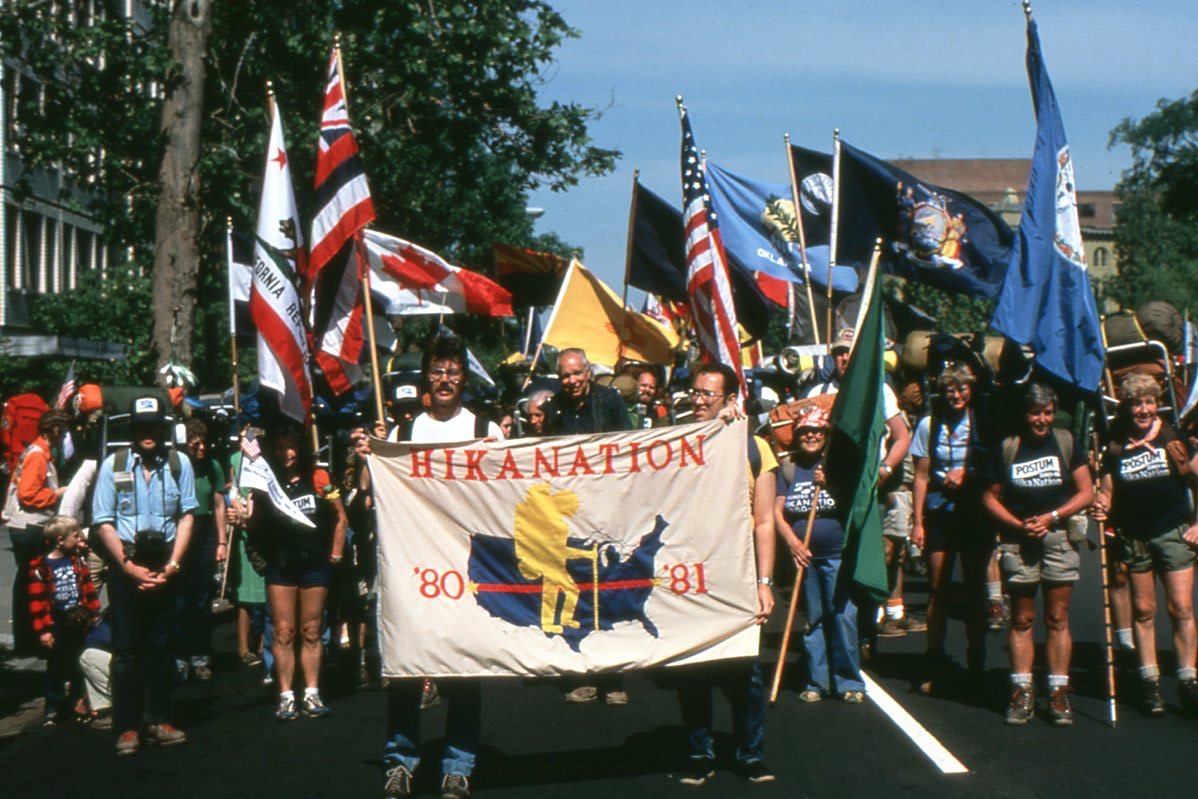
Preparing for the
HikaNation Parade
(photo provided by Reese Lukei, Jr.)
|

(photo provided by Marce Guerrein) |
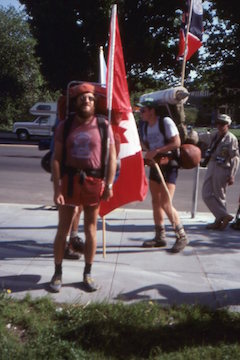
"Canadian Pete" McIntyre
(photo provided by Tim Geoghegan) |
Tom Floyd (on the right)
(photo provided by Reese Lukei, Jr.)
|
Tom Floyd (on the right)
(photo provided by Tim Geoghegan) |
(photo provided by Tim Geoghegan) |
(photo provided by Reese Lukei, Jr.)
|

(photo provided by Reese Lukei, Jr.) |
The Pyles approaching - & another
(photos provided by Reese Lukei, Jr.)
|
(photo provided by Tim Geoghegan) |
(photo provided by Reese Lukei, Jr.) |
(photo provided by Mike McReynolds) |

The Pyles
(photo provided by Marce Guerrein) |
Linda Hull
(photo provided by Marce Guerrein) |
(photo provided by Marce Guerrein) |
(photo provided by Reese Lukei, Jr.)
|
(photo provided by Susan "Butch" Henley) |
(photo provided by Janet Parsons) |
(photo provided by Reese Lukei, Jr.)
|

(photo provided by Reese Lukei, Jr.)
|
(photo provided by Reese Lukei, Jr.)
|

(photo provided by Tim Geoghegan) |
(photo provided by Rex Halfpenny) |
(photo provided by William Ewart) |
(photo provided by William Ewart) |
(photo provided by Marce Guerrein) |
(photo provided by Marce Guerrein) |

(photo provided by Tim Geoghegan) |
(photo provided by Marce Guerrein) |
(photo provided by Rex Halfpenny) |
(photo provided by Reese Lukei, Jr.)
|
John Olmsted's Audio Assistant
(photo provided by Marce Guerrein) |
(photo provided by Reese Lukei, Jr.) |
Dave Backus, Rob Lee, Ed Duschene
(photo provided by Marce Guerrein) |

(photo provided by Marce Guerrein)
|

(photo provided by Marce Guerrein)
|
(photo provided by Mike Collins) |
(photo provided by Tim Geoghegan) |
(photo provided by Mike Collins) |

106
|
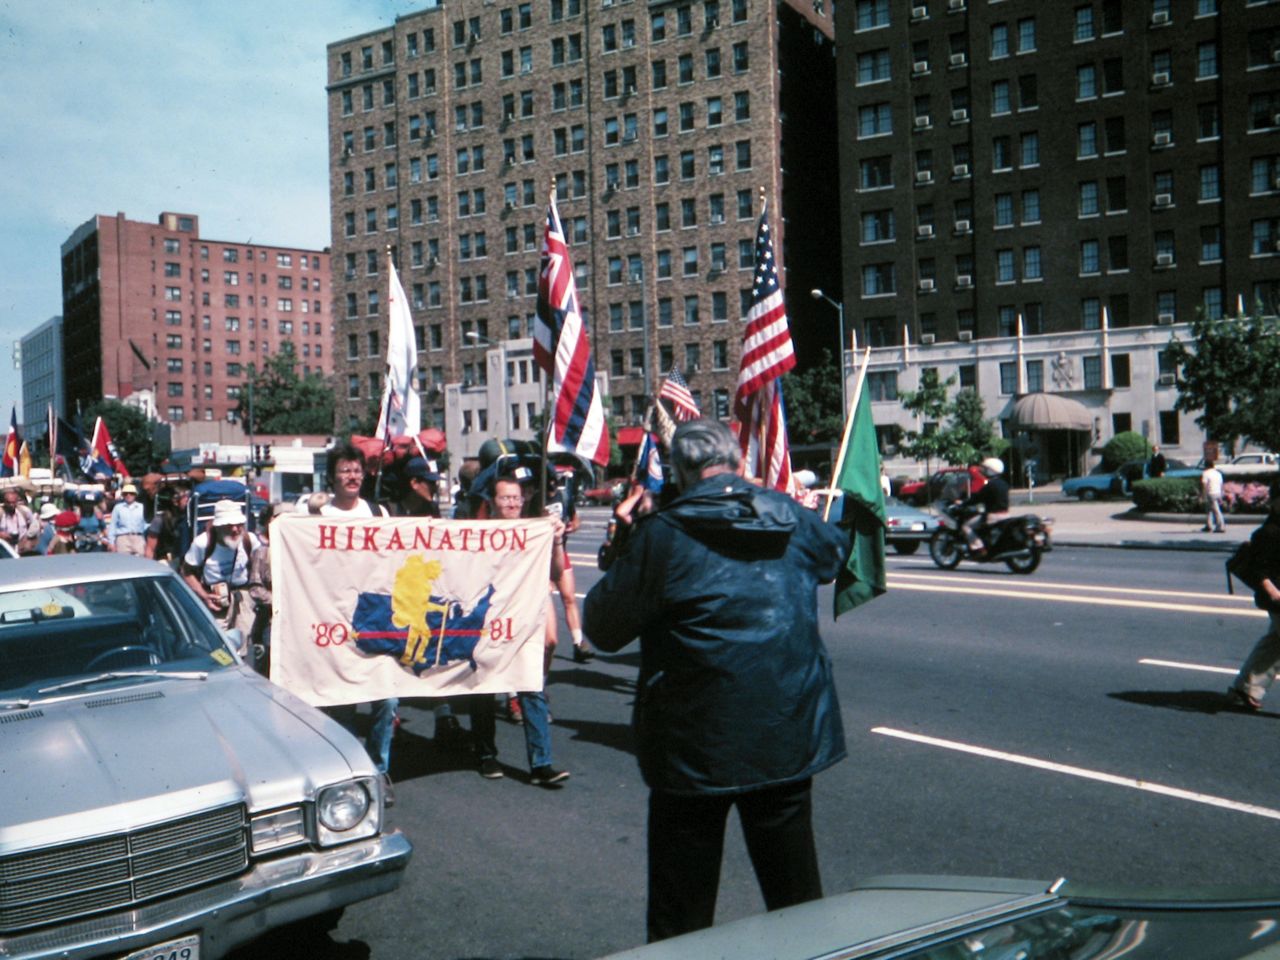
106, larger
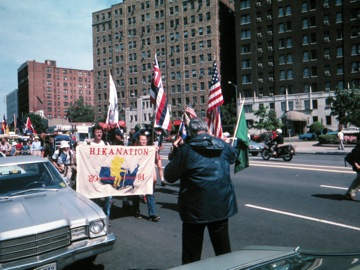
Washington Circle along Pennslyvania Avenue
(photos provided by Marce Guerrein)
|
Washington Circle along Pennslyvania Avenue
(photo provided by Reese Lukei, Jr.)
|
107
|
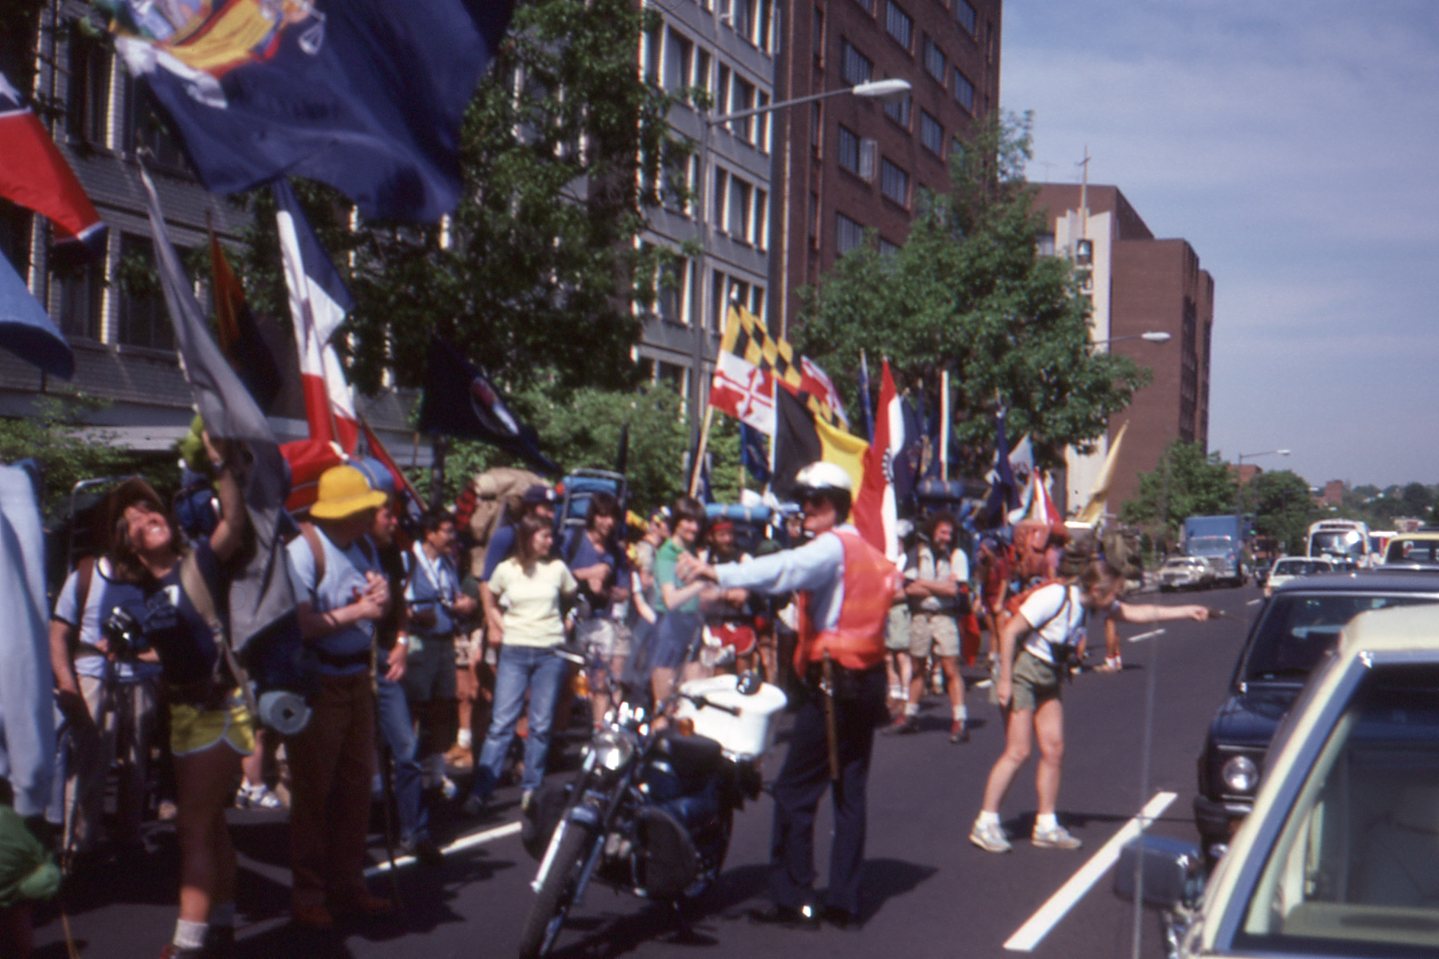
107, larger
Washington Circle along Pennslyvania Avenue
(photos provided by Marce Guerrein)
|
(photo provided by Reese Lukei, Jr.) |

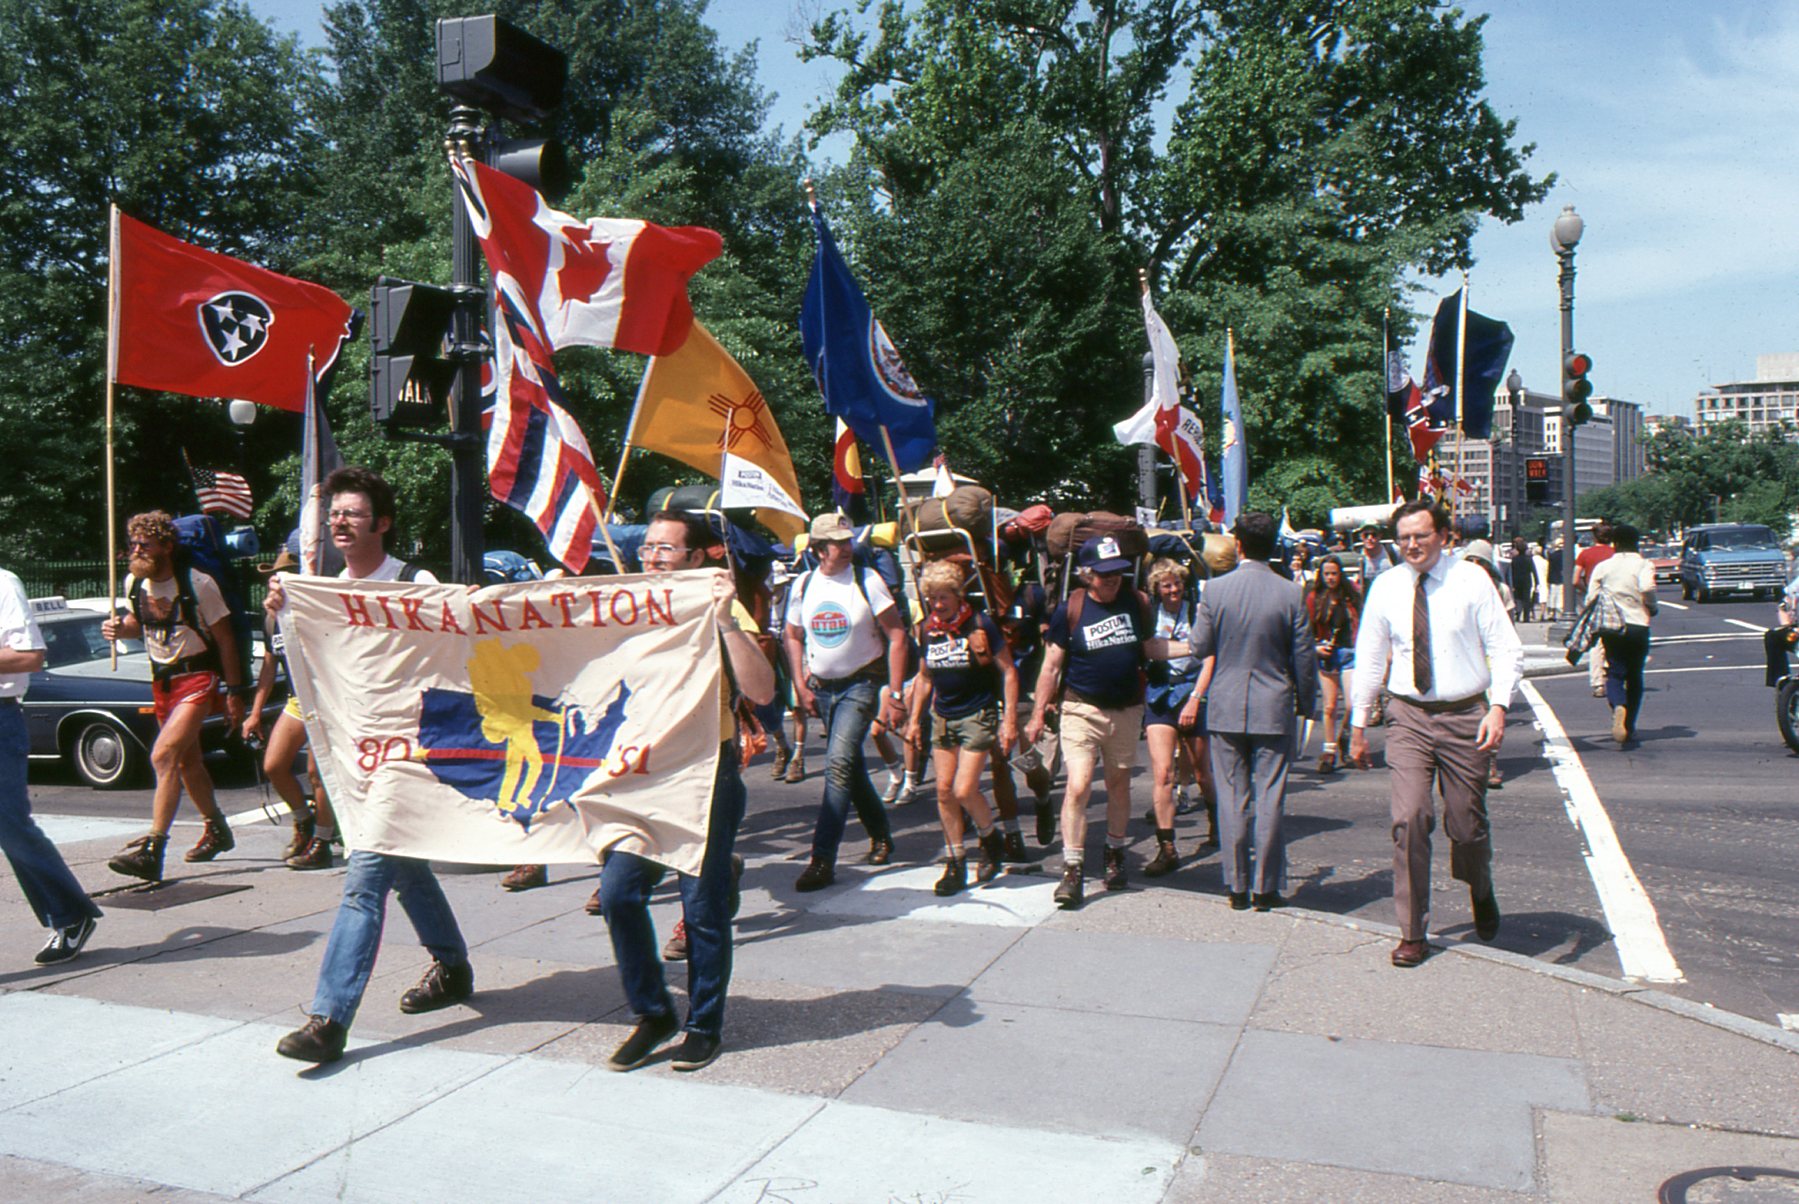
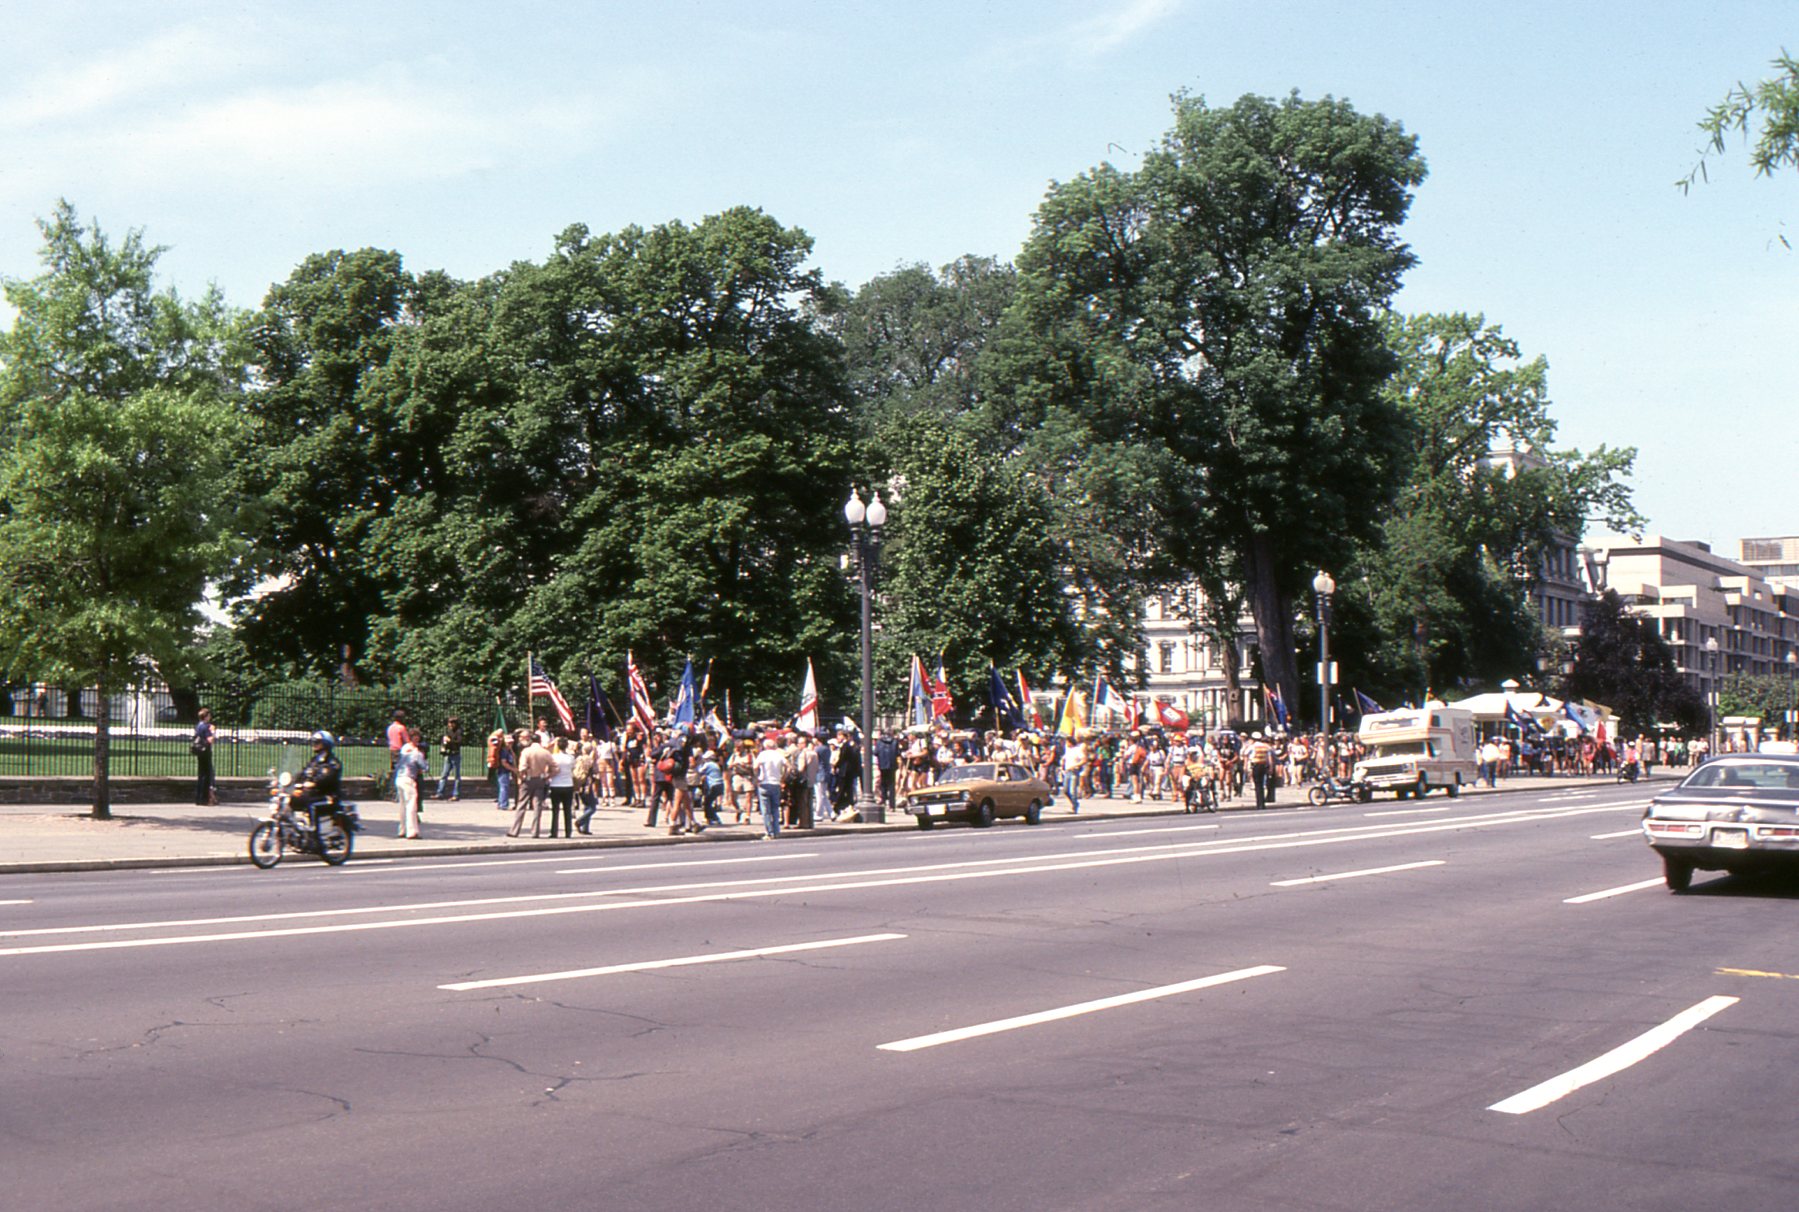
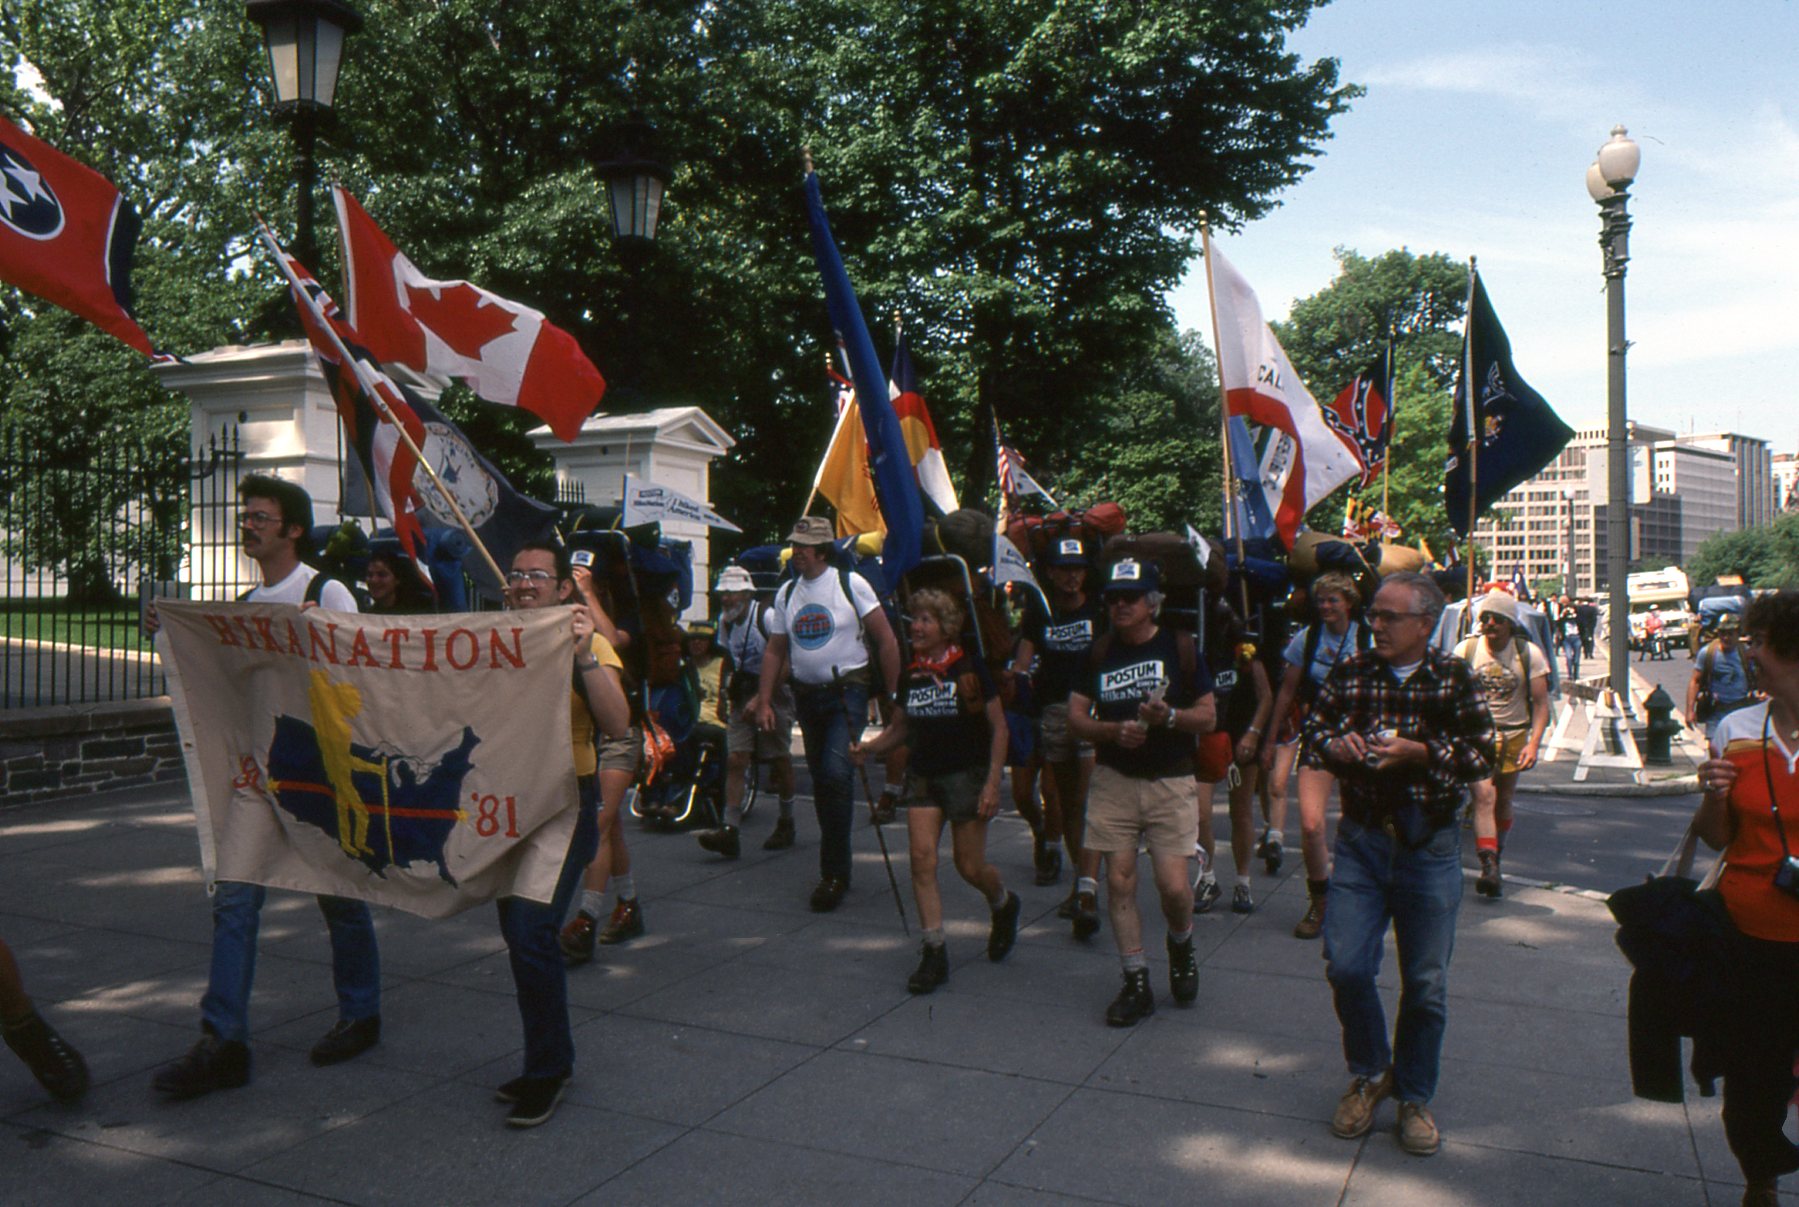
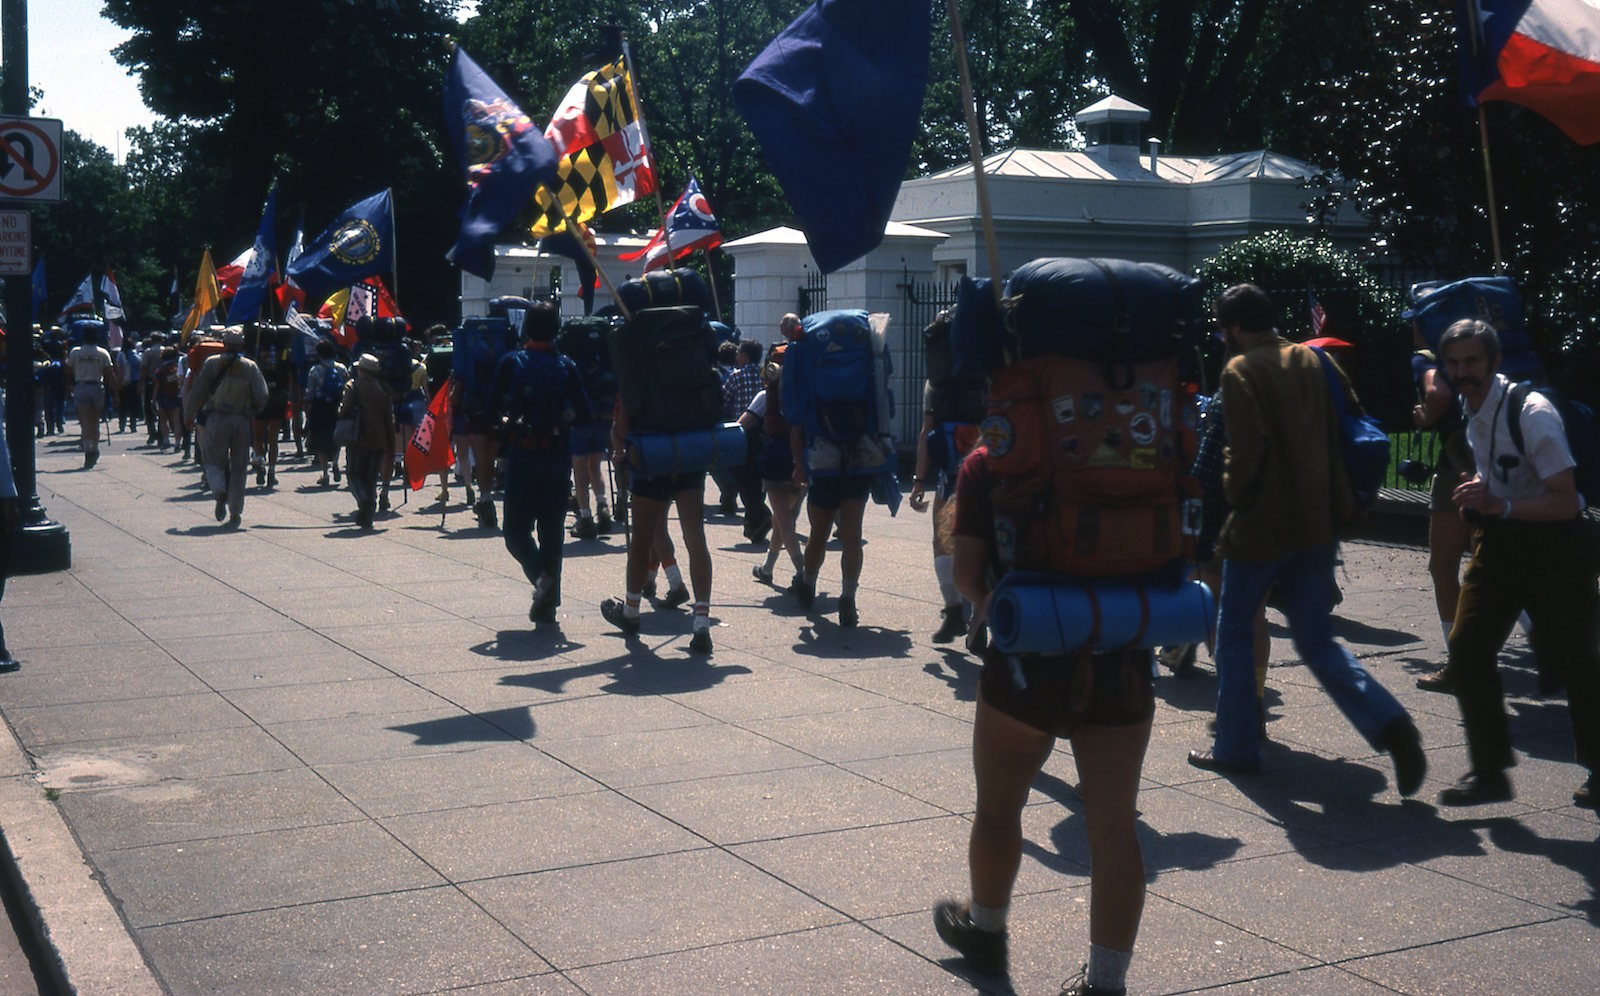
Approaching The White House - & another
(photos provided by Reese Lukei, Jr.)
|
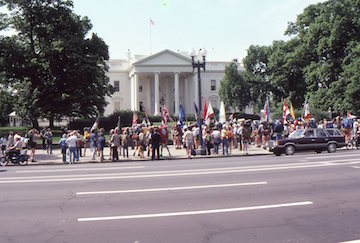
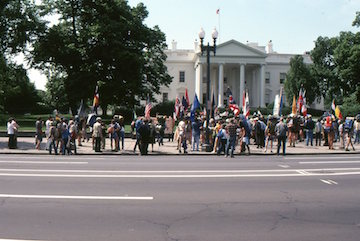
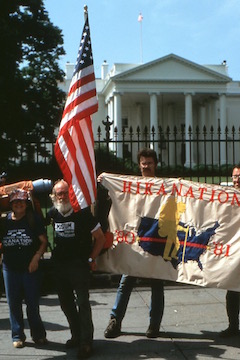
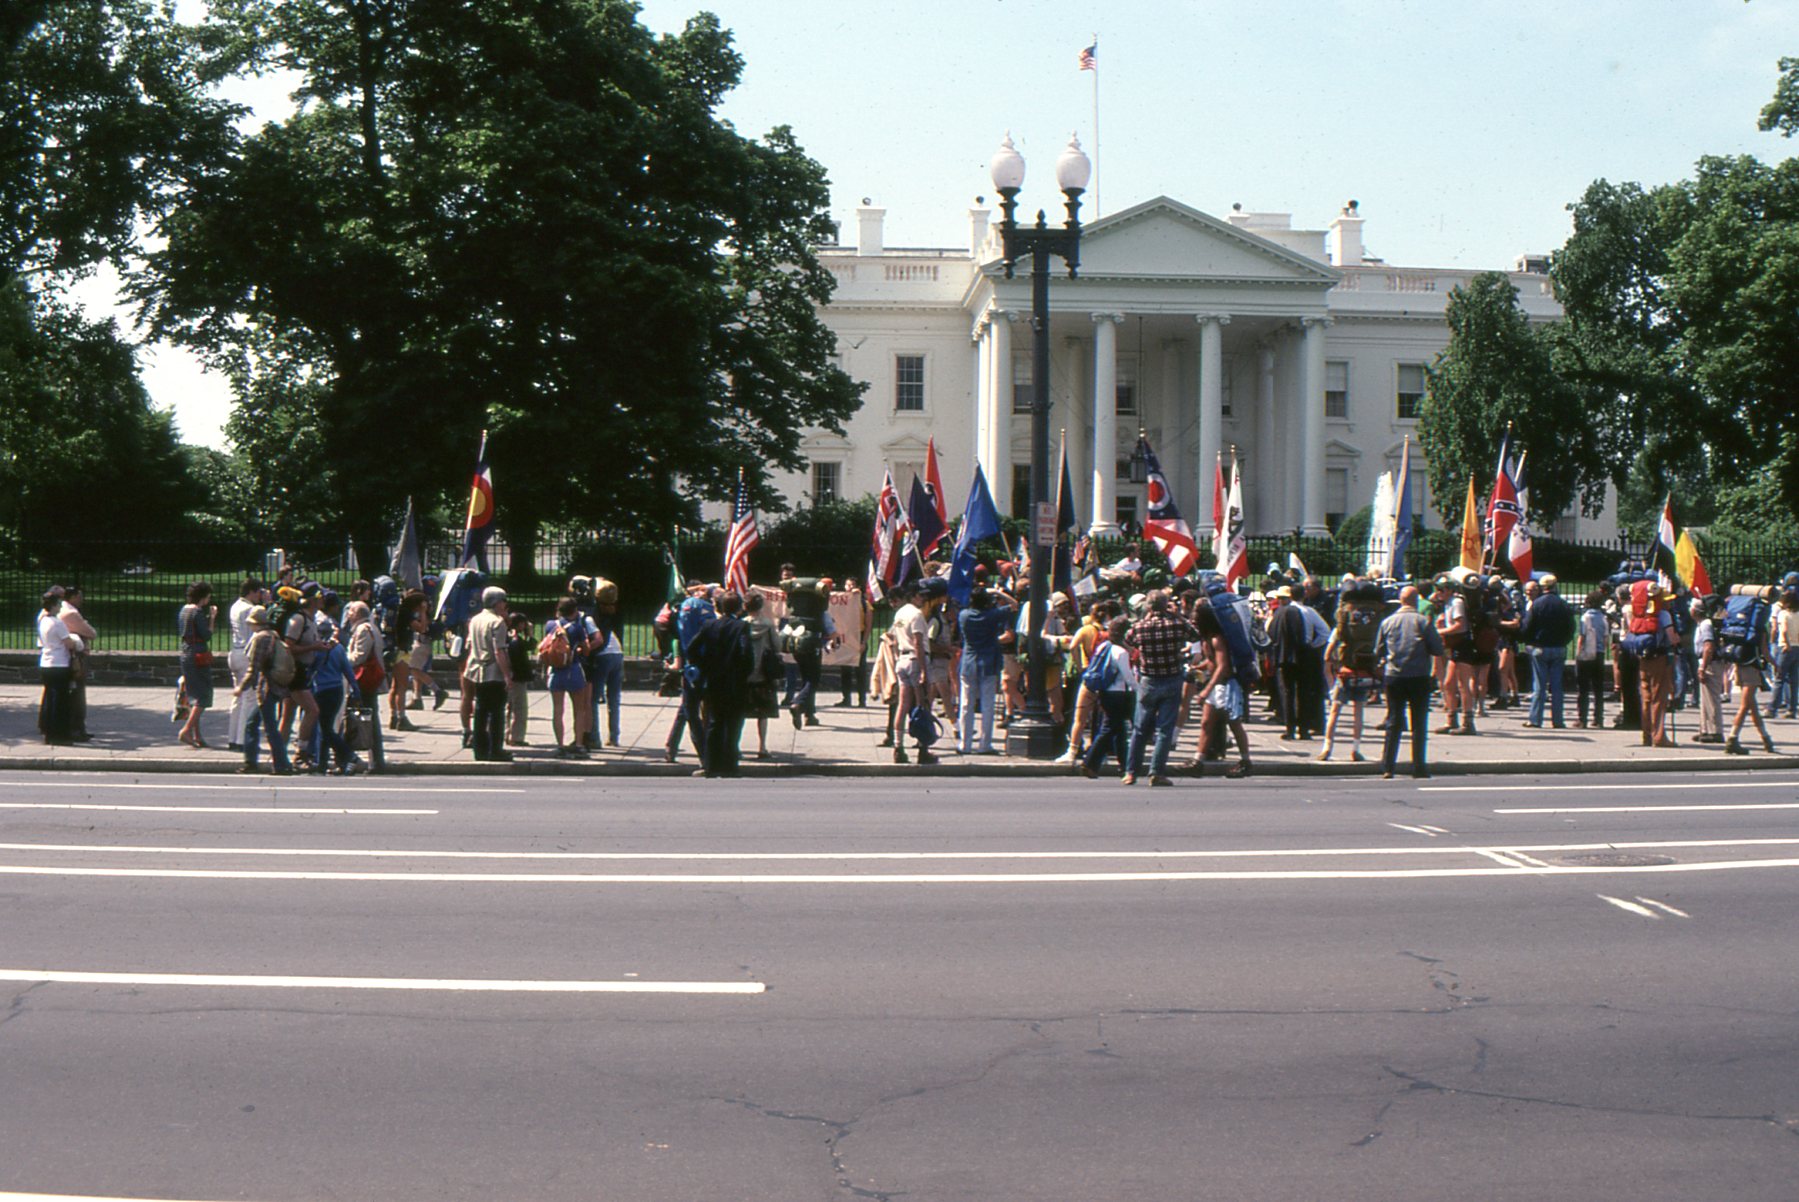
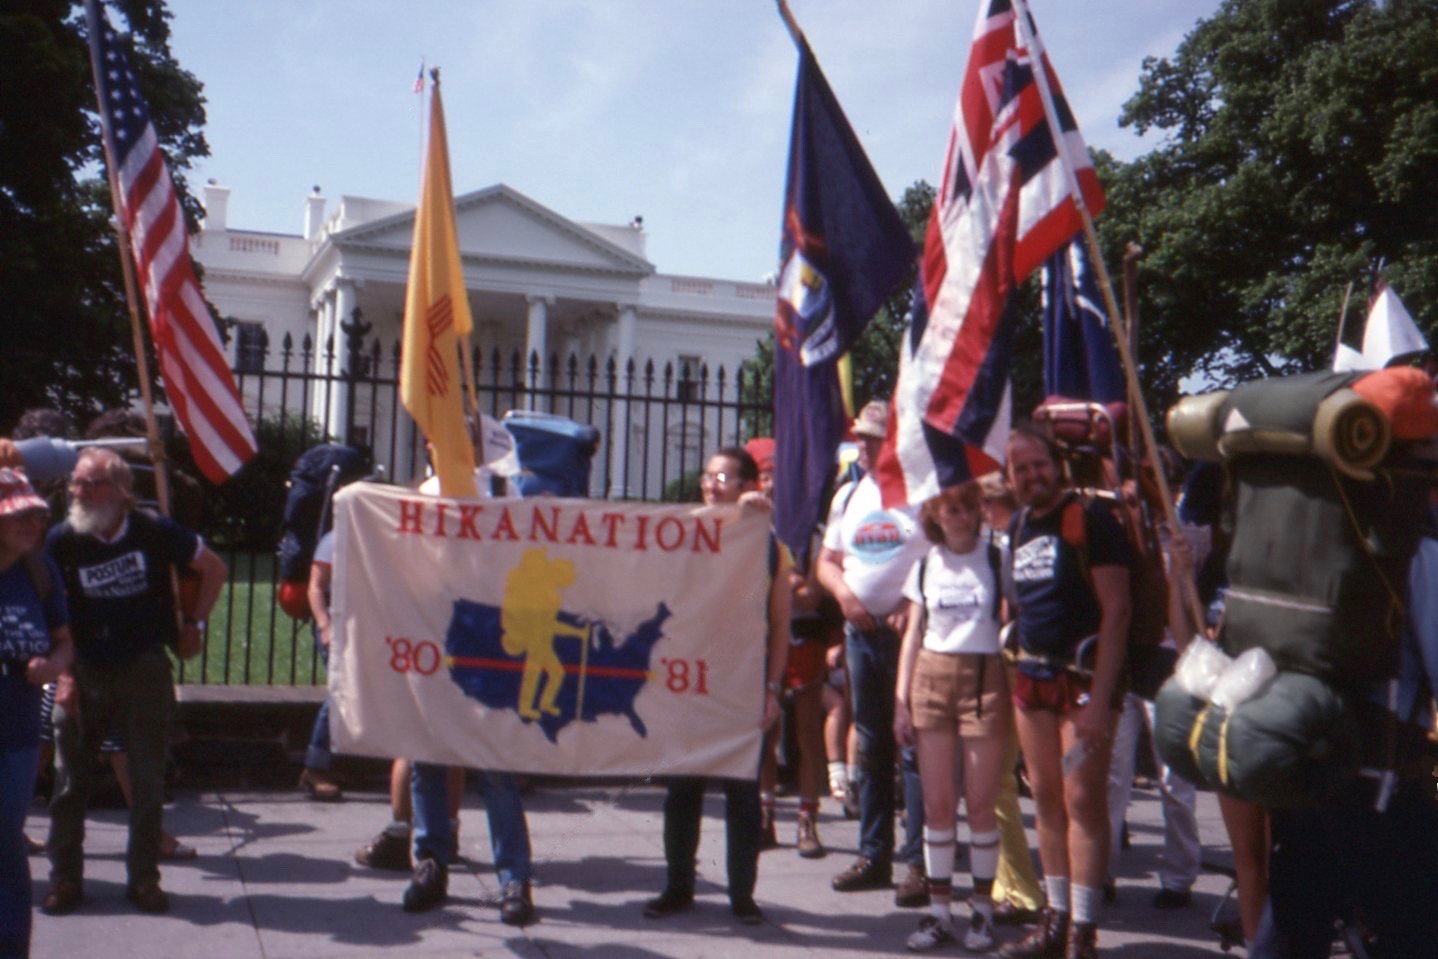
The White House - Washington, D.C.
(photo provided by Reese Lukei, Jr.)
|
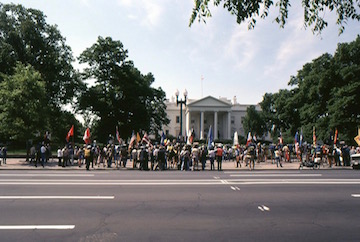
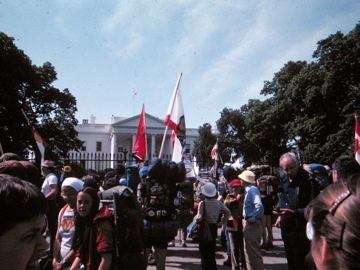
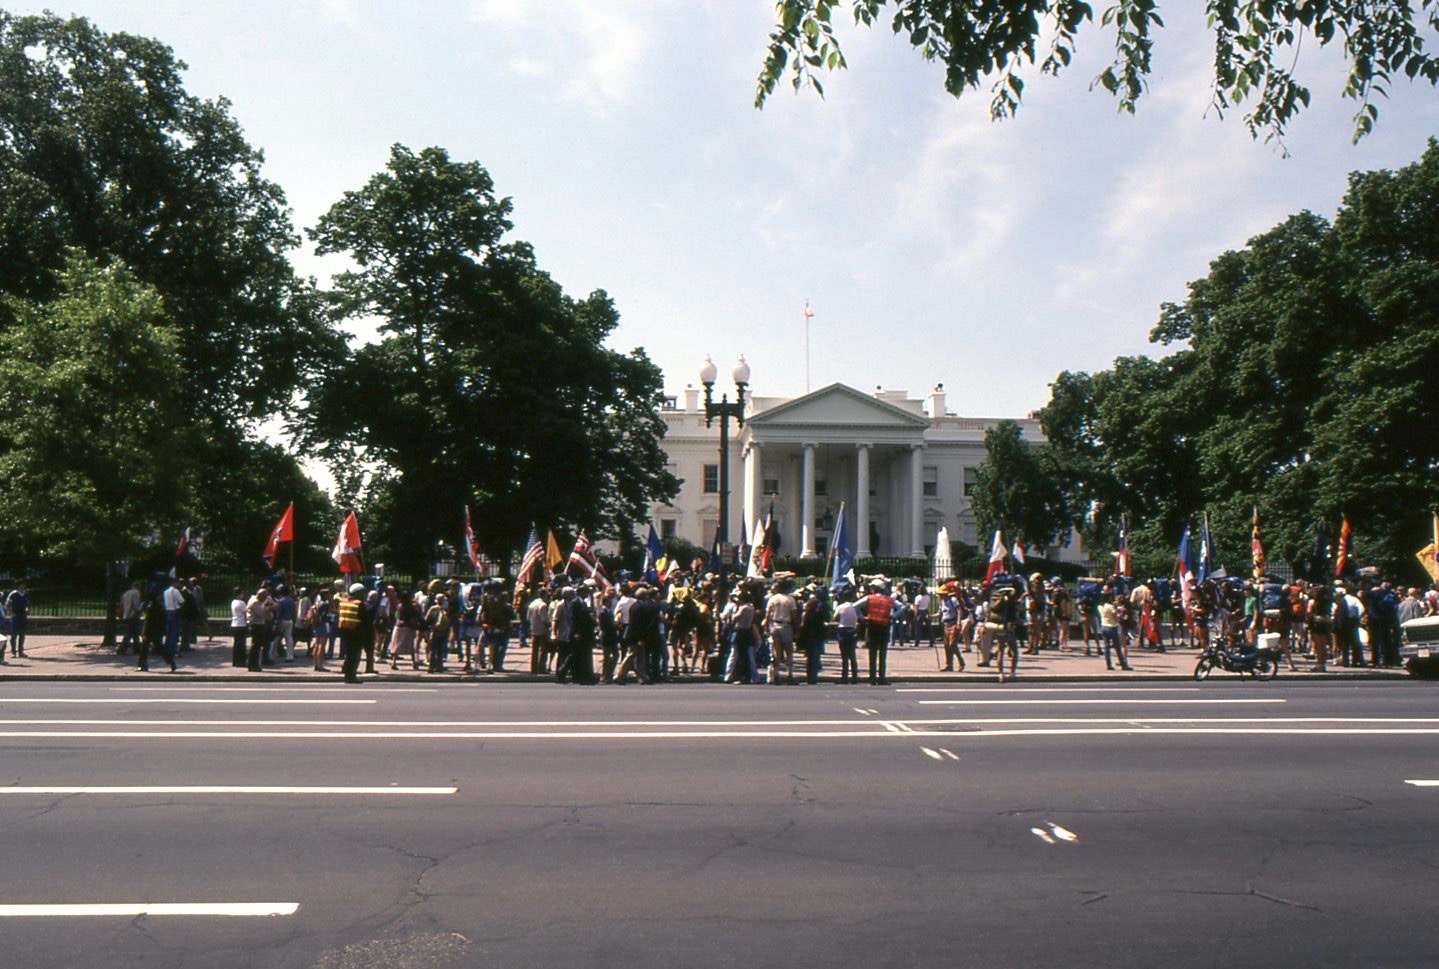
The White House - Washington, D.C.
(photo provided by Reese Lukei, Jr.)
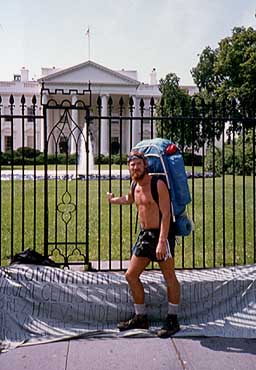
|
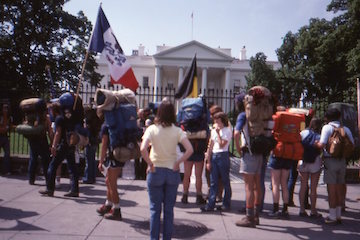
The White House - Washington, D.C.
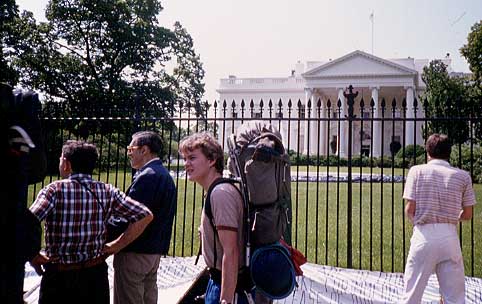
(photo provided by Reese Lukei, Jr.)
|

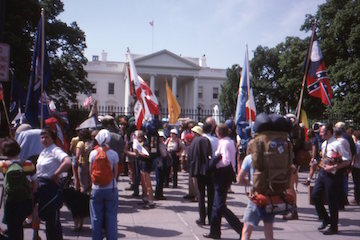
The White House - Washington, D.C.
(photo provided by Mike McReynolds) |
The White House - Washington, D.C.
(photo provided by Tim Geoghegan) |
The White House - Washington, D.C.
(photo provided by Tim Geoghegan) |
Helen & John Stout (on the left)
The White House - Washington, D.C.
(photo provided by Rex Halfpenny) |

The White House - Washington, D.C.
(photo provided by Tim Geoghegan) |
The White House - Washington, D.C.
(photo provided by Marce Guerrein) |
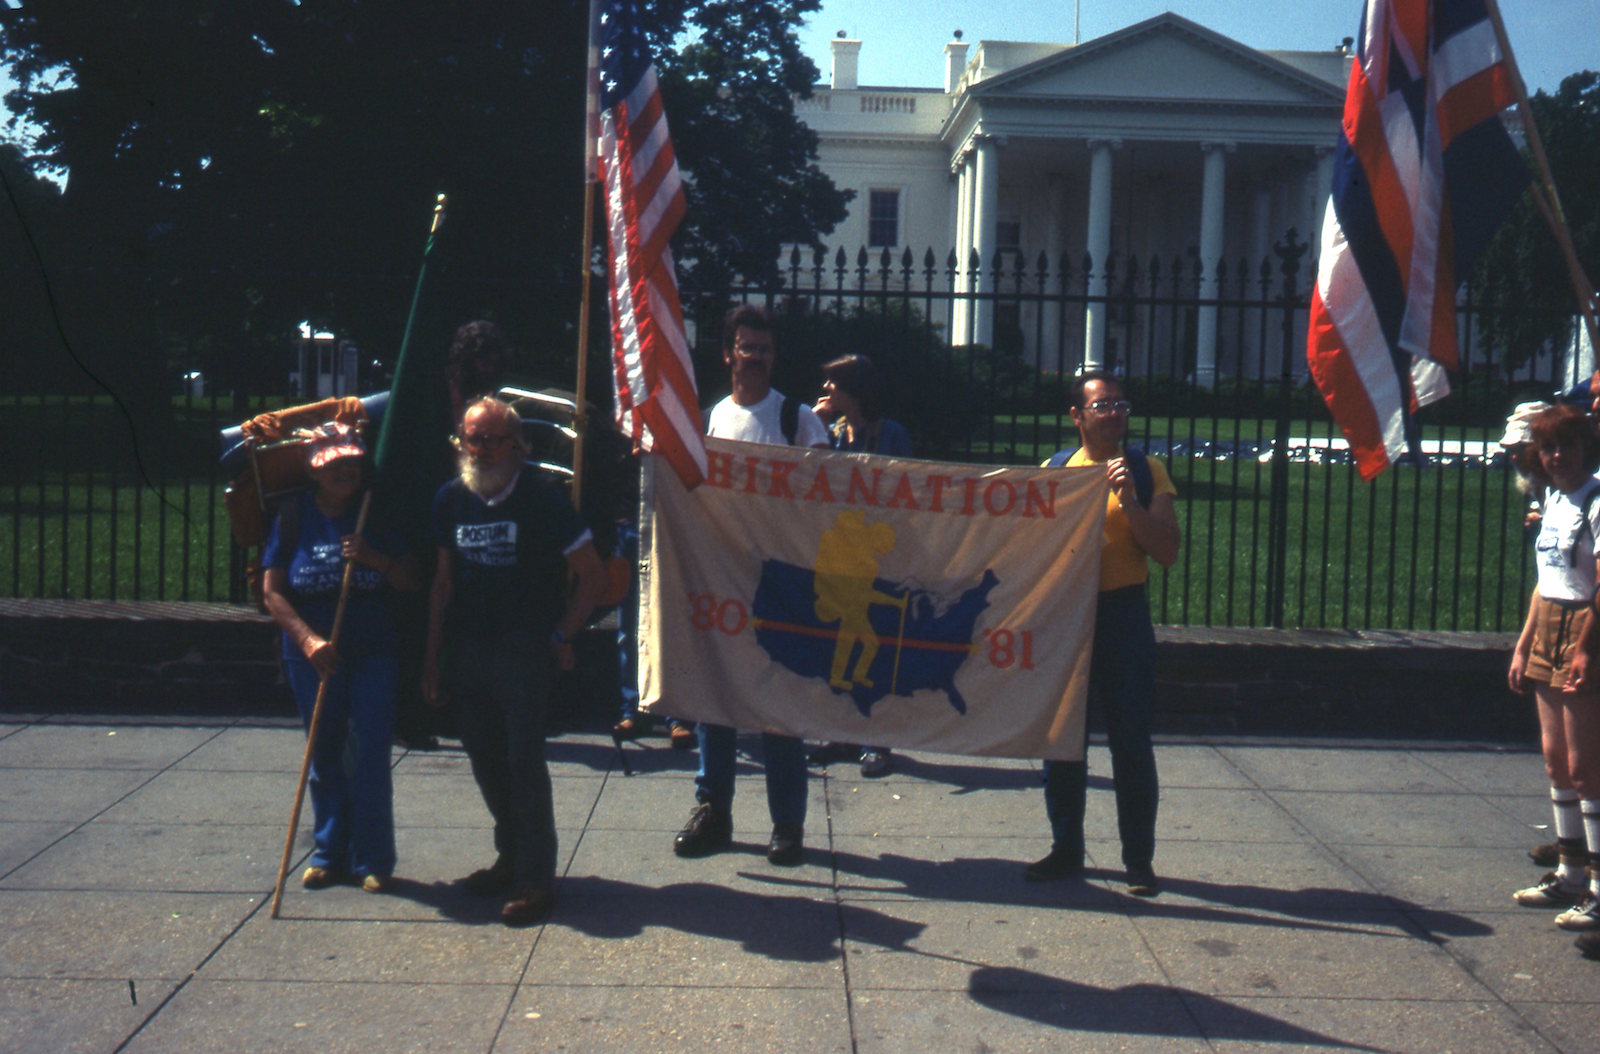
William Ewart
The White House - Washington, D.C.
(photo provided by William Ewart) |
Ryan Bozis
The White House - Washington, D.C.
(photo provided by William Ewart) |

Departing The White House
(photo provided by Reese Lukei, Jr.)
|
Departing The White House
(photo provided by Reese Lukei, Jr.)
| 
Departing The White House
(photo provided by Mike McReynolds) |
Washington, D.C. route map
(provided by Tim Geoghegan) |
May 13, 1981 - Washington, D.C. activities
Page 1 - Last of the C&O Canal
Page 2 - Parade to The White House
Page 3 - To the Washington Monument
Page 4 - To The Capitol
Page 5 - Capitol Ceremonies & Dinner
|


.jpg)


